Thinking of You This Season with Stampin’ Up’s Plaid Tidings Designer Series Paper and Winter Woods stamp set.
Read more

Your Custom Text Here
Thinking of You This Season with Stampin’ Up’s Plaid Tidings Designer Series Paper and Winter Woods stamp set.
Read moreA simple Merry card using Stampin’ Up’s Playful Alphabet, Heartwarming Hugs Designer Series Paper and some Noble Peacock Rhinestones.
Read moreA Christmas card and matching envelope using the All Around Wreath dies, Lots of Cheer Stamps, Plaid Tiding Designer Series Paper and the Mojo Monday Sketch #504.
Read moreA frosty Christmas card that doubles as a gift card holder using Feels Like Frost paper, Frosted Frames and Timeless Tidings stamps.
Read moreA Christmas card using the non-traditional color of Highland Heather and Feels Like Frost Designer Series Paper.
Read moreA holiday card using the Dashing Deer bundle from Stampin’ Up as well as the Plaid Tidings DSP, Winter Snow Embossing Folder and some Guilded Gems. A card highlighting a sketch from Operation Write Home.
Read moreA simple card using Bruno Bertucci’s Scrappy Strips Technique and the Tasteful Touches stamp set. #scrappystrips.
Read moreA pretty pink plaid birthday card using Stampin' Up products Plaid Tidings, Piece of Cake, Stampin' Blends, Wrapped in Texture, In Color Enamel Dots and Crinkled Seam Binding Ribbon. This card also uses a sketch from Operation Write Home.
Read moreToday’s card is a Christmas card using the Winter Woods stamps and the coordinating In The Woods dies from Stampin’ Up.

The angle shows the dimension you get from the tree and the background embossing. Mixing all the layers gives the card depth. Plus I like to add a little bling with the gold glitter enamel gems,

Don’t forget to decorate the inside of the card. I used the coordinating designer series paper and stamped the pine tree off the side to allow for space for a holiday message.

I hope you enjoyed my card today. If you are interested in any of the items I used in this project please check out the Product List below. Keep it crafty friends!
| |  | ||
 |  | ||
 |

Keep it crafty peeps!
Here’s another card using my favorite stamp set in the current Stampin’ Up catalog - Fancy Phrases. I’m not a girly girl and flowers aren’t normally my go to design but it’s something about the sketchy design and the sentiments that just speak to my crafty heart.

I always like to take an angled photo to give you a different perspective to the card. It also shows of the dimension is an eye-pleasing way. This photo shows off the lovely die cut from Tasteful Labels dies, the Elegant Faceted Gems and the fact that I don't always color inside the lines (which just proves it’s homemade). Isn’t this label die just gorgeous?!

Notice I added a little flower to the envelope? No reason you can’t add a smile to mail carrier’s face right?!

I hope you enjoyed my card today. If you are interested in any of the items I used in this project please check out the Product List below. Keep it crafty friends!
 |  | |||
 | | |

The card for today was from a kit someone sent to me but I did what I call “freelancing”. This just means that I took the original design and amped it up to fit my style. This project uses one of my favorite stamps sets from Stampin’ Up…Forever Fern. The color combinations in the coordinated designer series paper is just gorgeous.

The soothing colors, textures and die cutting just make me smile. You can see the coordinating embossing folder, epoxy drops and multi colors of leaves all on display. Making this card was just so satisfying.

Remember my crafty friends, no naked envelopes!

I hope you enjoyed my card today. If you are interested in any of the items I used in this project please check out the Product List below. Keep it crafty friends!
 | ||||
 | ||||
 |  |  |

Keepin’ it real crafty!
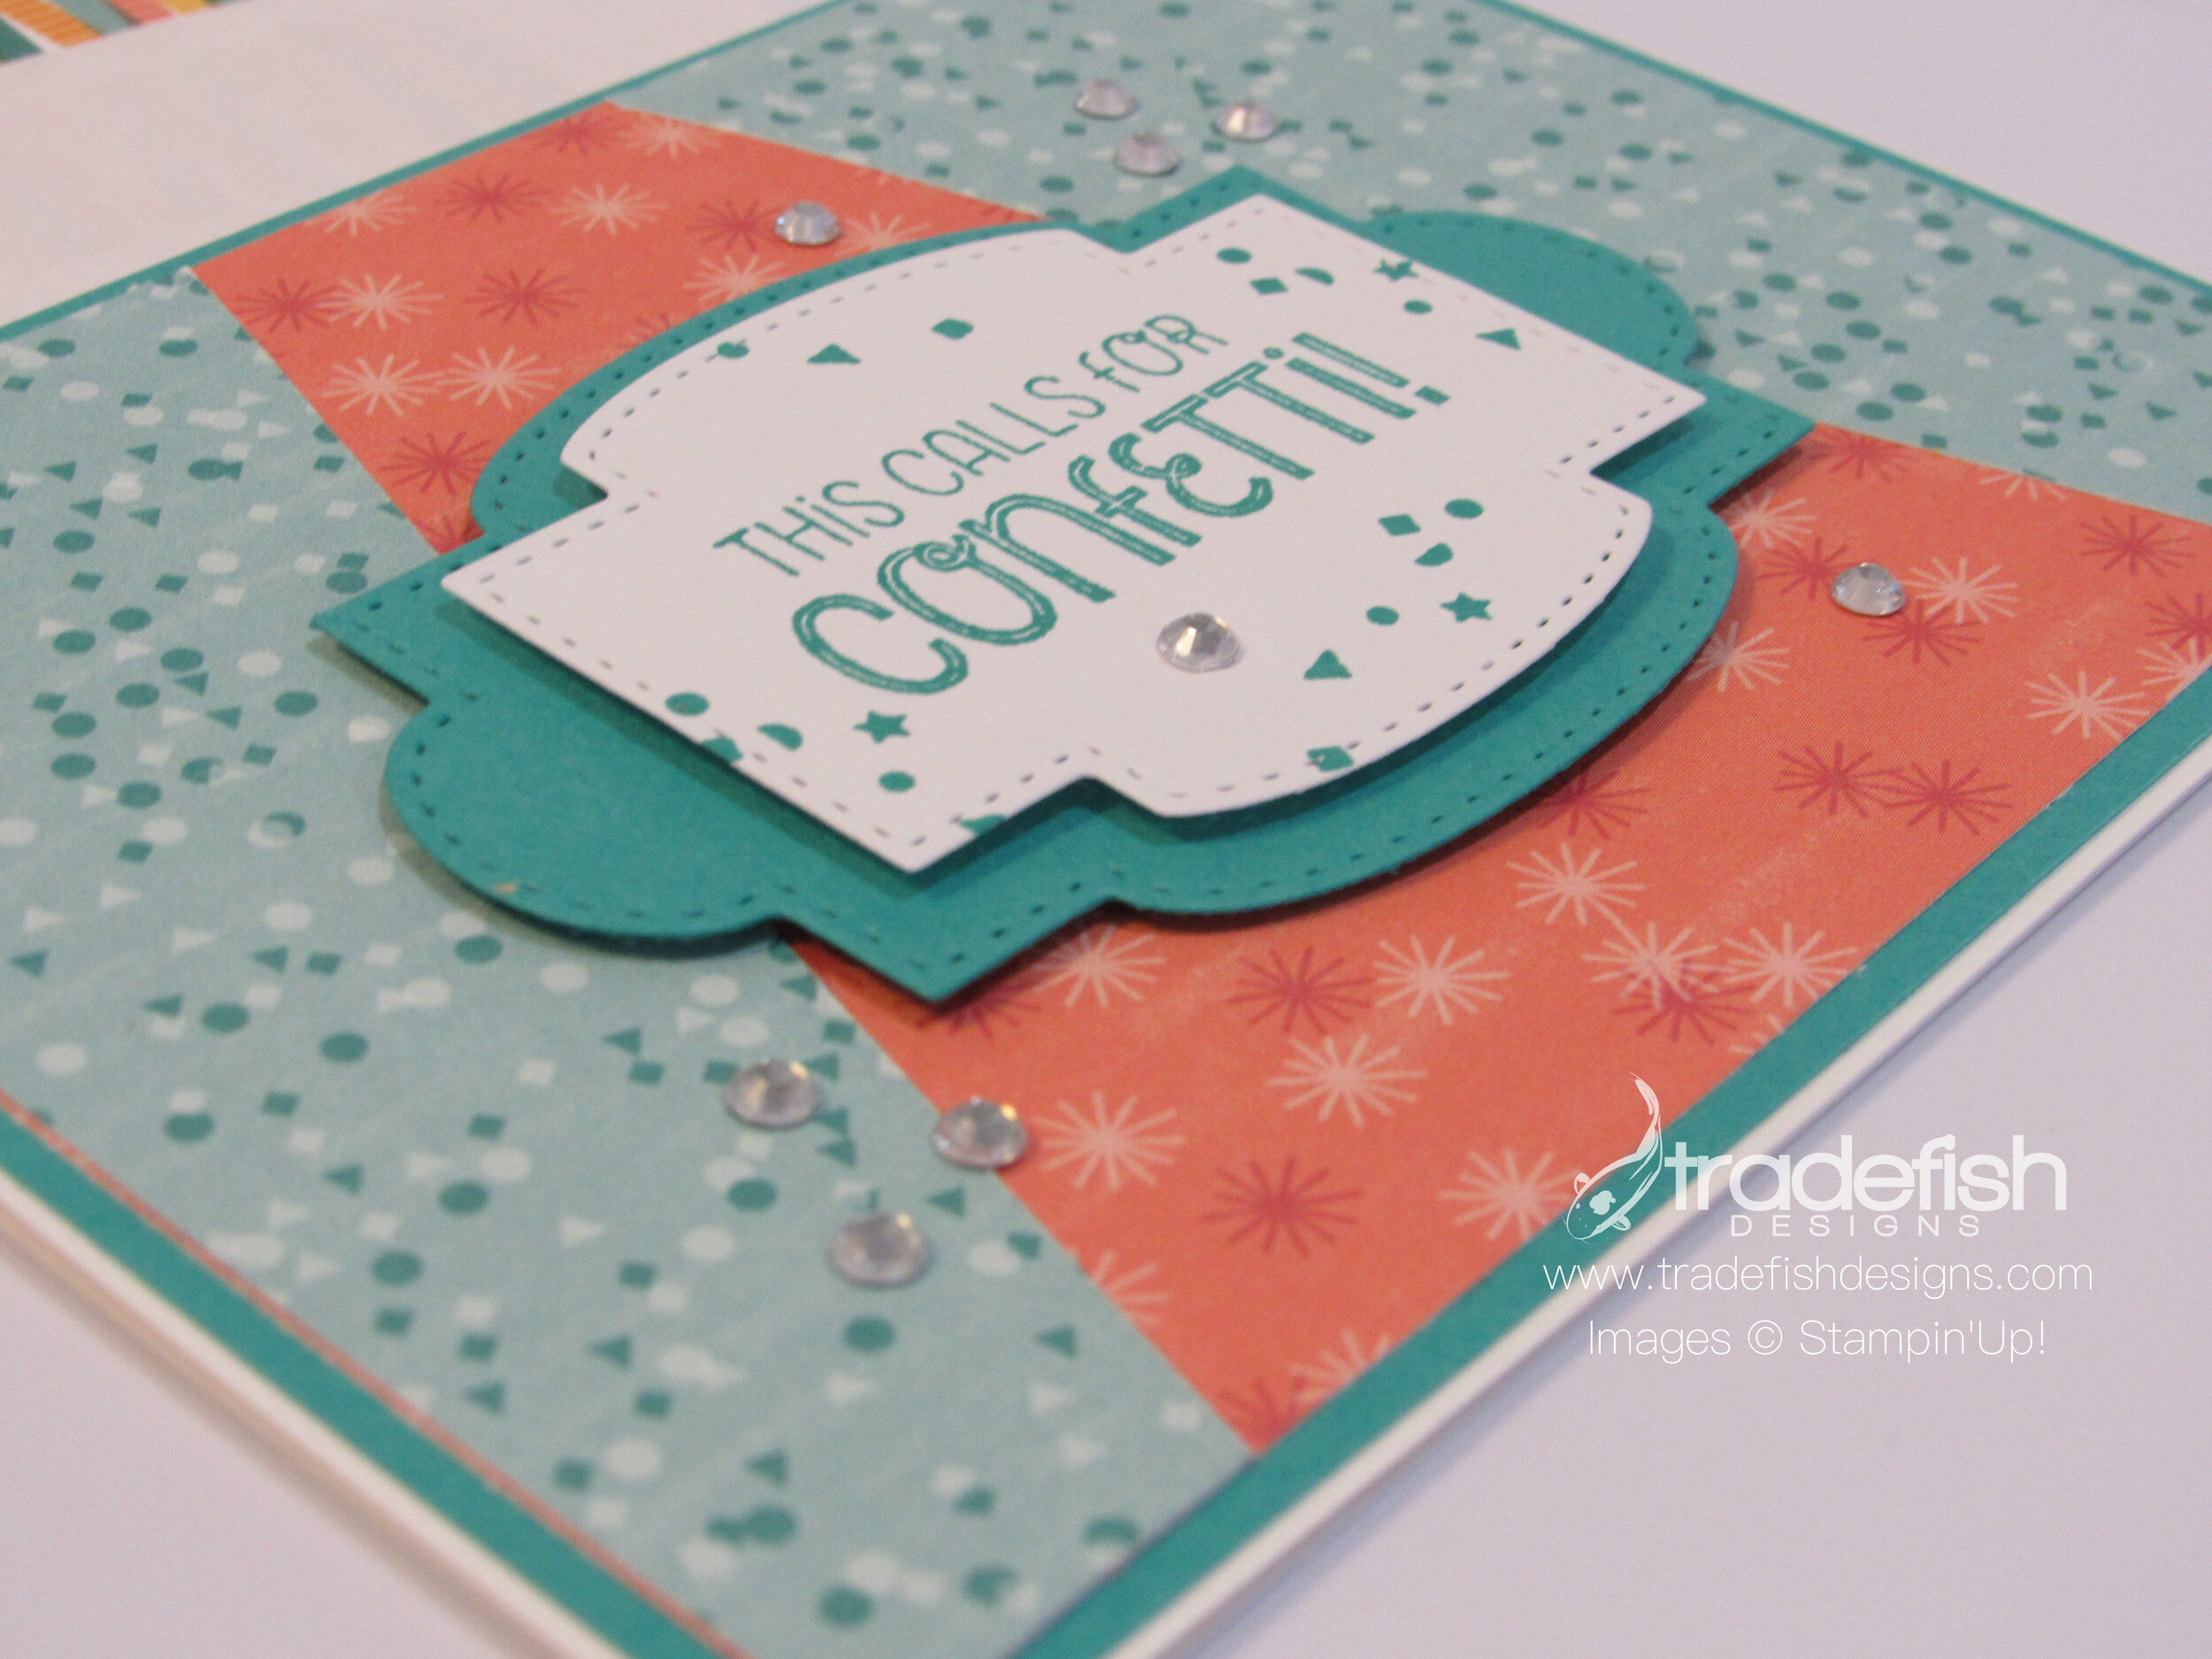
I took part in a Colorsplash Challenge which required the use of 4 colors: Poppy Parade, Flirty Flamingo, Balmy Blue and Night of Navy. Those colors and a new stamp set led me to this fun birthday card. Loving how the design shows off the texture of the embossing done to the Balmy Blue cardstock. #colorsplash3

At this angle you can see the cool stitching on the rectangle die and the rhinestones.

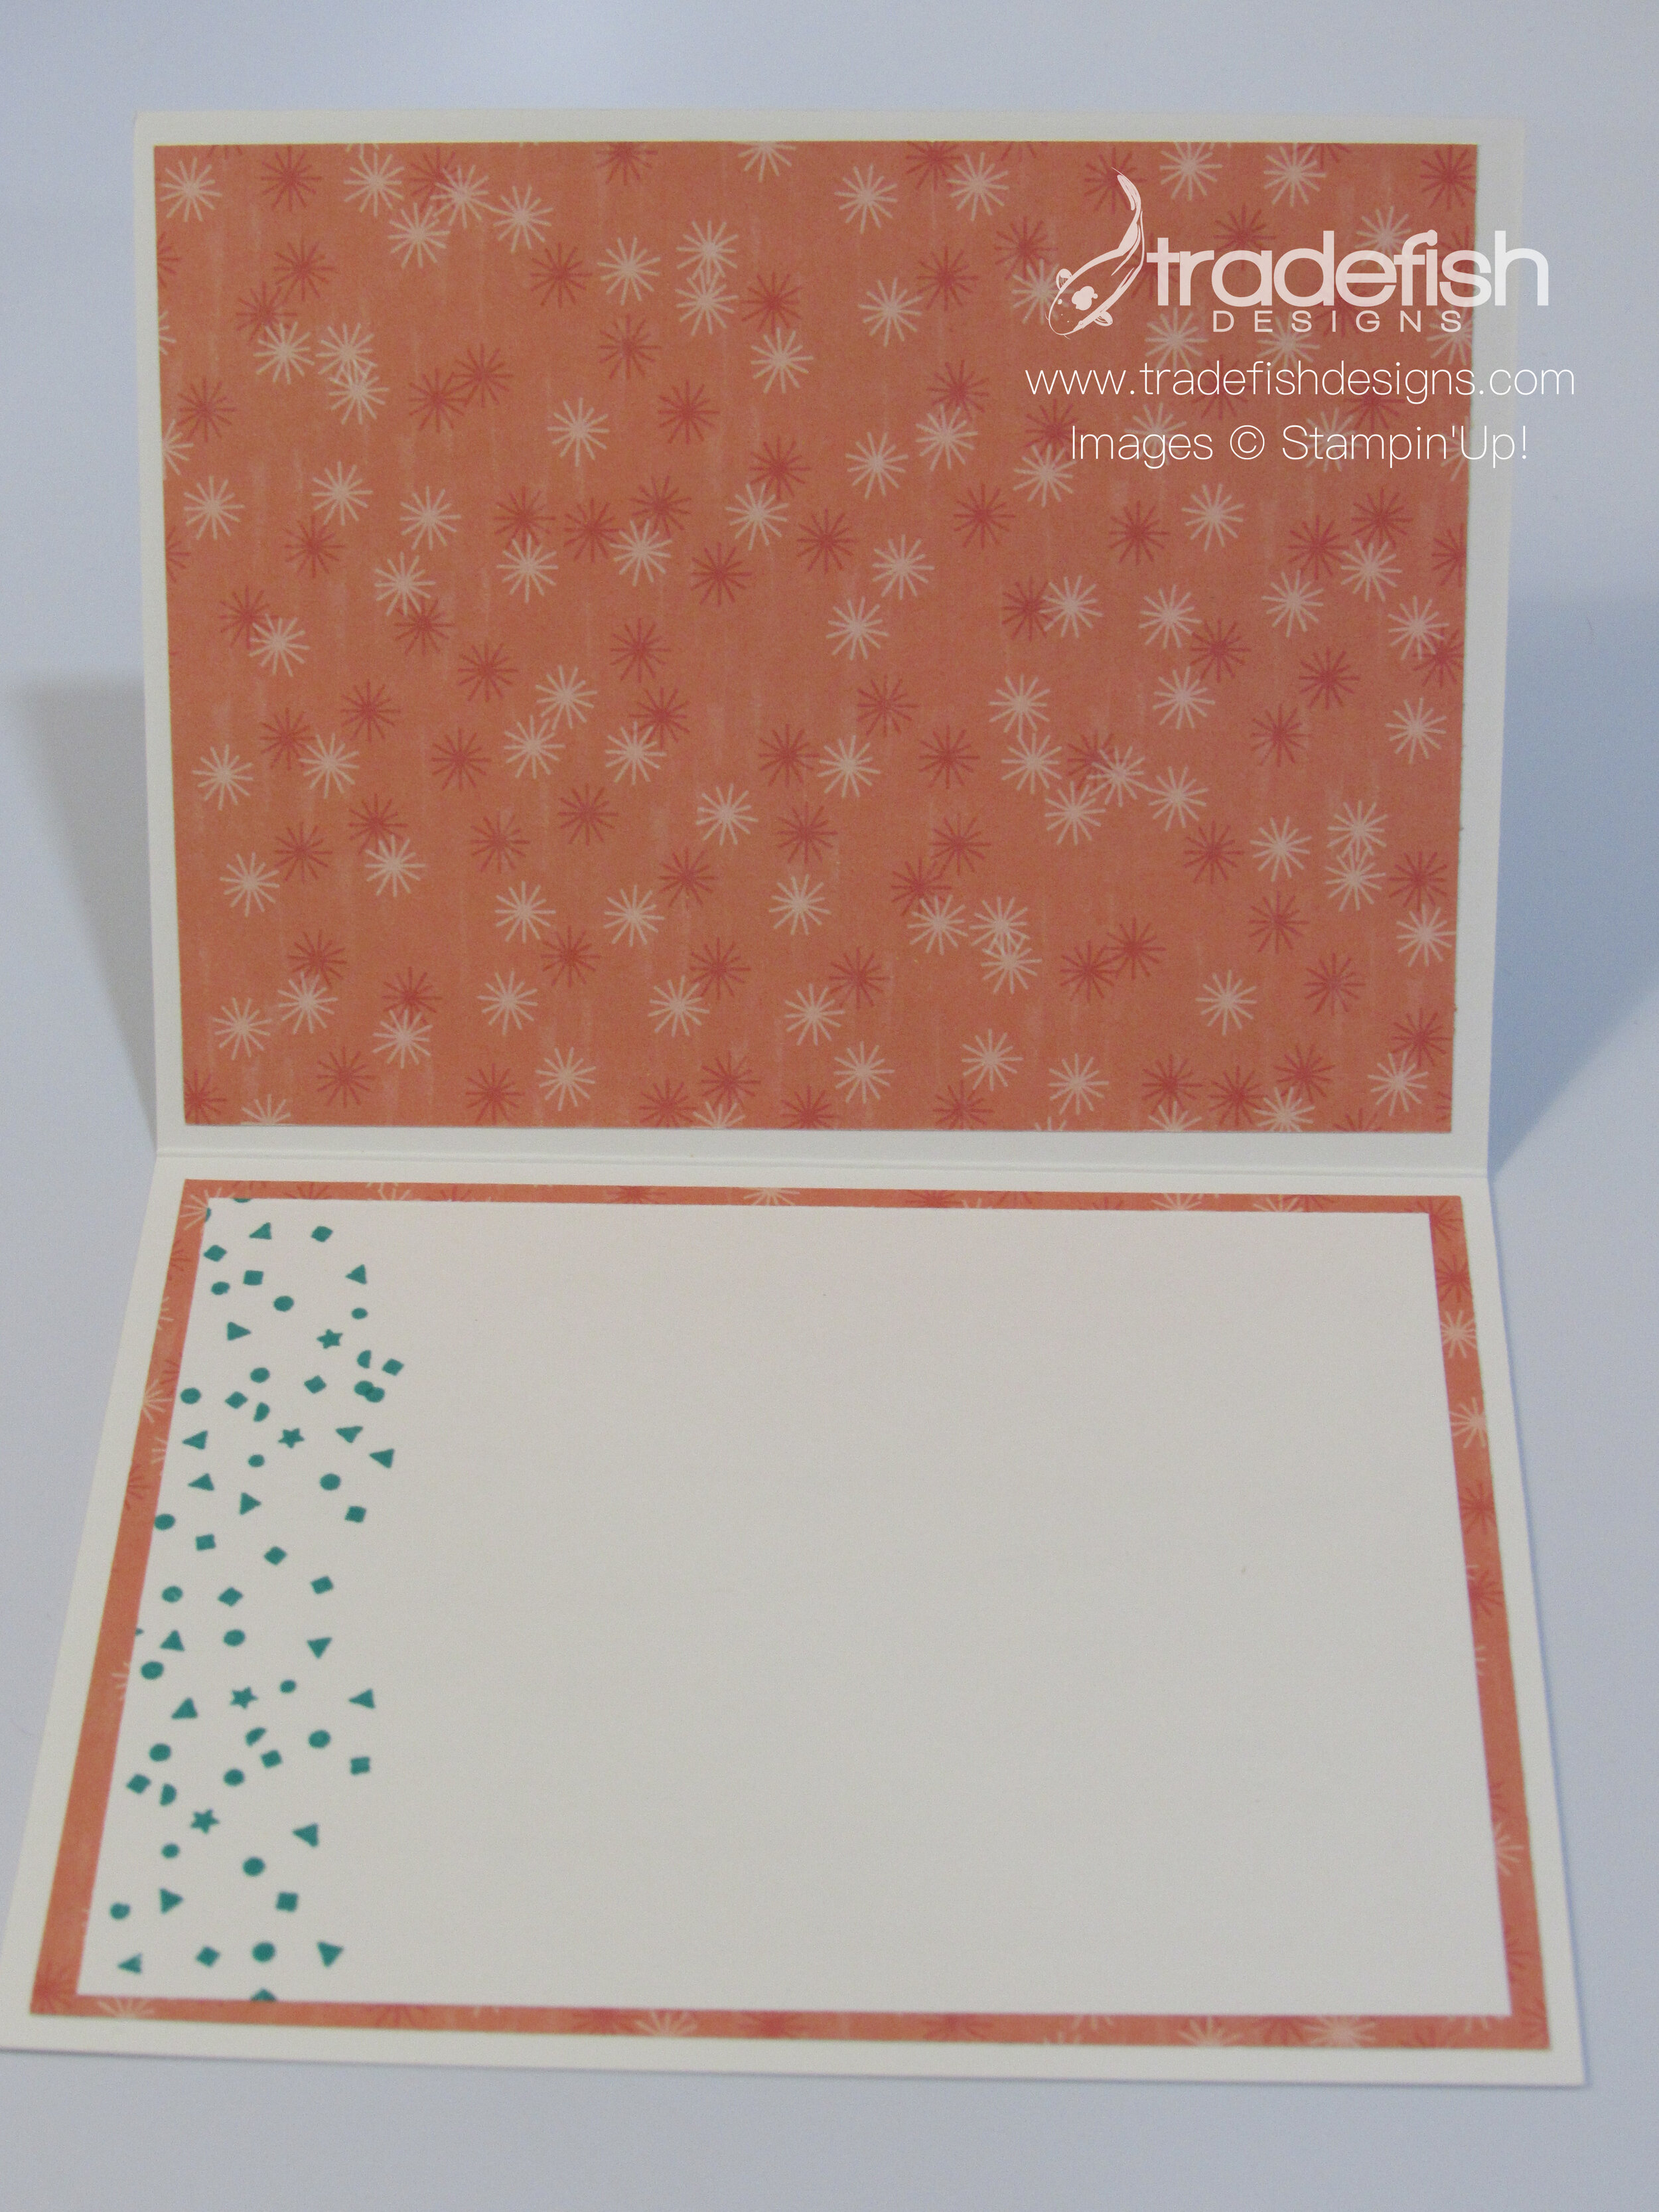
I couldn’t forget the inside of my card. A simple and bright message in Poppy Parade.

I hope you enjoyed my card today. If you are interested in any of the items I used in this project please check out the Product List below. Keep it crafty friends!
 | |||
 |

Keepin’ it crafty!
Not enough people send thank you cards anymore. People don’t really send letters at all but I do think a thank you card is important. Here’s a colorful one I created and I hope you enjoy it!

The angle view gives you a great look at the dimension on this card as well as the sparkly rhinestones. The stitching on the dies looks great up close too.

I brought the designer paper to the inside of the card and it will really highlight whatever message I send on the inside. Don’t forget the envelope too. I little color splash is a nice treat to the recipient and the mail carrier!

Same card using different colors. Love the bright paper that has so much texture in it.

I hope you enjoyed today’s card and if you want any of the supplies and you can find them below in the Product List.
| | |||
| |

Remember to send those thank you notes!
Today I have a fun birthday card using silly and bright colors. This is a great card for kids or adults.

Here’s an angle view showing off the dimension of the layers and the pretty rhinestones.
I always try to decorate the inside of my card to coordinate with the cover. This is also a great way to use up your designer paper. Let’s not hoard it but use it…to make room for the new paper when it comes out.
I also find another way to use up the extra paper is to decorate the envelope. Remember, no naked envelopes!

I hoped you enjoyed today’s card. If you are interested in getting the supplies go ahead and look at the product list below.
") | |||
| | | |

Keep it crafty peeps!
Todays’ post shows you that you can take a Memories and More pack from Stampin’ Up and make 20 cards (with leftover bits). I took my World of Good Memories & More Cards and coordinating cardstock and a few embossing folders and made 20 cards. If you are looking for cards for men this is a great option. This particular card set features travel-related themes…not a flower in sight!

Here’s a card that uses some of the stickers inside the Memories & More Card set. I stamped the Adventures Awaits from the Beautiful World Stamp Set in Misty Moonlight and popped it up.

The inside of the card has a scrap from the front and a sticker from the Memories & More Cards.

Cards in the Memories and More Card set come in two sizes. I used the larger one for the base and the smaller one popped up for the sentiment.

I used another one of the smaller cards for the inside of the card to carry through the travel theme.

For this card I incorporated some embossing for the background. I thought the Scripty embossing folder was perfect.

Here’s a close up of the embossing. It’s really a subtle touch on the Crumb Cake cardstock.

Here’s a card using the Tasteful Textile embossing folder and matted layers to add more dimension.

Again, here’s another one of the smaller cards inside with a small sticker to provide a sentiment inside the card.

I hope you enjoyed seeing what I was able to create with the World of Good Memories & More Cards. Here are all the products used in this project!
 | |||
 | | |

Keeping it crafty!
My project from a Mystery Card Challenge.
Read moreHello Everyone,
It’s been quite a while since I posted. Many changes have taken place for me. We sold our house and purchased a new one and the company I worked for was sold and I have a new position with the company that acquired us. A lot of buying and selling going on around me. In any event, I took some time to get squared away on all fronts and now I’m back to making cards and ready to share them with you.
Today’s card features the stamp set Fancy Phrases. This was the first stamp set I purchased from the current catalog. Something about the sketchy style caught my eye right away. There’s a lot going on with this card…stamping, embossing, die cutting and coloring. I even tied a bow (which is rare on my cards).

I couldn’t forget to add some interest on the inside of the card too.

And remember, no naked envelopes!

Here are the products I used in making the card above.
| | |||
| | |||
 | |
I’m back with another fun and simple Christmas card for you. The designer paper may not be available but you can easily swap any other paper and coordinating cardstock to achieve a similar look.

Most of my cards are pretty simple. Here I’m mixing different coordinating designer series paper (unfortunately retired) with layers to add dimension and some simple stamping to add interest.

Second generation stamping of the trees with Shaded Spruce ink.
This close up shows the crisp definition of the stamping of the sentiment using Cherry Cobbler ink and the first and second generation stamping of the trees using Shaded Spruce ink. Simply layer rectangles cuts with solid coordinating card stock mats and you have a lovely card with some very basic stamping that anyone would appreciate getting for Christmas.
Stuff I used here that's still available from Stampin’ Up:
Ink: Cherry Cobbler, Shaded Spruce
Paper: Cherry Cobbler, Whisper White

Christmas Crafts!
Another Christmas card for you on this lovely Tuesday in February. All the goodies in this one are retired except the yummy ink and paper. But I just love the super simple layout of the card. Very easy to copy for your own card, whether it’s for a Christmas card any card!

Don’t you love fun ornament Christmas paper?

To get the lighter shade for my stamped ornaments I stamped off once and then stamped the image on my cardstock. That way the sentiment stood out when I stamped it at full strength with Pretty Peacock ink.
Here’s a close up on an angle to show you the dimension on the card and a closer look at the ink and paper I used.
Ink & Paper!

A craft Christmas card!
I love the new poppies products in the new Stampin’ Up Mini Catalog. I’m using a bunch of the products here. Take a look and let me know what you think!

I like to dress up the envelope flap with coordinating paper.

I added a coordinating stamp to the front of the envelope.

Here’s a close up showing off the rhinestones, birthday sentiment and punches.

Don’t forget the inside of the card too!

Keeping it crafty!
 Designer Series Paper")


 Designer Series Paper")


")


")


")


")


 Crinkled Seam Binding Ribbon")