
January 17, 2025 - Thank You Cards
A simple thank you card layout that can be used over and over again.
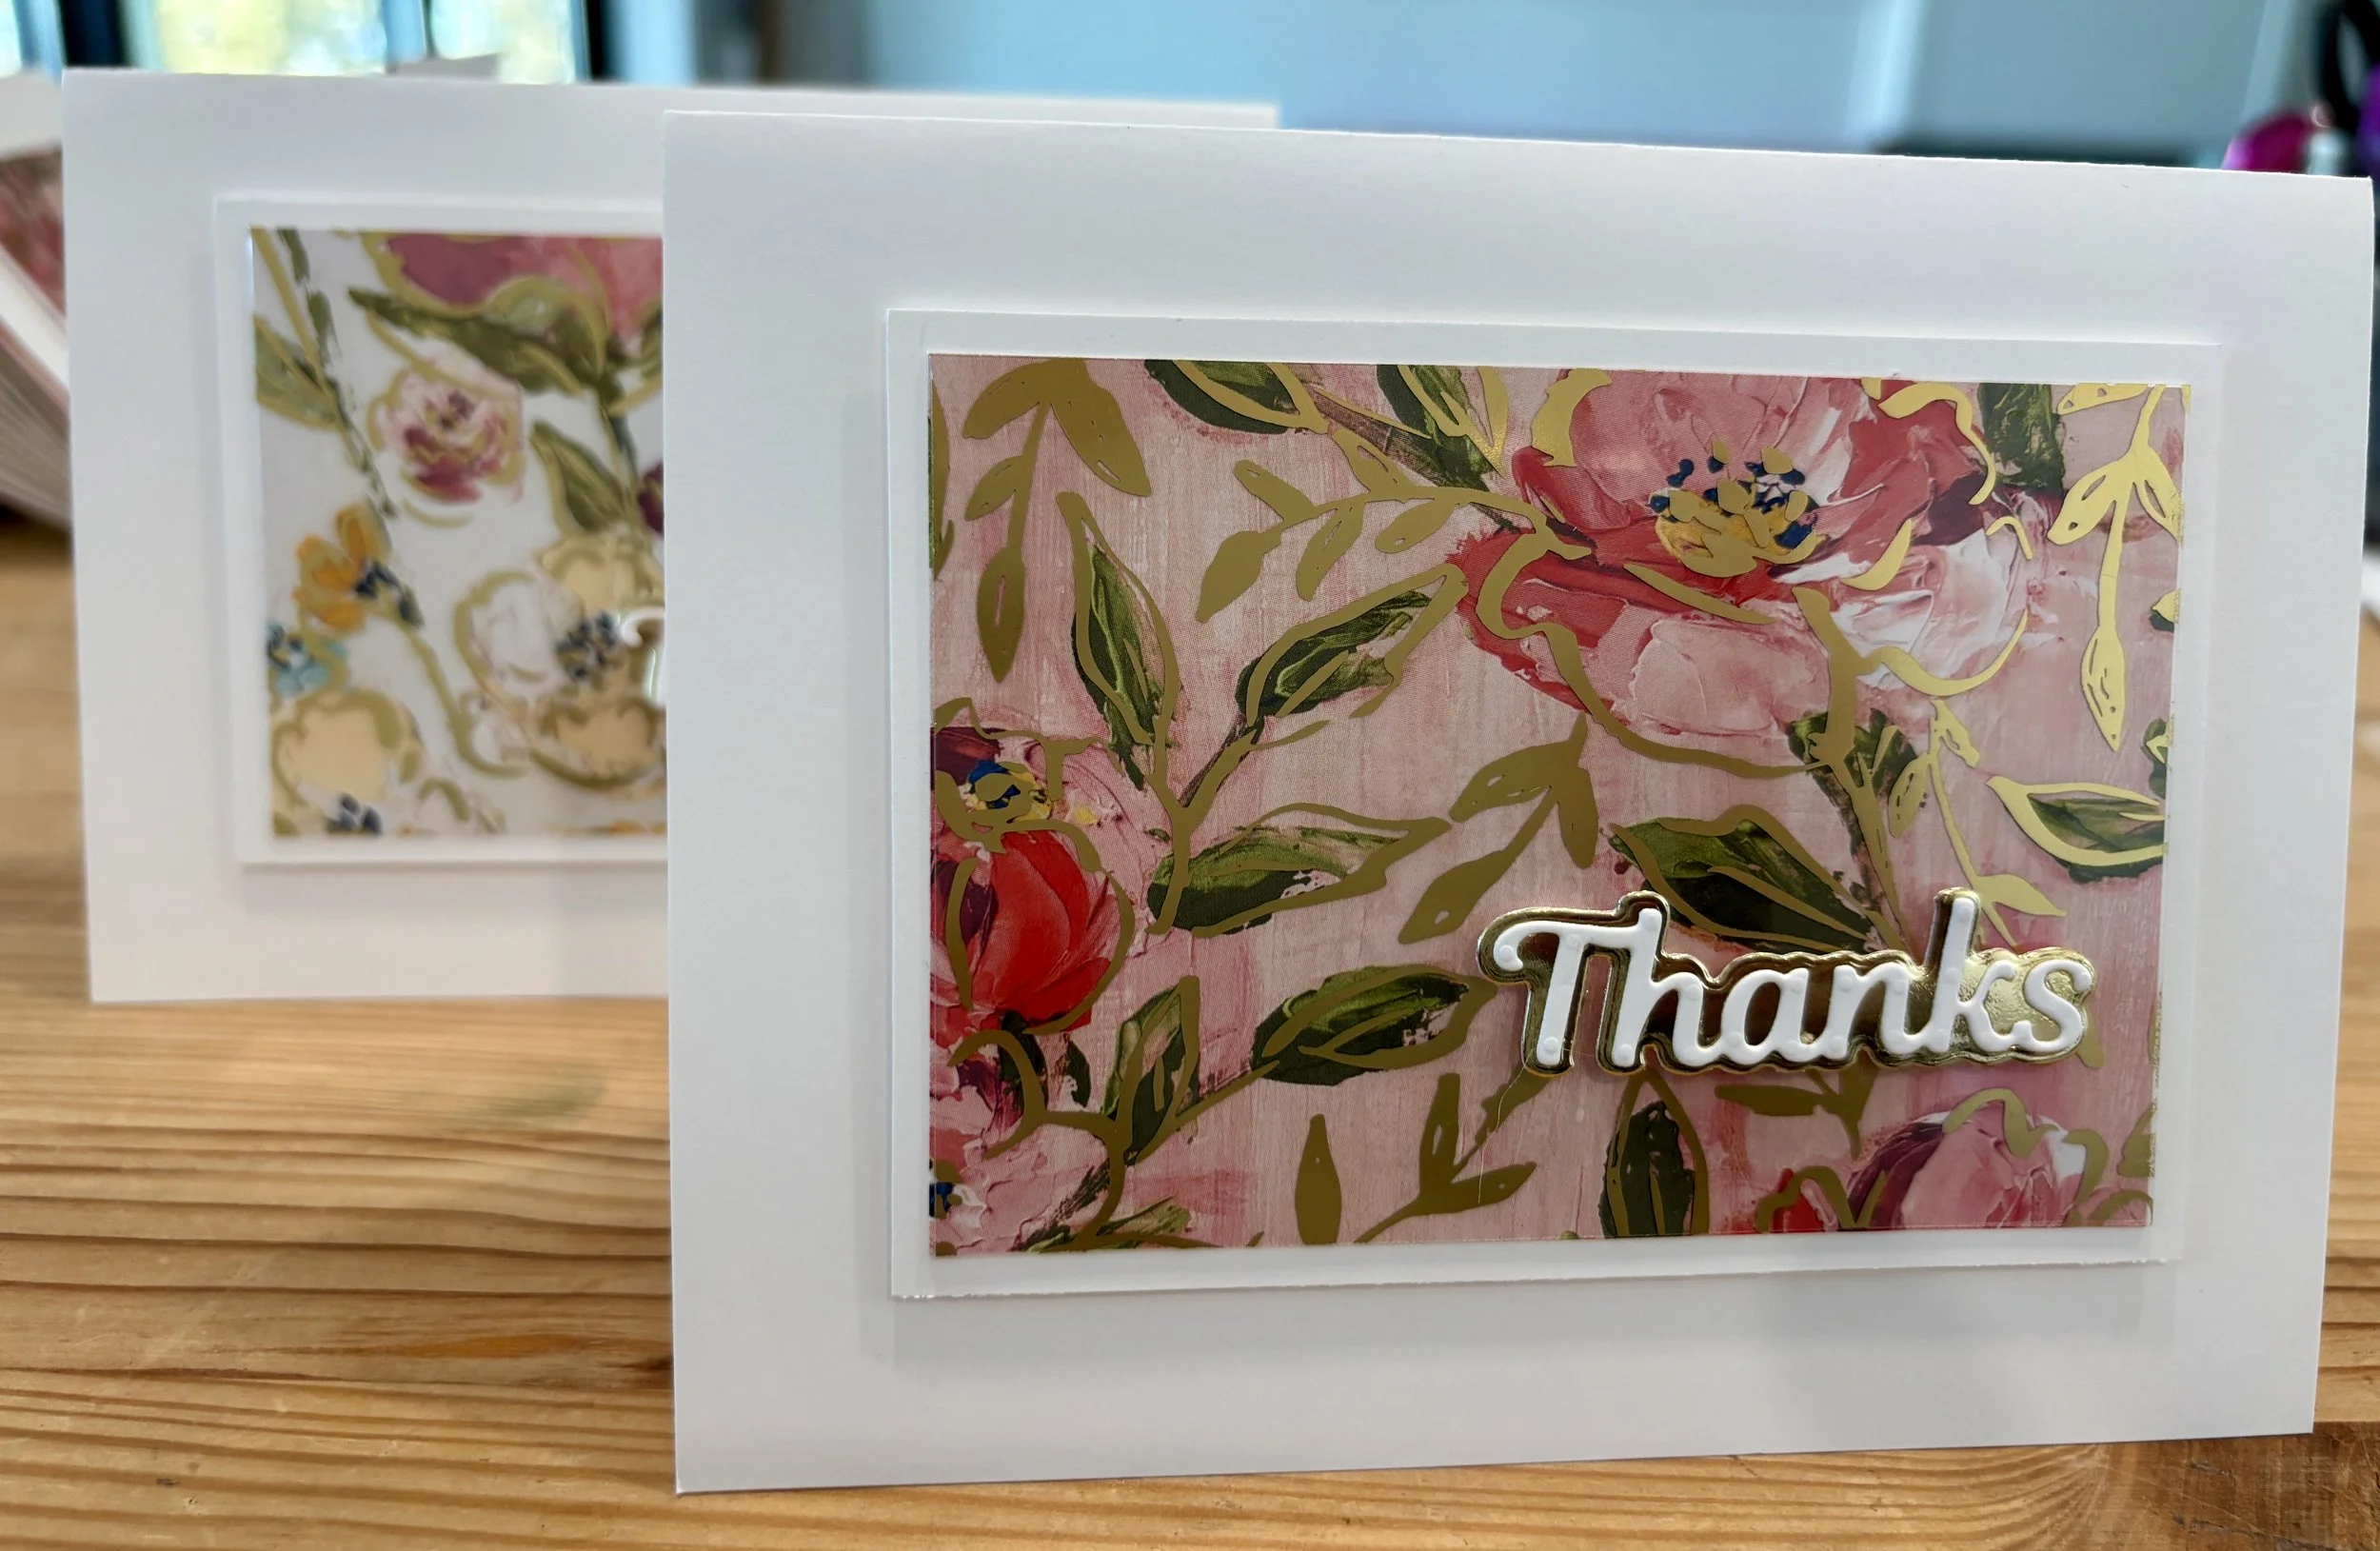
In today’s post I want to share a thank you card design that I used to create 18 thank you cards. This is a very simple layout and you can use any paper or stamps and/or dies to make this yourself. Keep in mind that this card can also be for any occasion…just change out the sentiment or remove the sentiment and bundle a few together and give as a gift of lovely notecards.
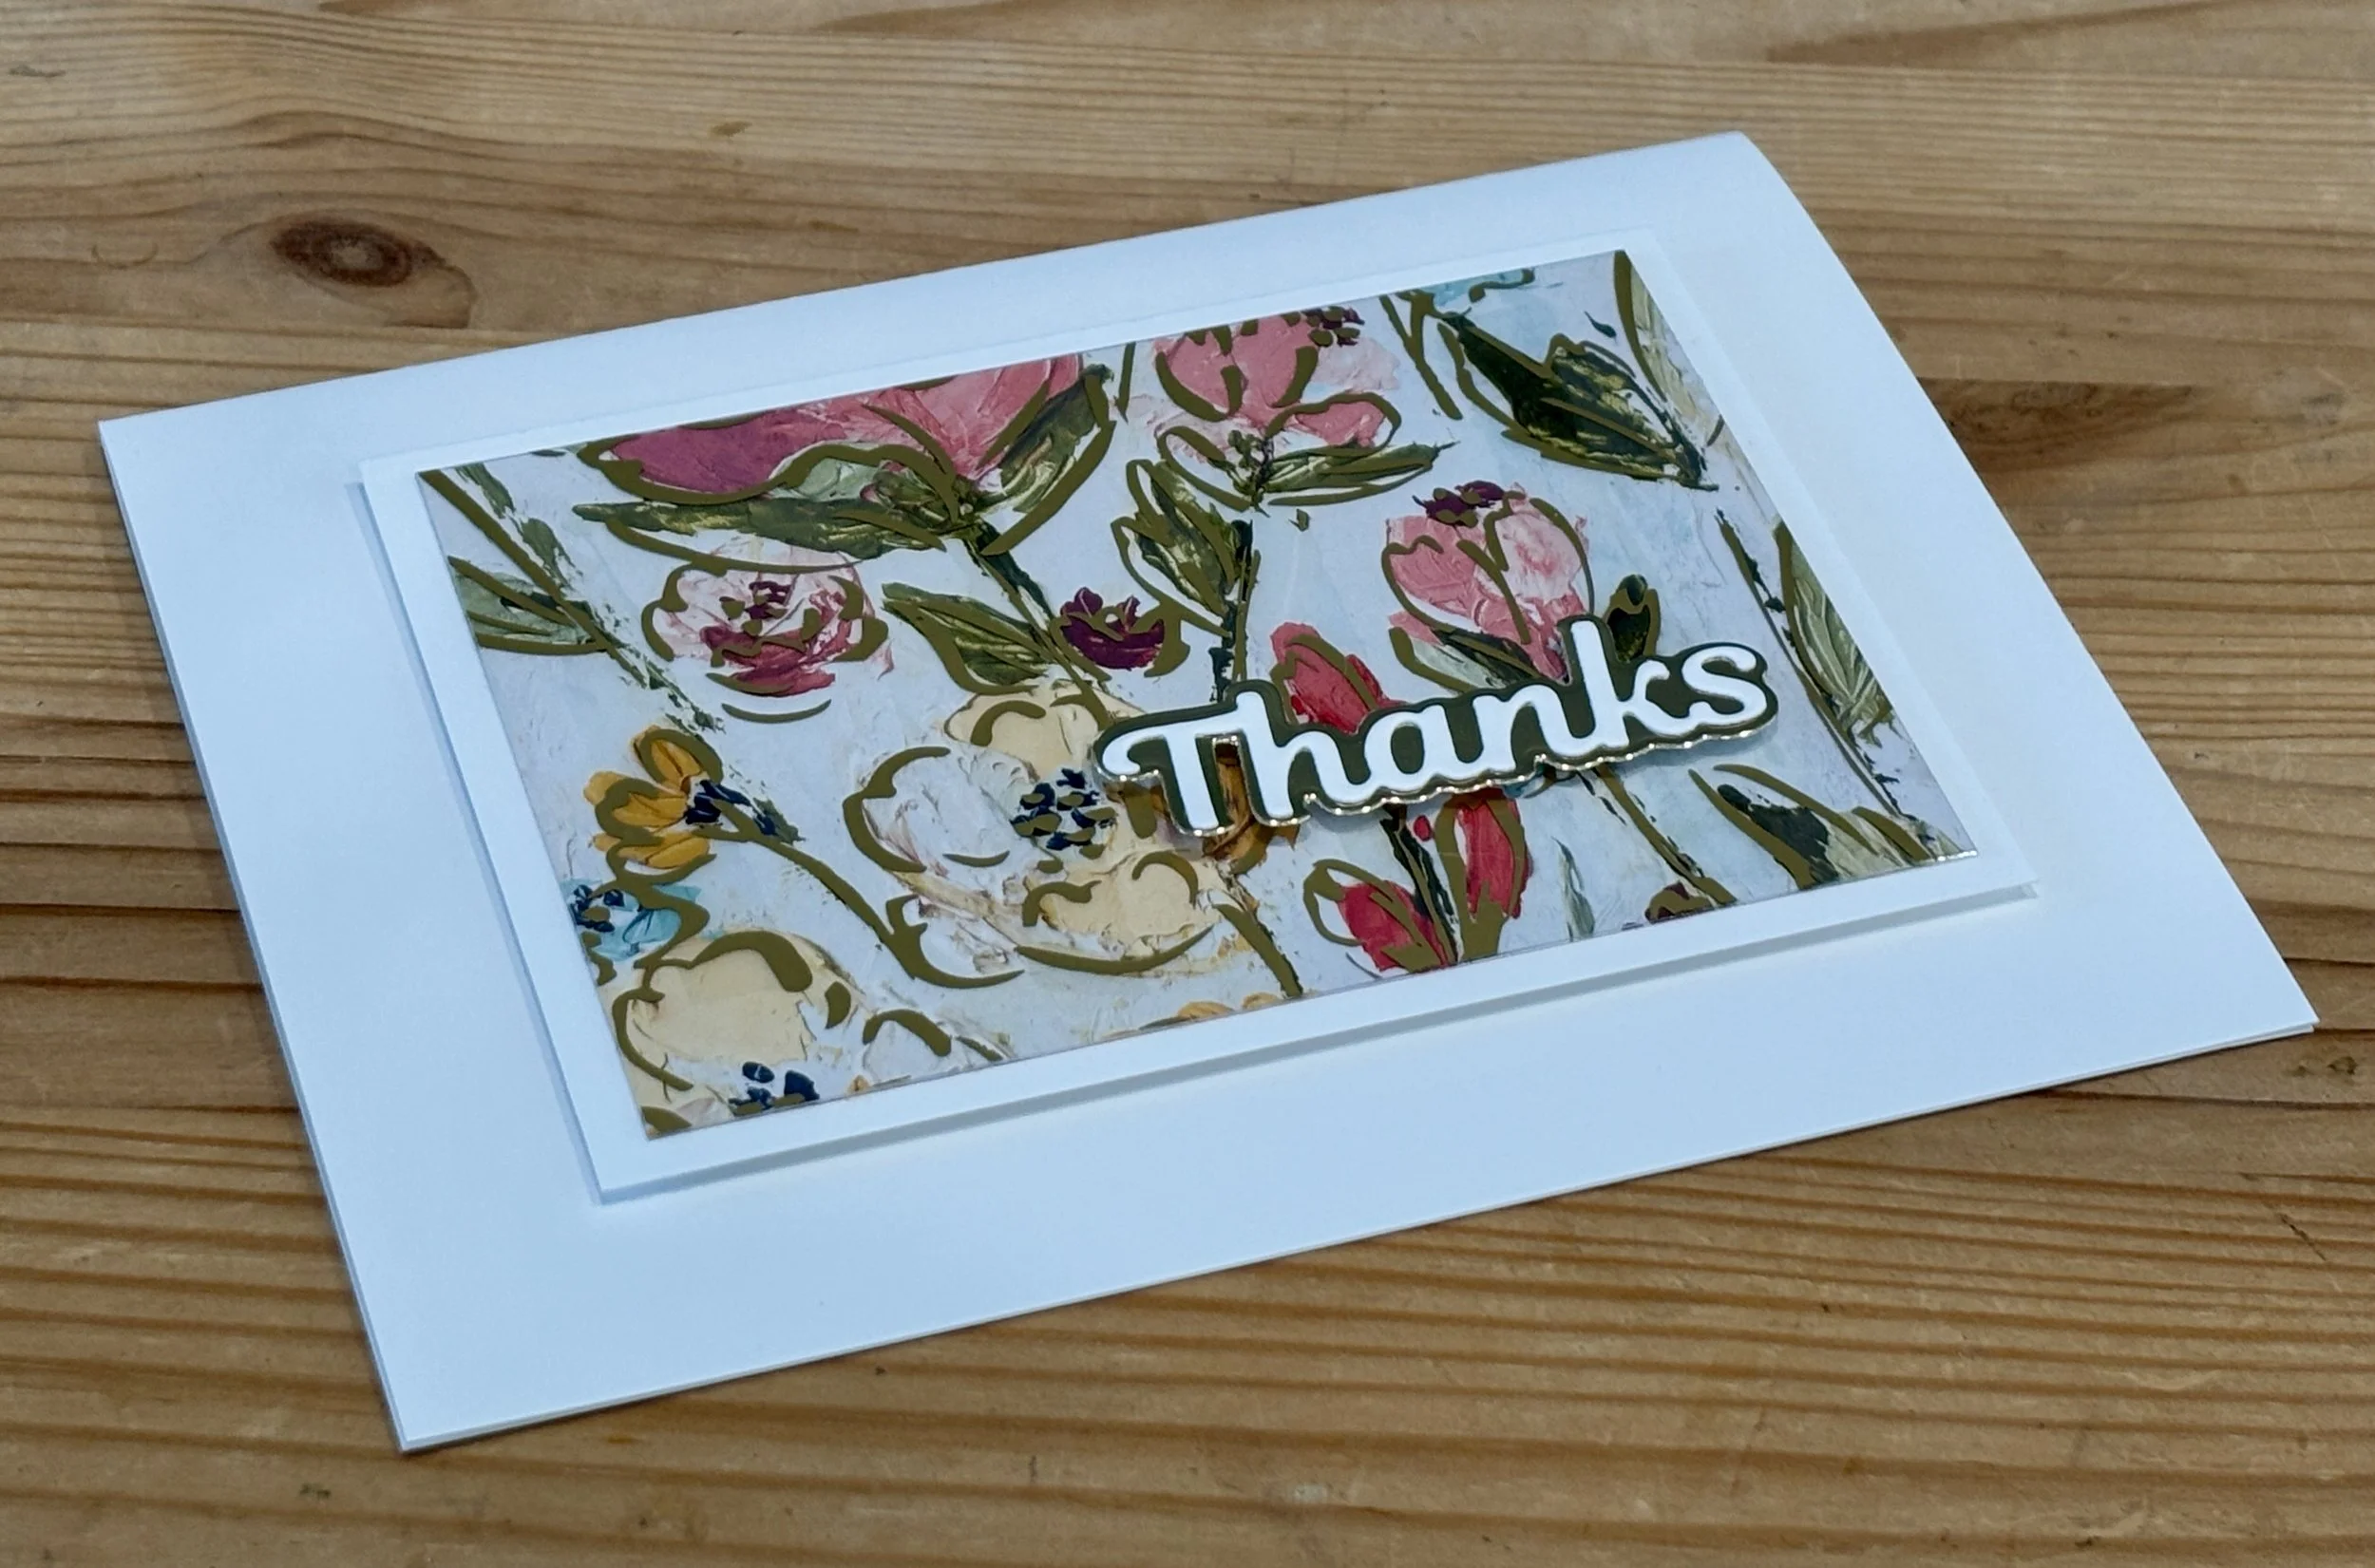
The card base itself is A2 which is half of an 8.5” x 11” letter paper folded in half. This particular card is folded so that the card is landscape but a few that I made were actually portrait style. The designer paper is 4” x 2-3/4” and the mat is 4-1/4” x 3”. I chose to use a white mat to make it a clean and bright card but you can also use a coordinating color of cardstock and that would be a great look too.
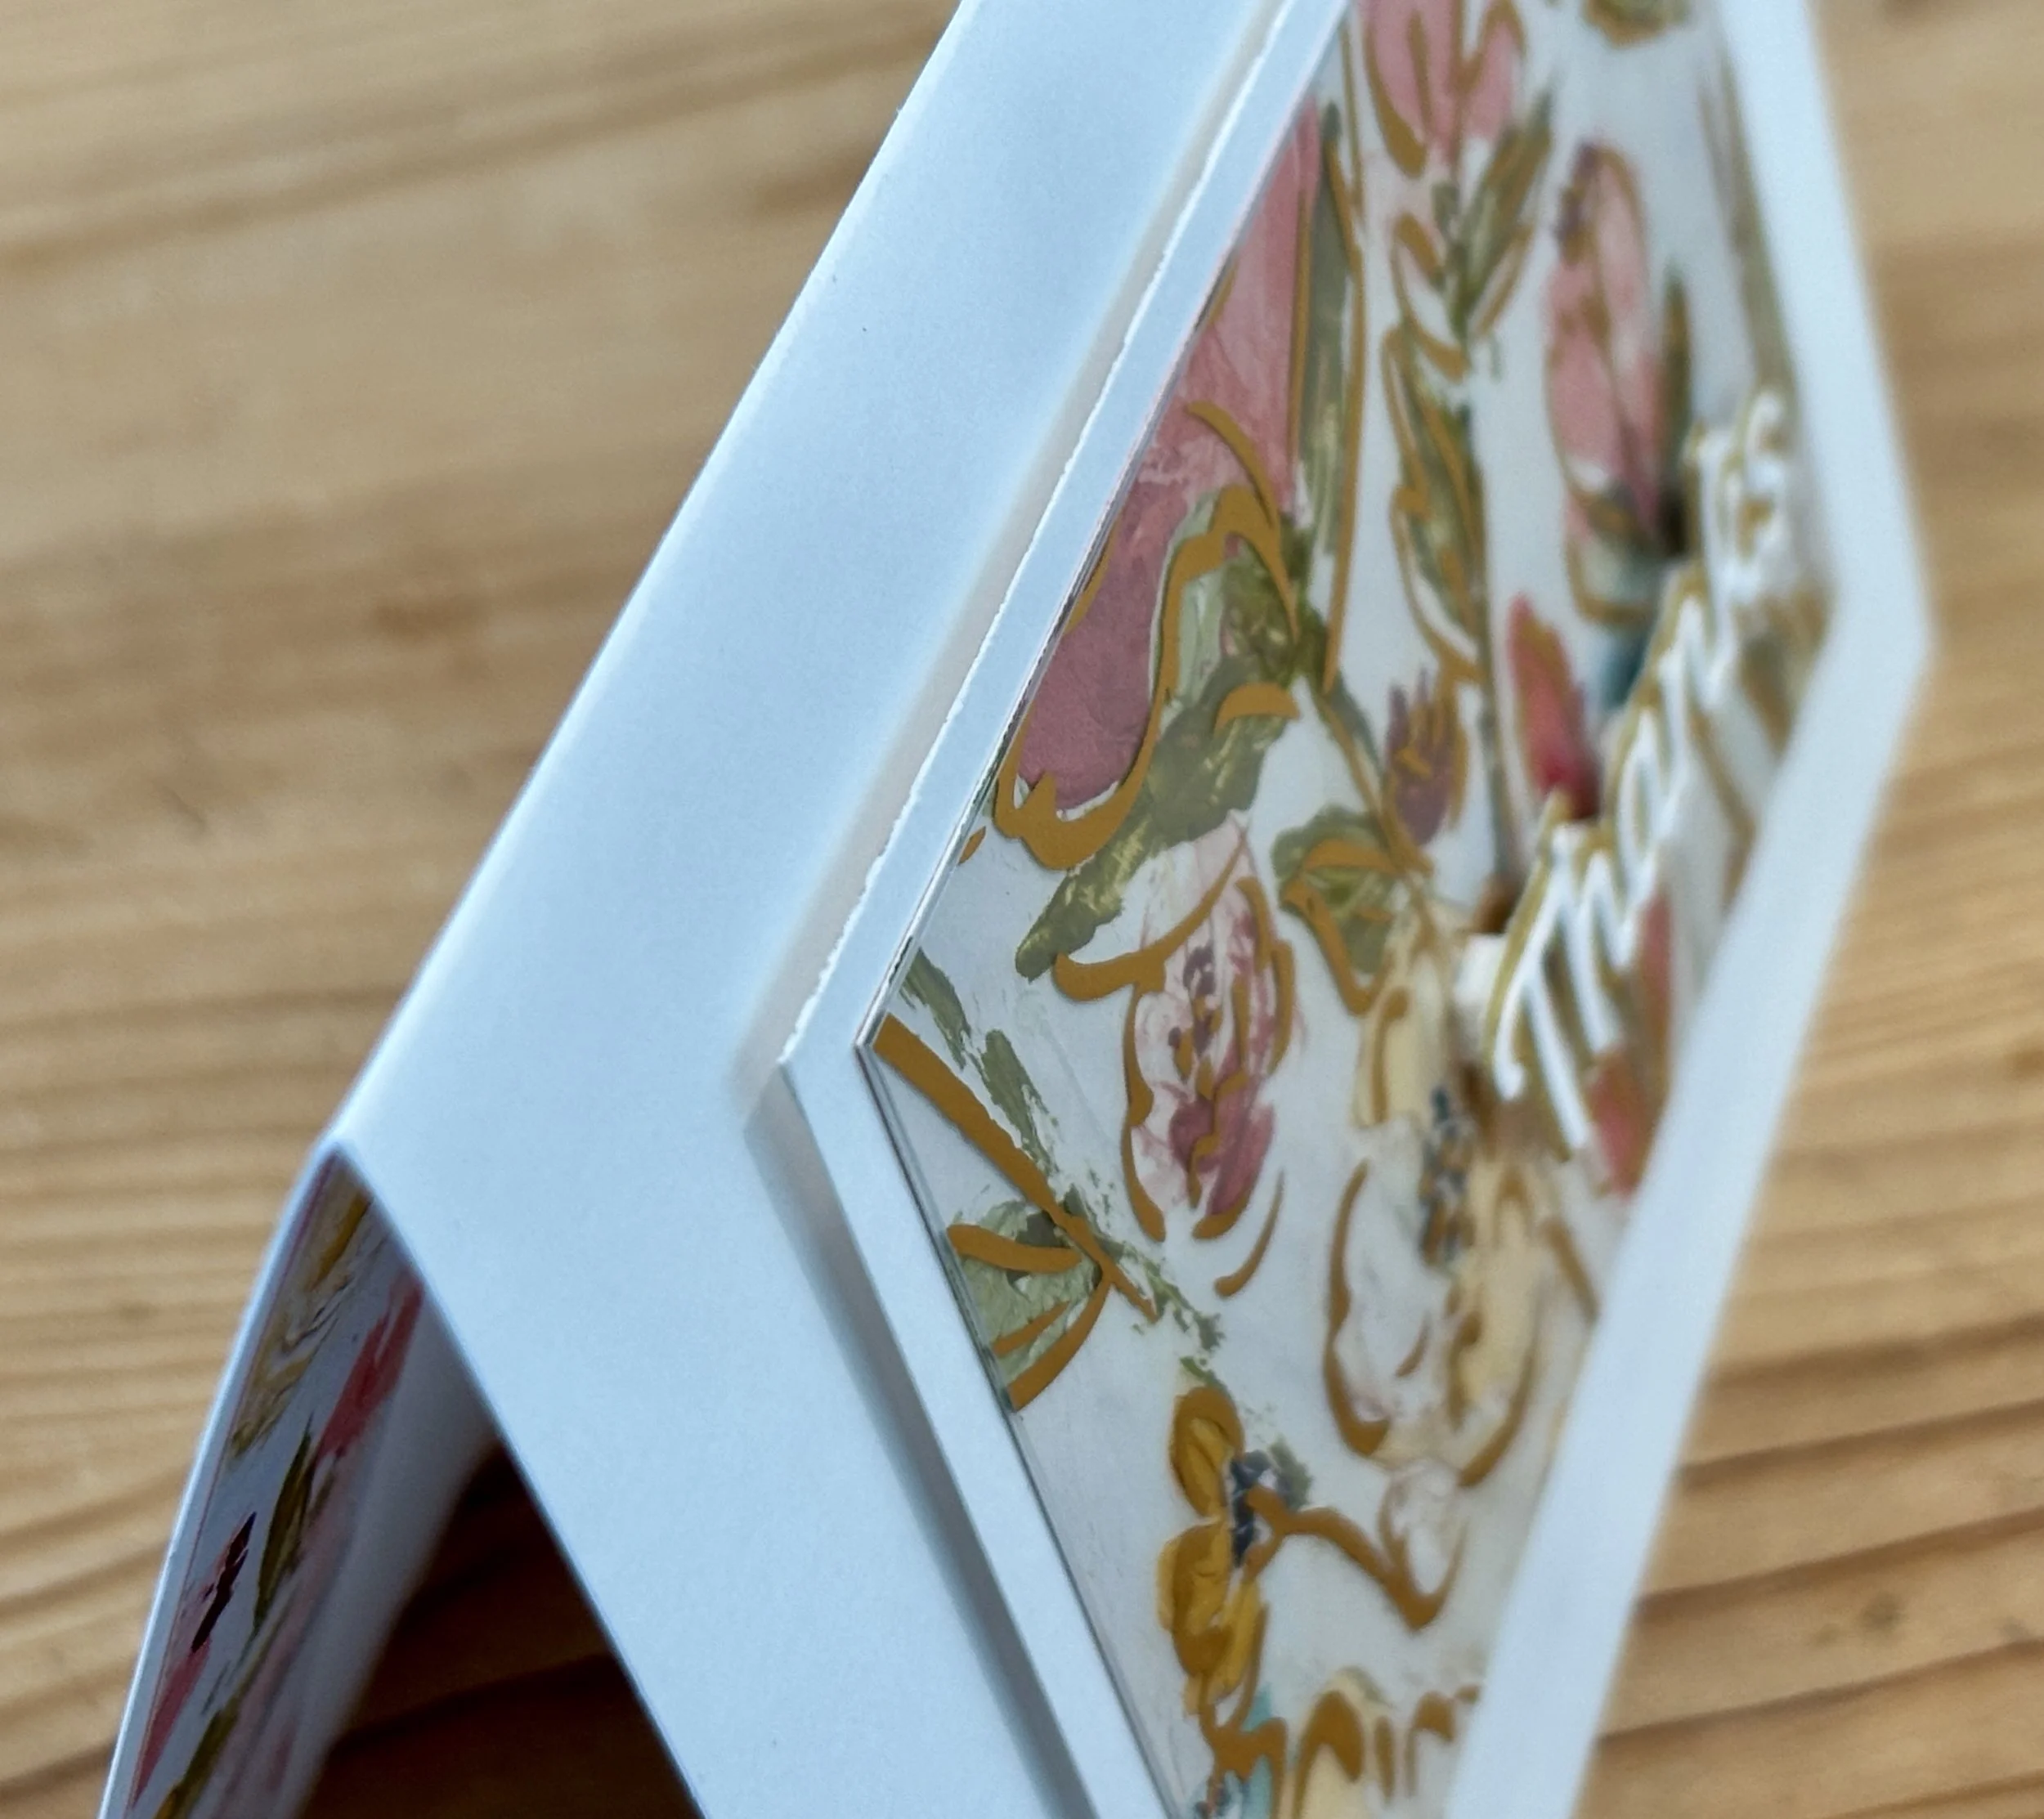
Once I got the designer paper matted I popped it up to add dimension. I also added dimension to the sentiment as well. It’s got some flair but still not too thick to cost extra postage.
The sentiment was cut out in plan white cardstock while the mat was just in some gold mirror paper that I’ve had around my craft room forever. I think it’s some old Recollections paper from Michaels that I bought in a 50 page pack that will last for quite a while. I’m sure a version of it is still being sold at Michaels in gold as well as other colors.
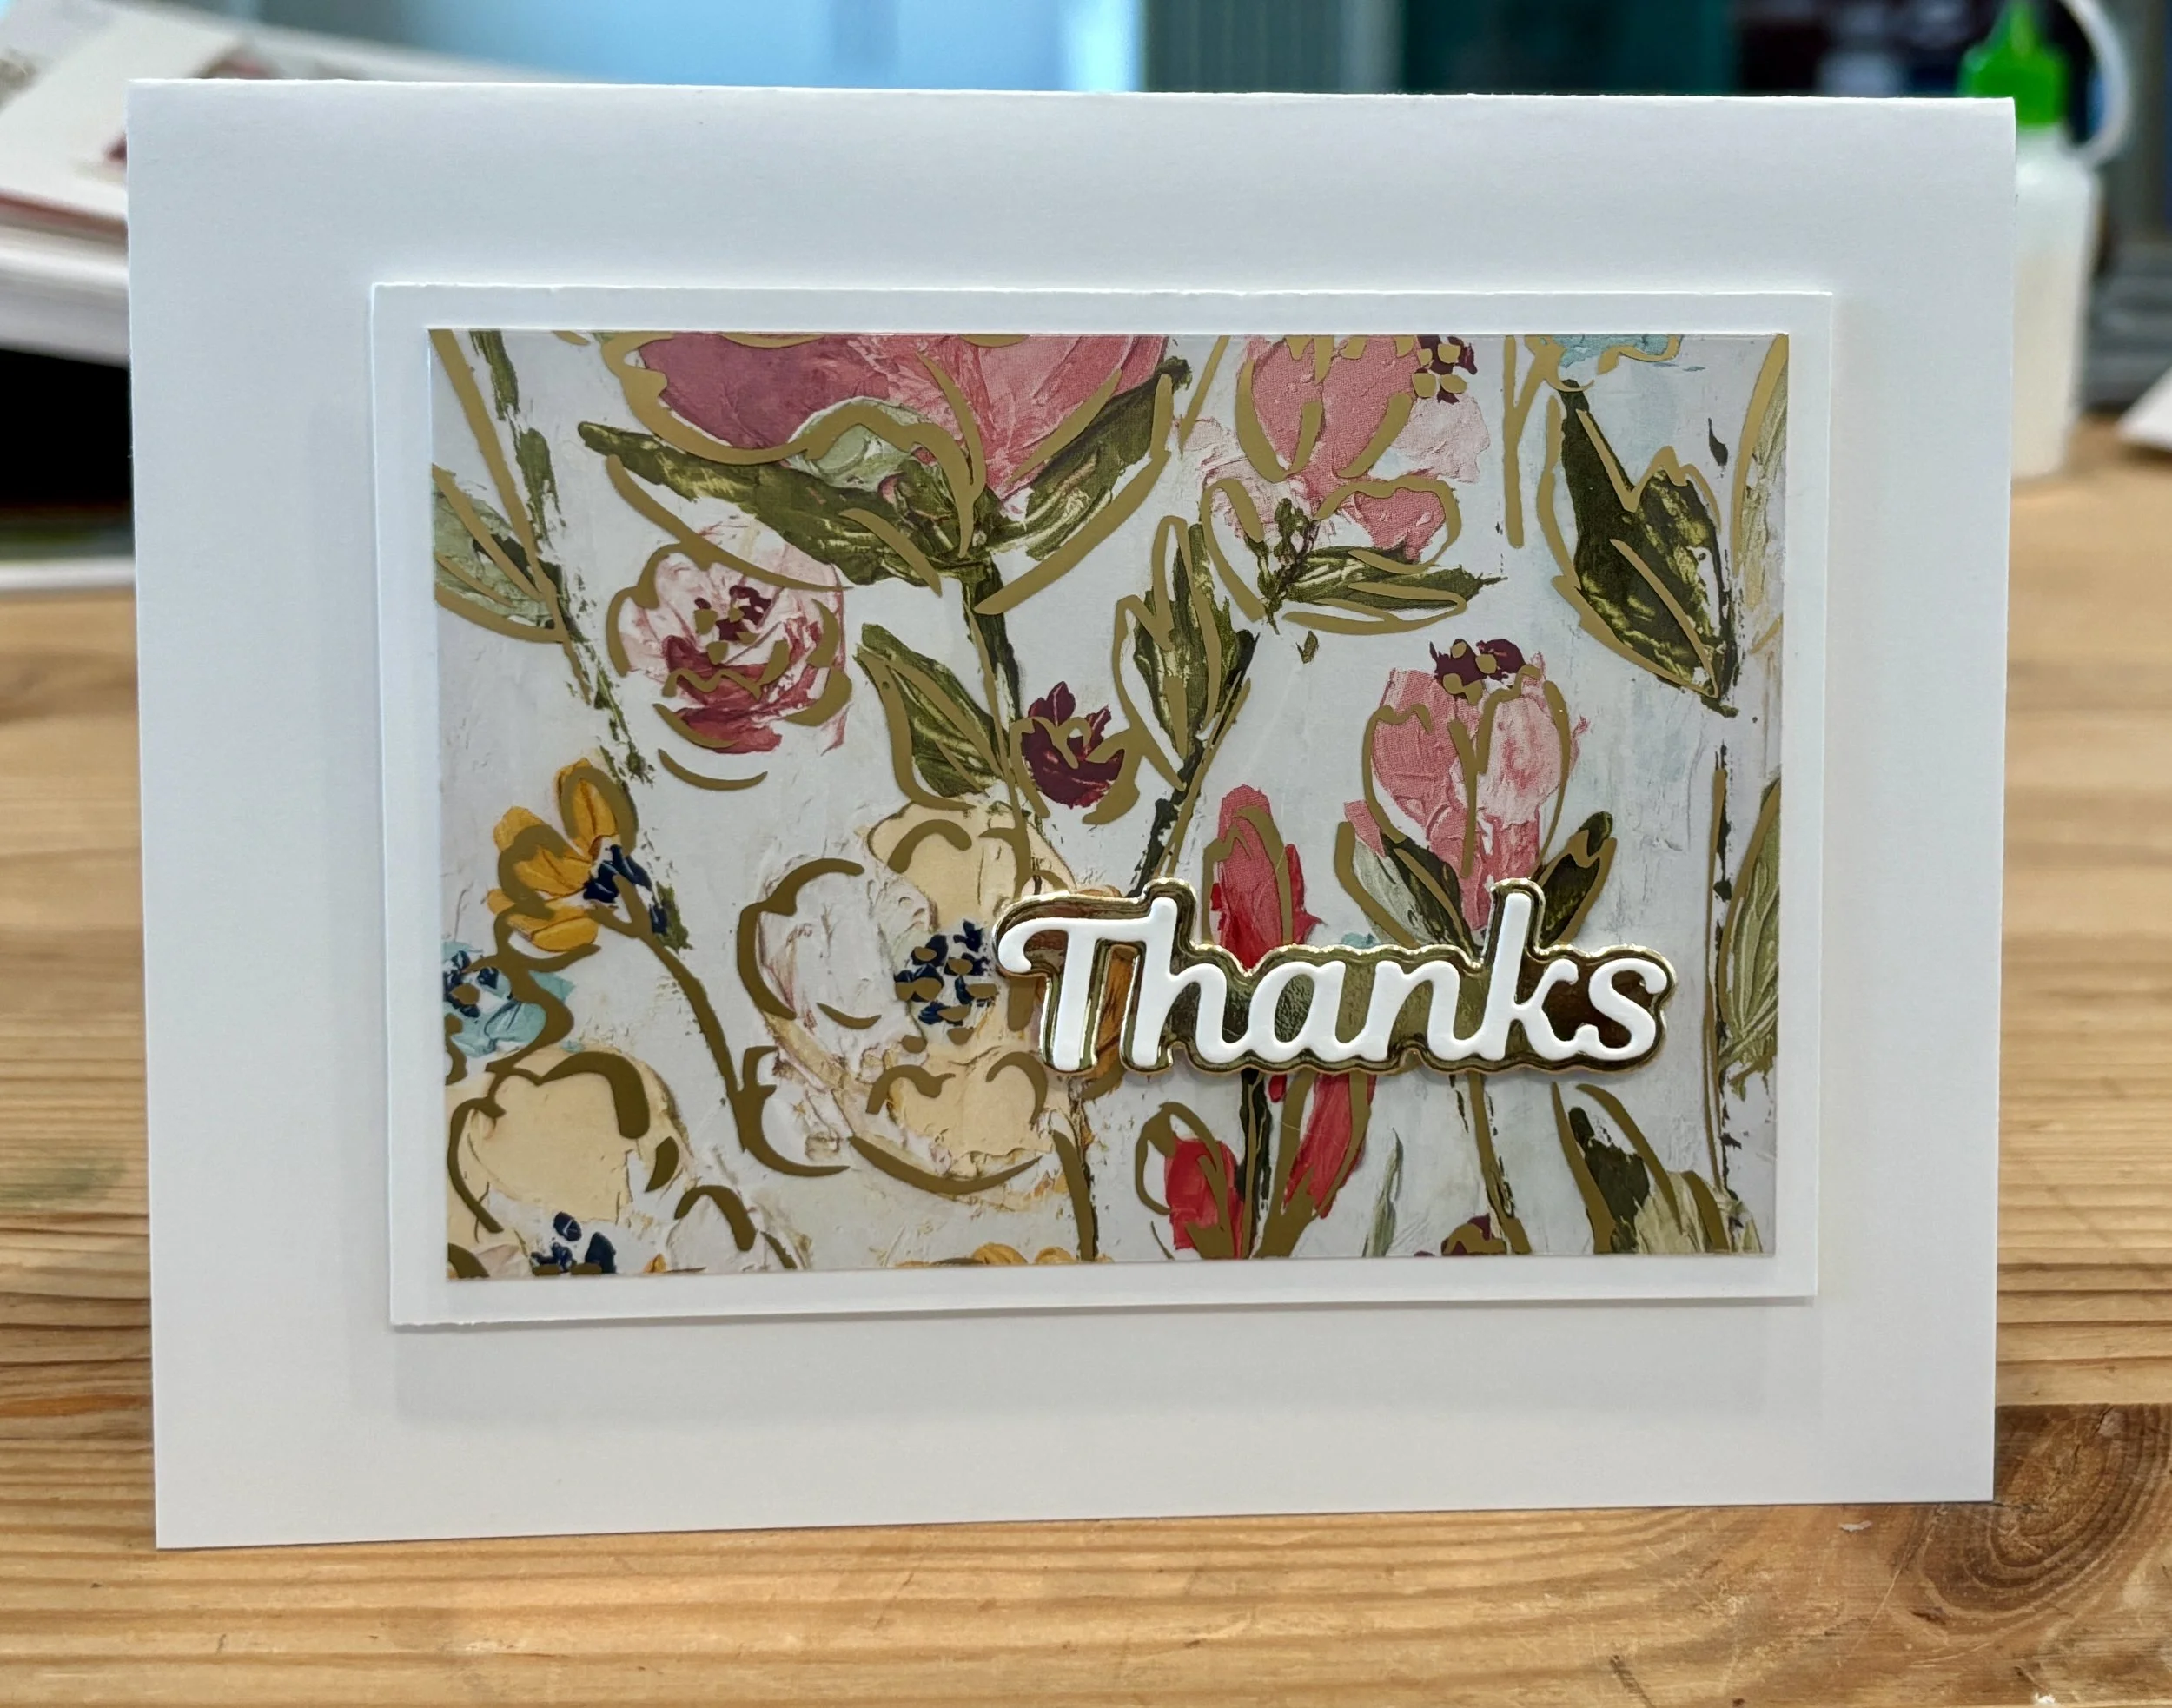
Below is a picture of another card with slightly different paper. It’s same designer paper, it just has a pink background. I believe it is some retired Stampin’ Up paper that had a coordinating acetate overlay with gold accents. But you can substitute whatever paper you like and have on hand. You can easily get over 10 designer paper card fronts out of a single 12”x12” piece of paper.

I hope you’ve enjoyed my simple card. Next week I should have some more A5 scrapbooking to share. Keep it crafty!

Keep it crafty!
25 Days of Christmas Cards - Day 9
Day 9 of the 25 Days of Christmas Cards
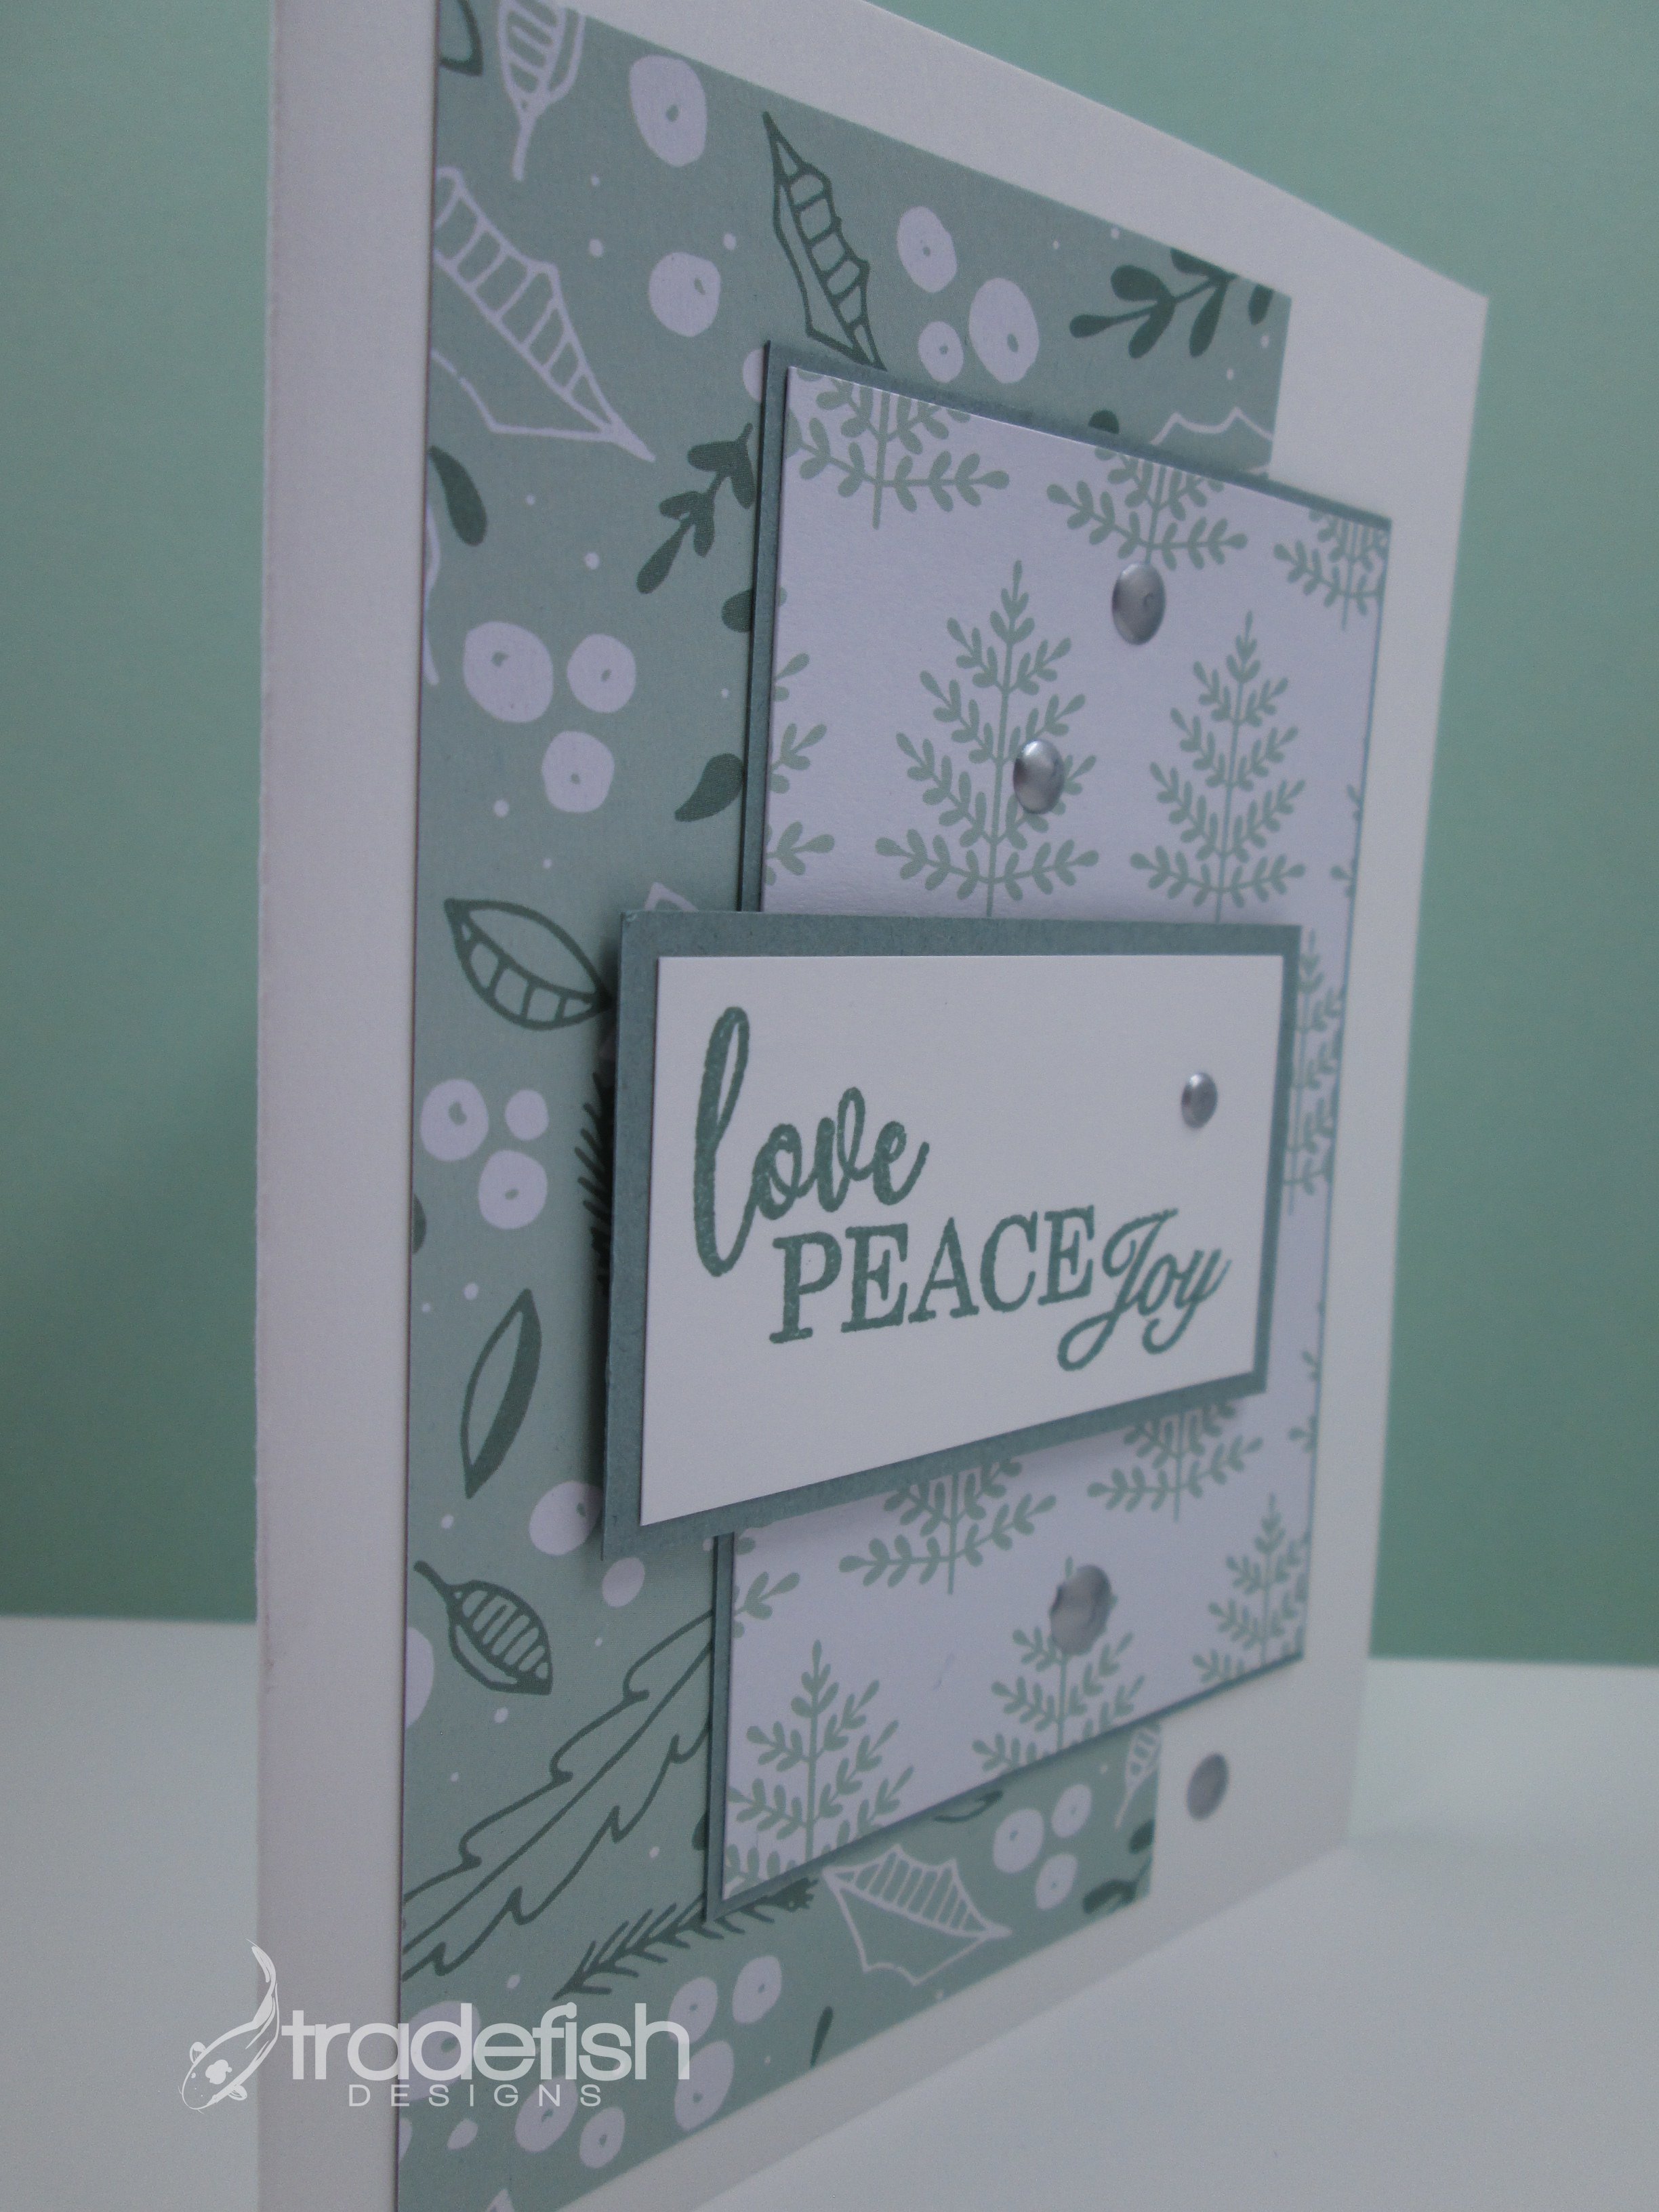
Welcome to Day 9 of the 25 Days of Christmas Cards! Today’s card uses some paper from the Peppermint Paper Pad from Scrapbook.com and some basic paper that coordinates from Stampin’ Up. I added some fun silver drops from Stampin’ Up and this cards was done. A very simple use of some layered rectangles with a sentiment and some drops of silver make this an easy card with dimension but will not add extra postage when it is mailed.


Supplies
Stamps: Misc (Crafter’s Companion)
Ink: Mint Macaron (Stampin’ Up)
Paper: Peppermint (Scrapbook.com), Basic White & Mint Macaron (Stampin’ Up)
Embellishments: Metallic Enamel Effects Basics Silver (Stampin’ Up)

Keep it crafty my friends!
25 Days of Christmas Cards - Day 8
Day 8 of the 25 Days of Christmas Cards
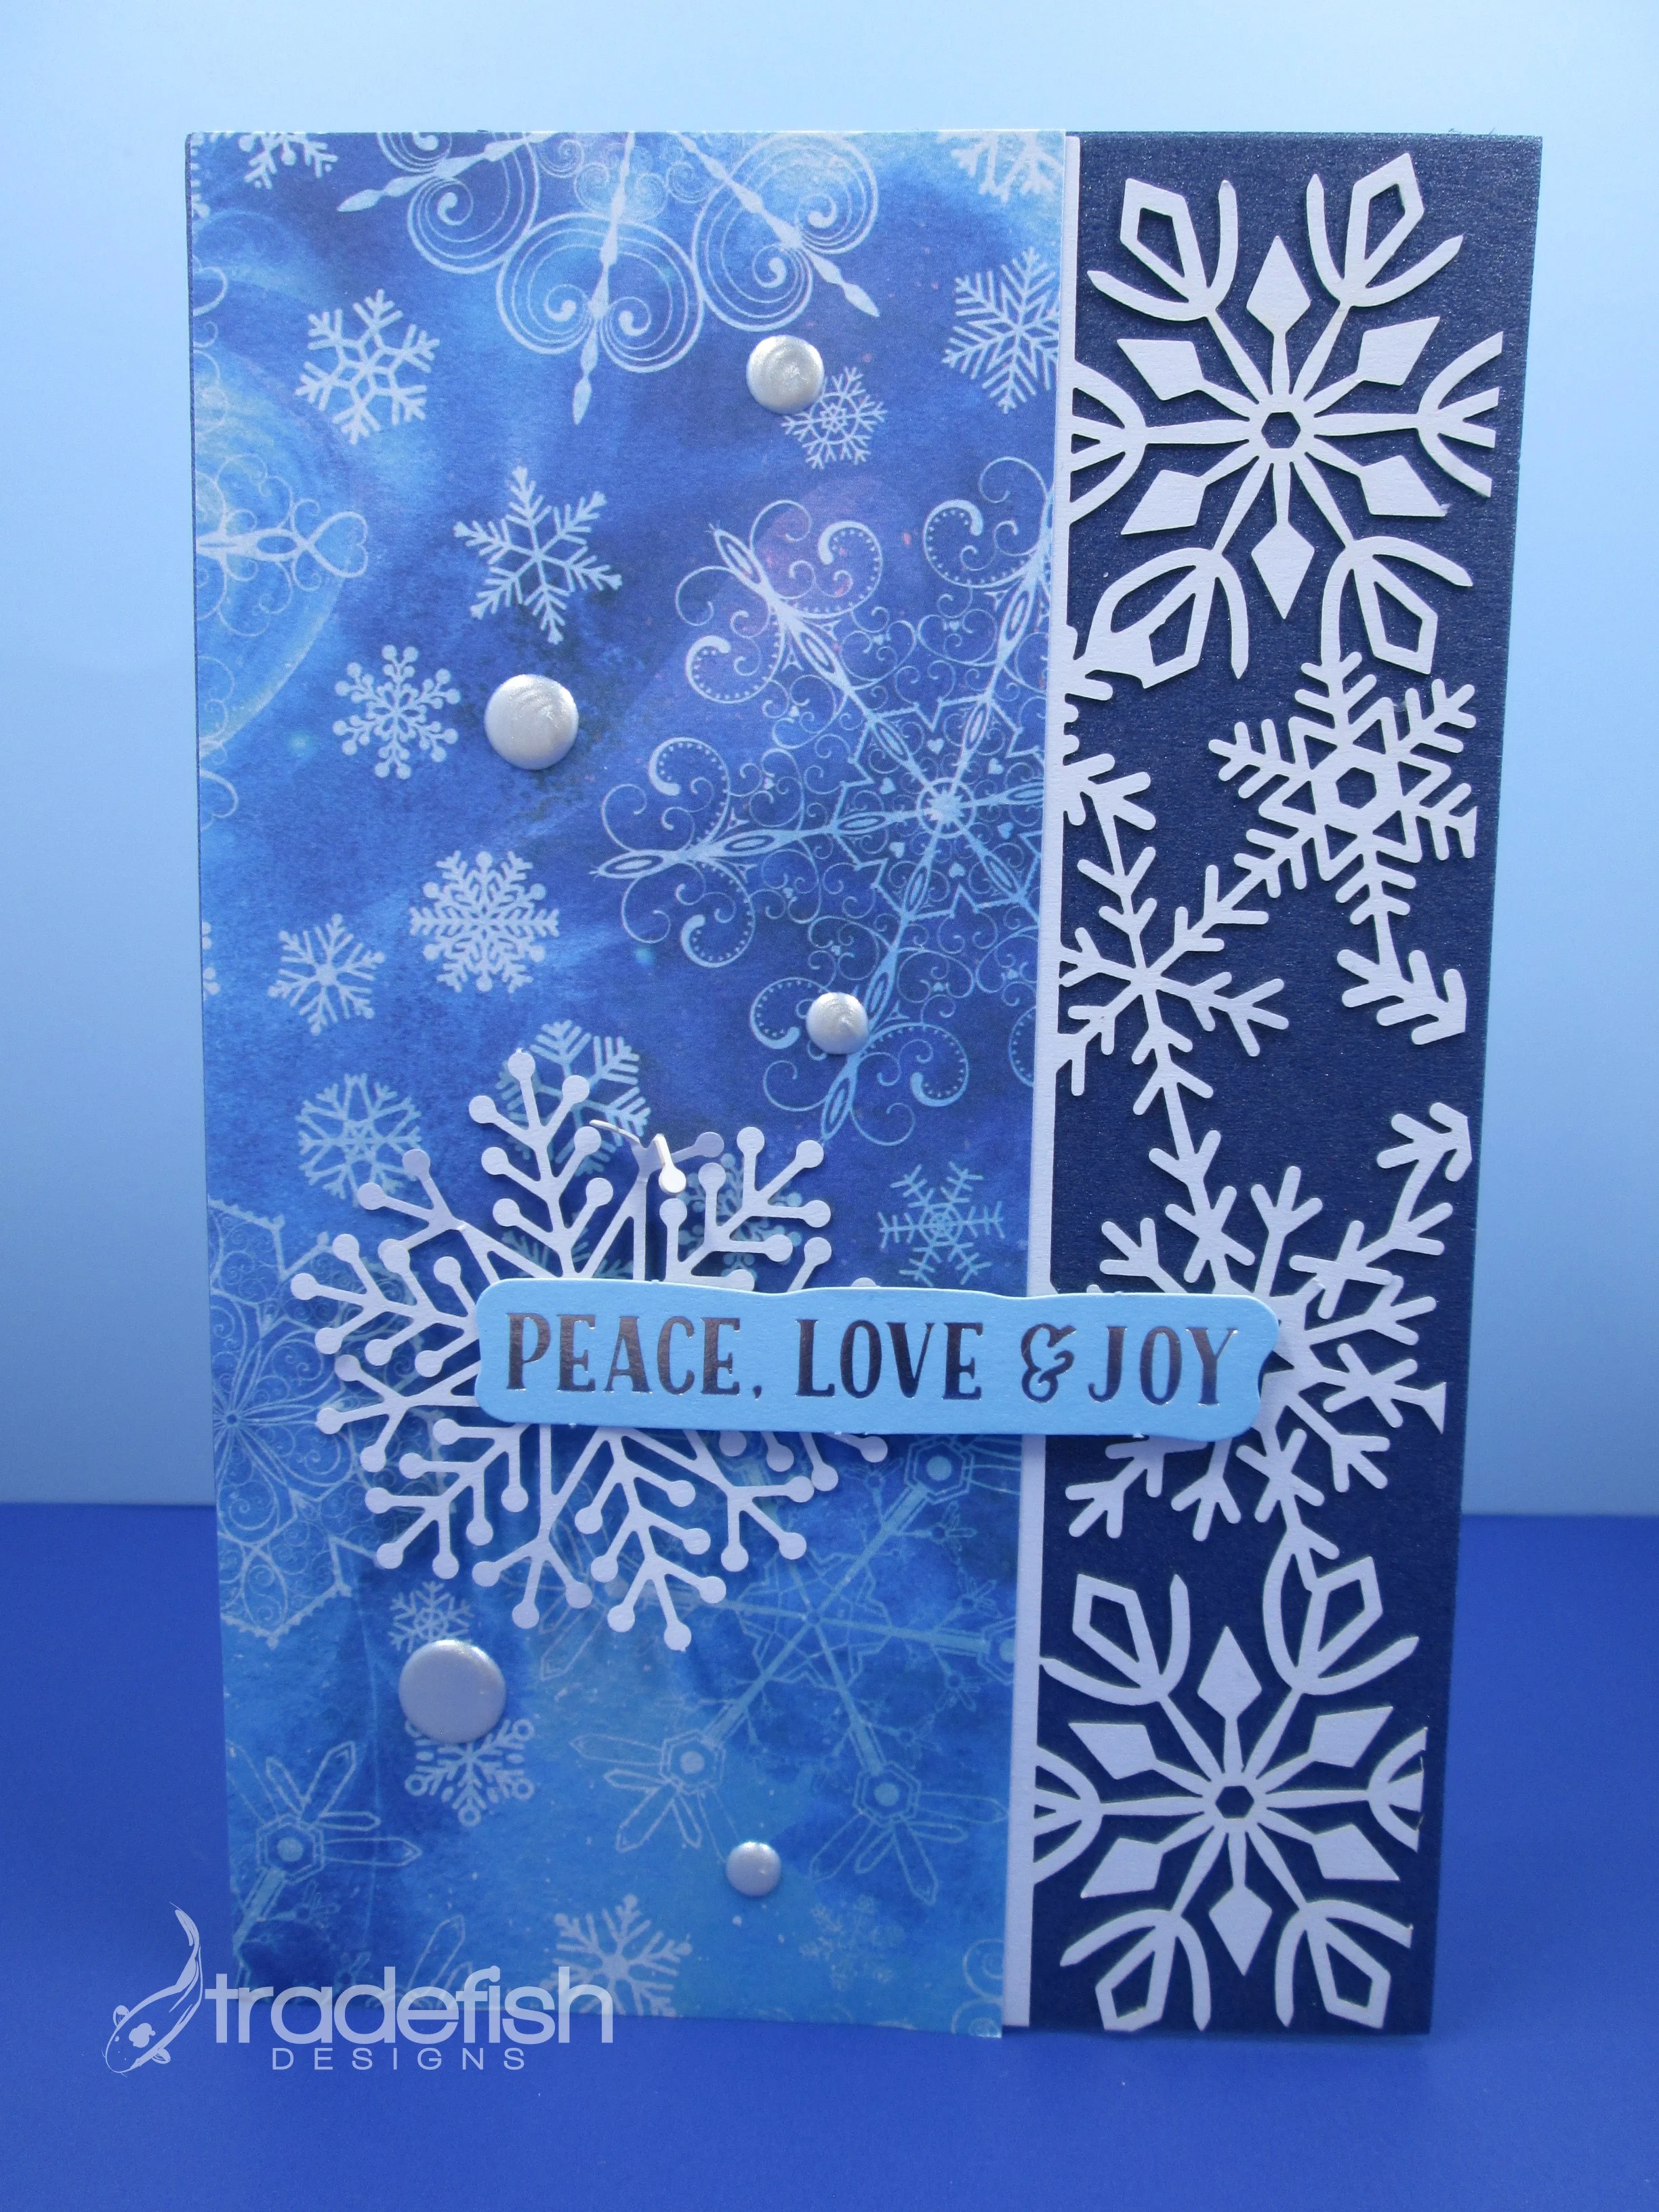
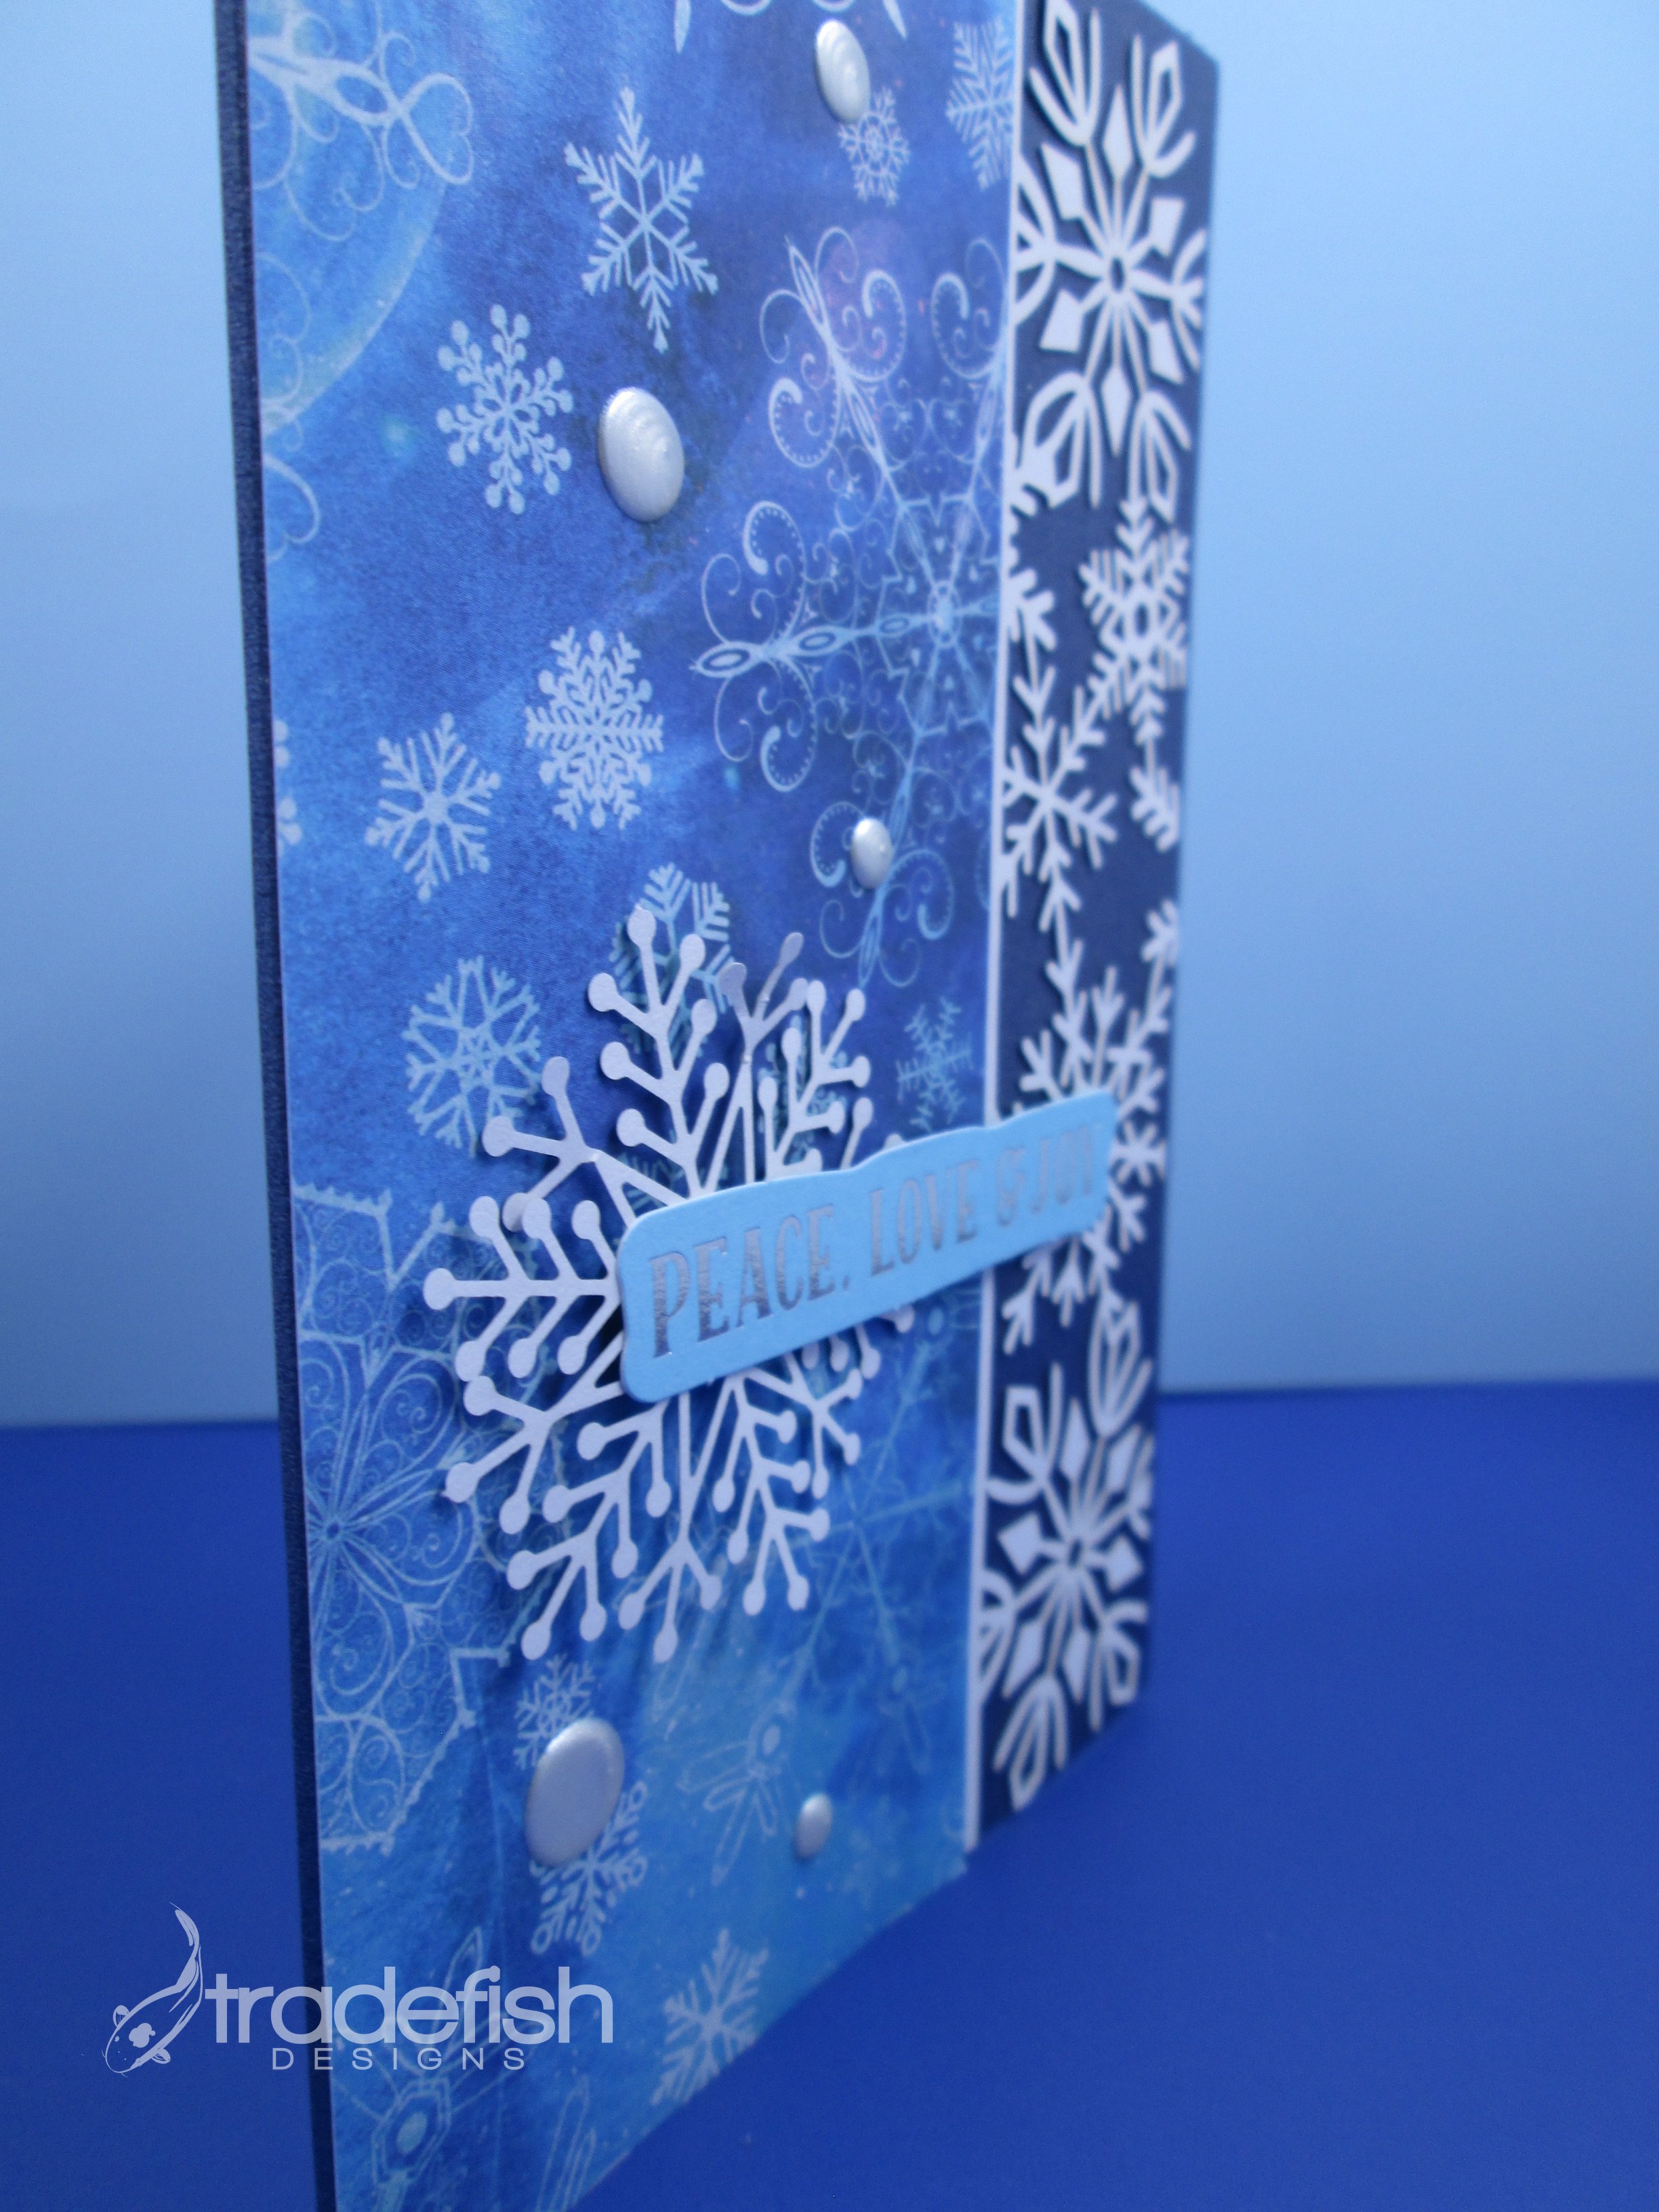
Welcome to Day 8 of the 25 days of Christmas Cards. Today’s card is a celebration of snowflakes. This card uses supplies from Crafter’s Companion Sparkling Winter kit. I get to use some pearlescent cardstock and some precut edgeable snowflakes. I add a little “Pop of Color” with some white satin pearl from Scrapbook.com. Snowflakes are some of my favorite winter shapes to use on my cards. You will see more designs using this kit later this this month.

Supplies
Paper: Crafter’s Companion (Sparkling Winter Kit)
Embellishments: Scrapbook.com (Pops of Color - Pearl Satin)

Keep it crafty my friends!
25 Days of Christmas Cards - Day 7
25 Days of Christmas Cards - Day 7
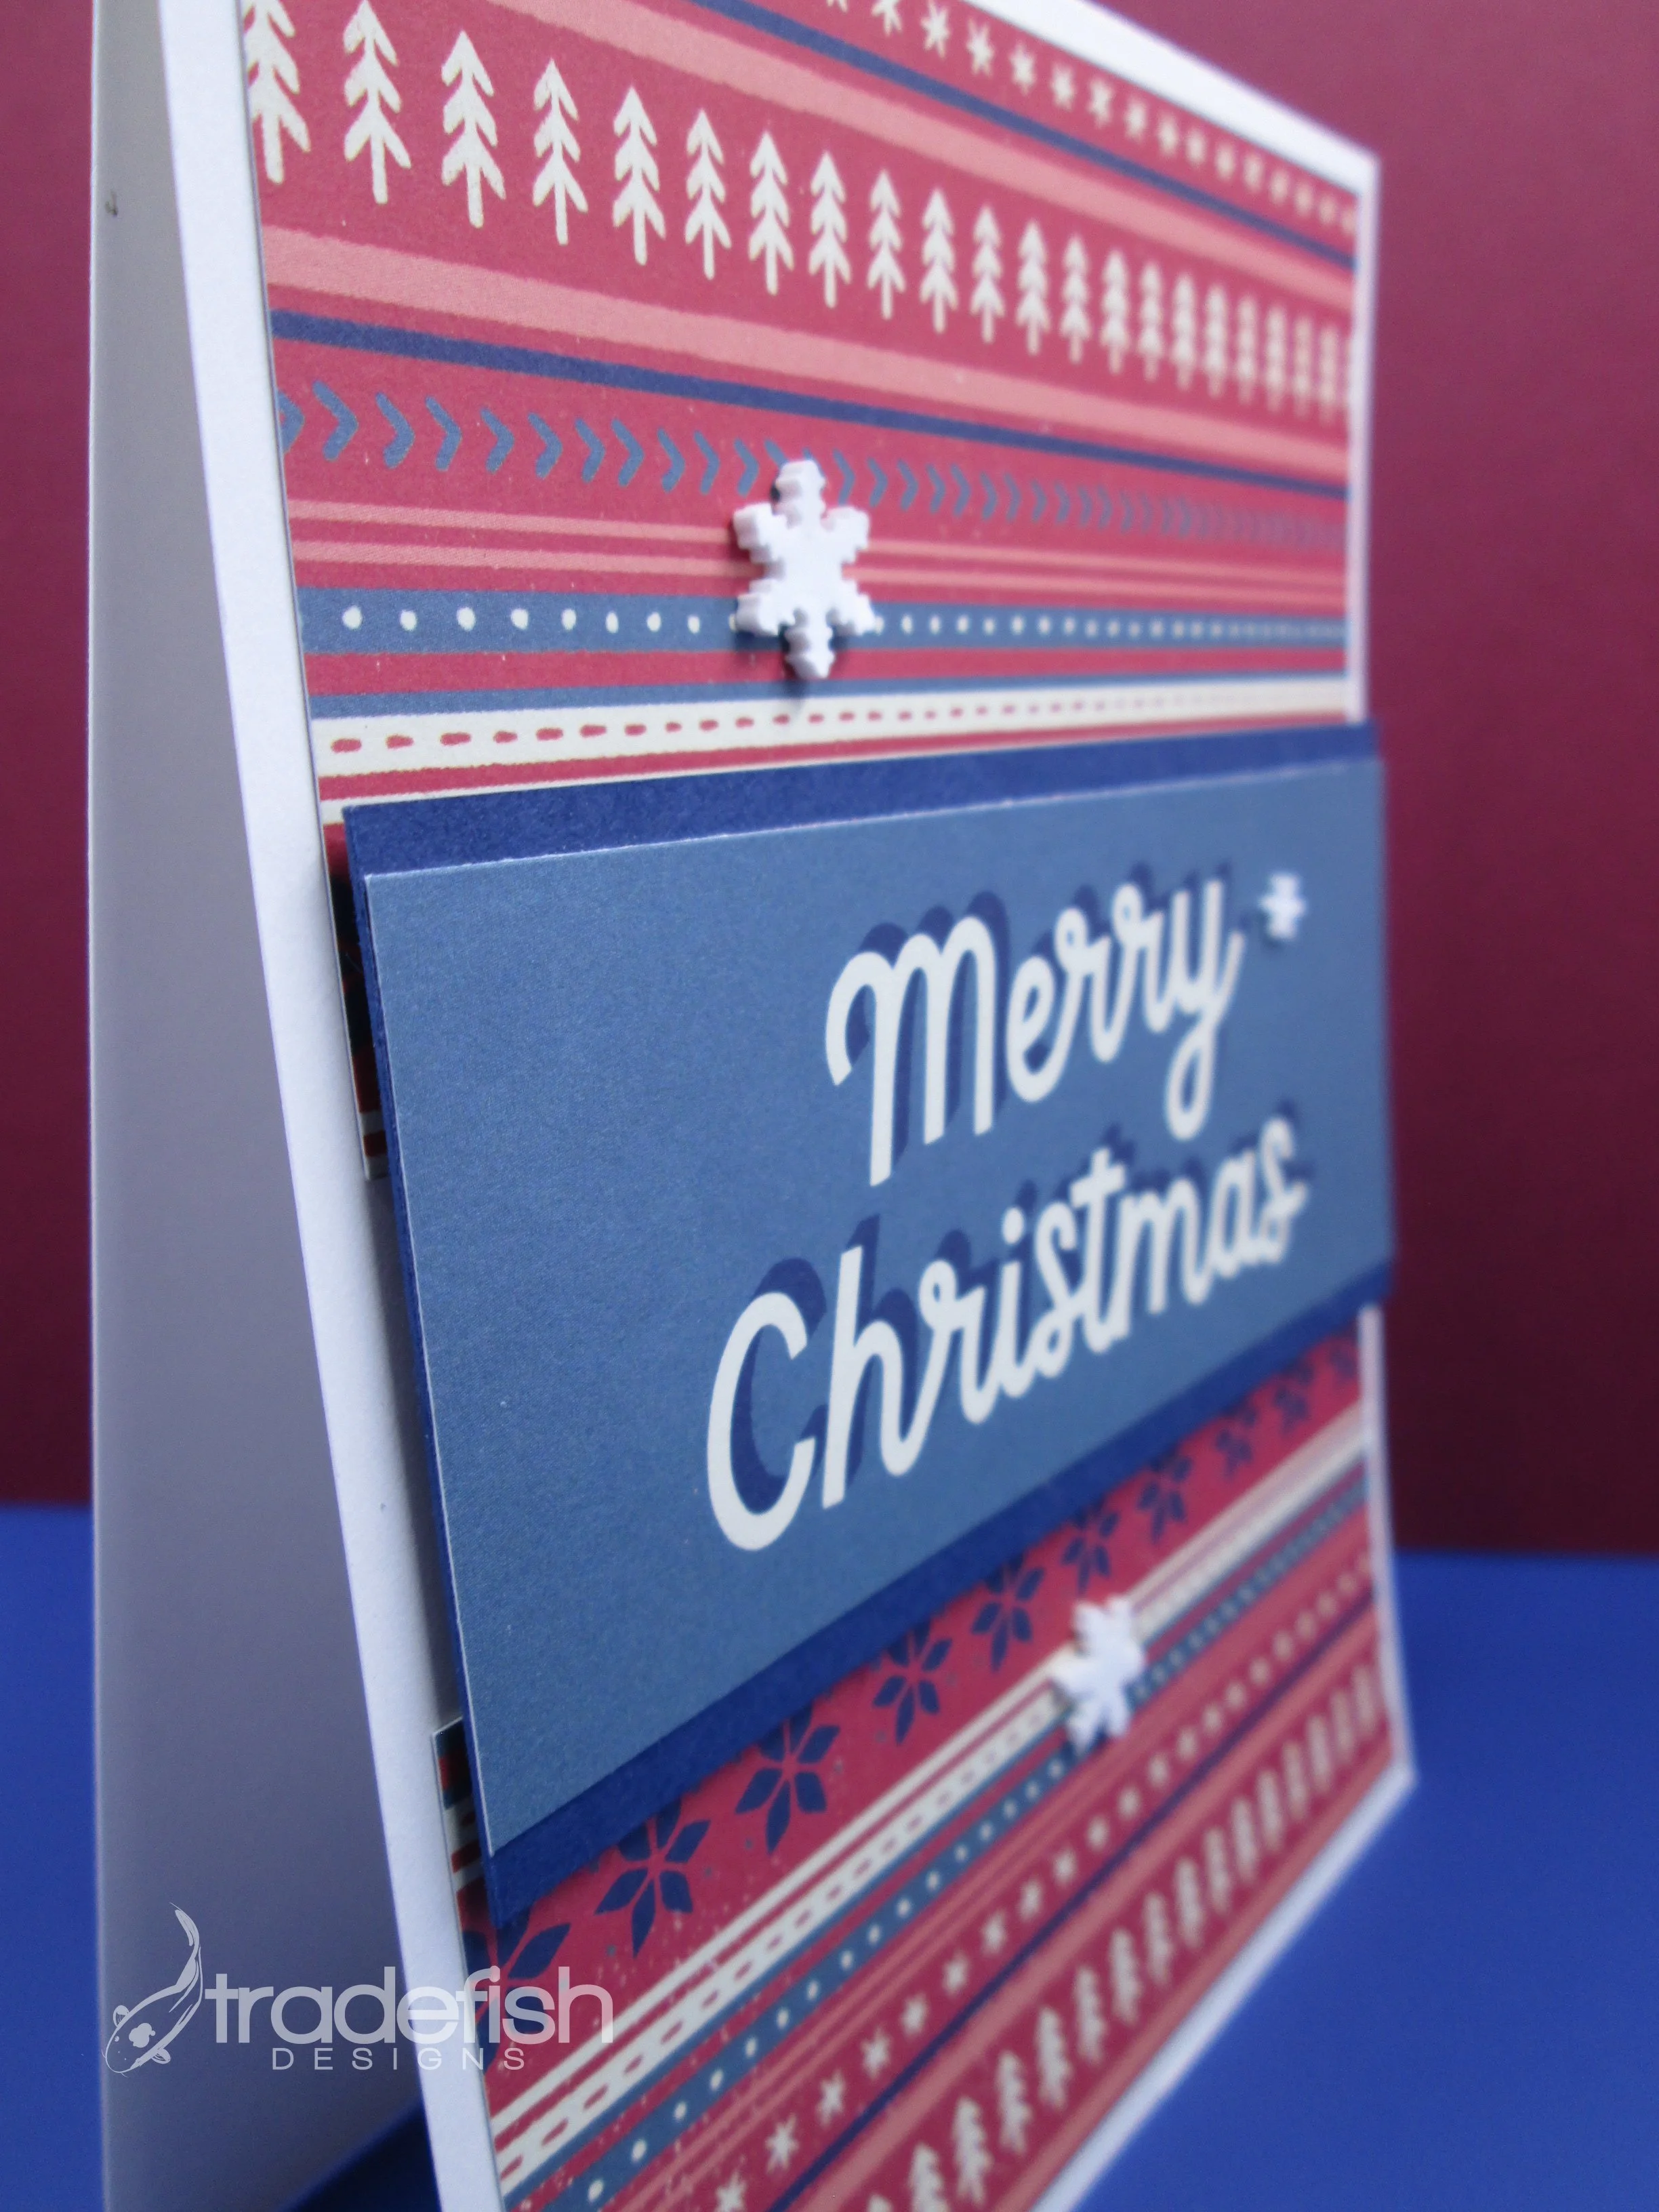
Welcome to Day 7 of the 25 days of Christmas Cards. Today’s card takes advantage of a Memories & More kit from Stampin’ Up. I added some of my favorite embellishments from Tailored Expressions…snowflakes. I hope you enjoy!

Supplies
Paper: Stampin’ Up (Memories & More)(Basic White & Night of Navy)
Embellishments: Tailored Expressions (Snowflakes)

25 Days of Christmas Cards - Day 5
25 Days of Christmas Cards - Day 5
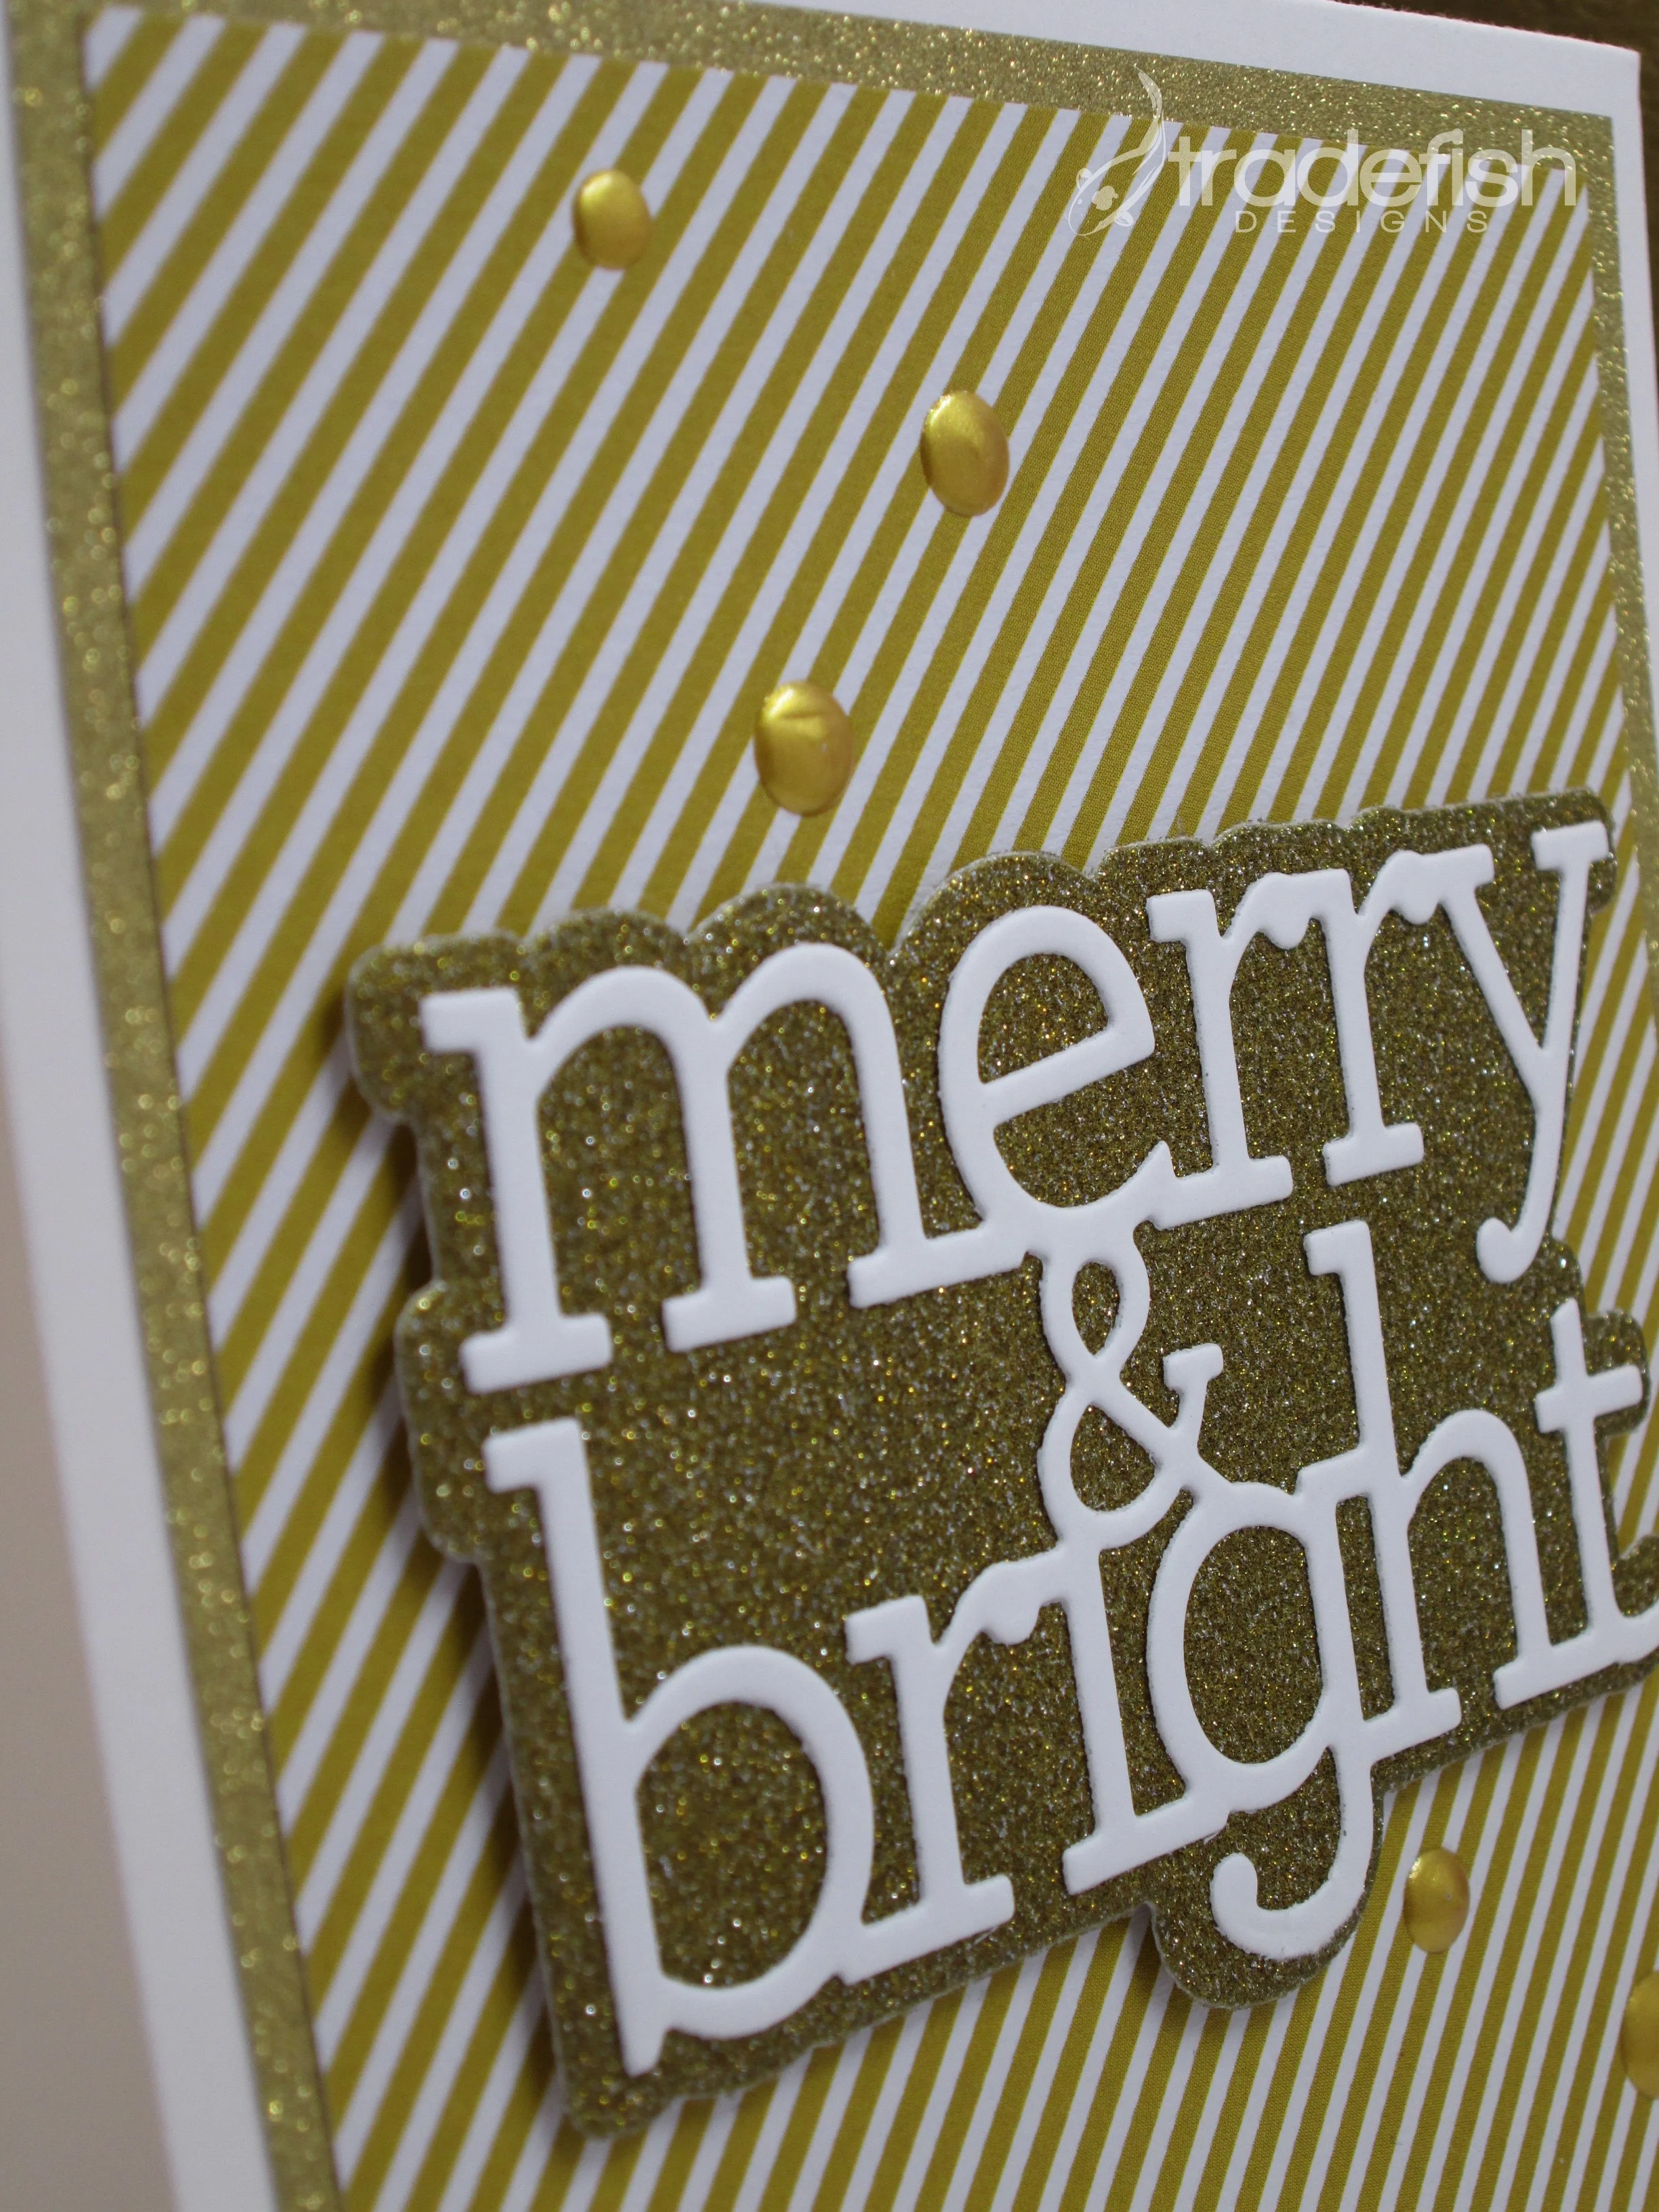
Welcome to Day 5 of the 25 days of Christmas Cards. Today’s card is sparkly but also clean and simple. I used some glitter paper I had from Crafter’s Companion and paired it with some miscellaneous gold striped paper to form a bright and cheery base. Then I added CZ Designs Merry & Brights sentiment in white cardstock and used more gold glitter paper for the shadow layer. To finish it off I created some dimension using Stampin’s Up’s Metallic Enamel Effects Basics in gold. I hope you enjoy it!


Supplies
Paper: Crafter’s Companion (gold glitter), Stampin’ Up (white), Misc. (striped)
Dies: CZ Designs (Merry & Bright)
Embellishments: Stampin’ Up (Metallic Enamel Effects Basics - Gold)

Keep it crafty my friends!

More Magical Cards
Close to My Heart More Magical Cards
The More Magical Workshop includes the instructions and supplies for creating 8 cards (2 different designs). I had a blast working on it and took pictures for you of the process.

Here’s what the instruction look like - everything you need to put these adorable cards together!

The Workshop Kit comes with the cards, envelopes, paper, stamps and embellishments to create the 8 cards.


The stamp set has some great quotes by Walt Disney.

I worked assembly-line style for this card.


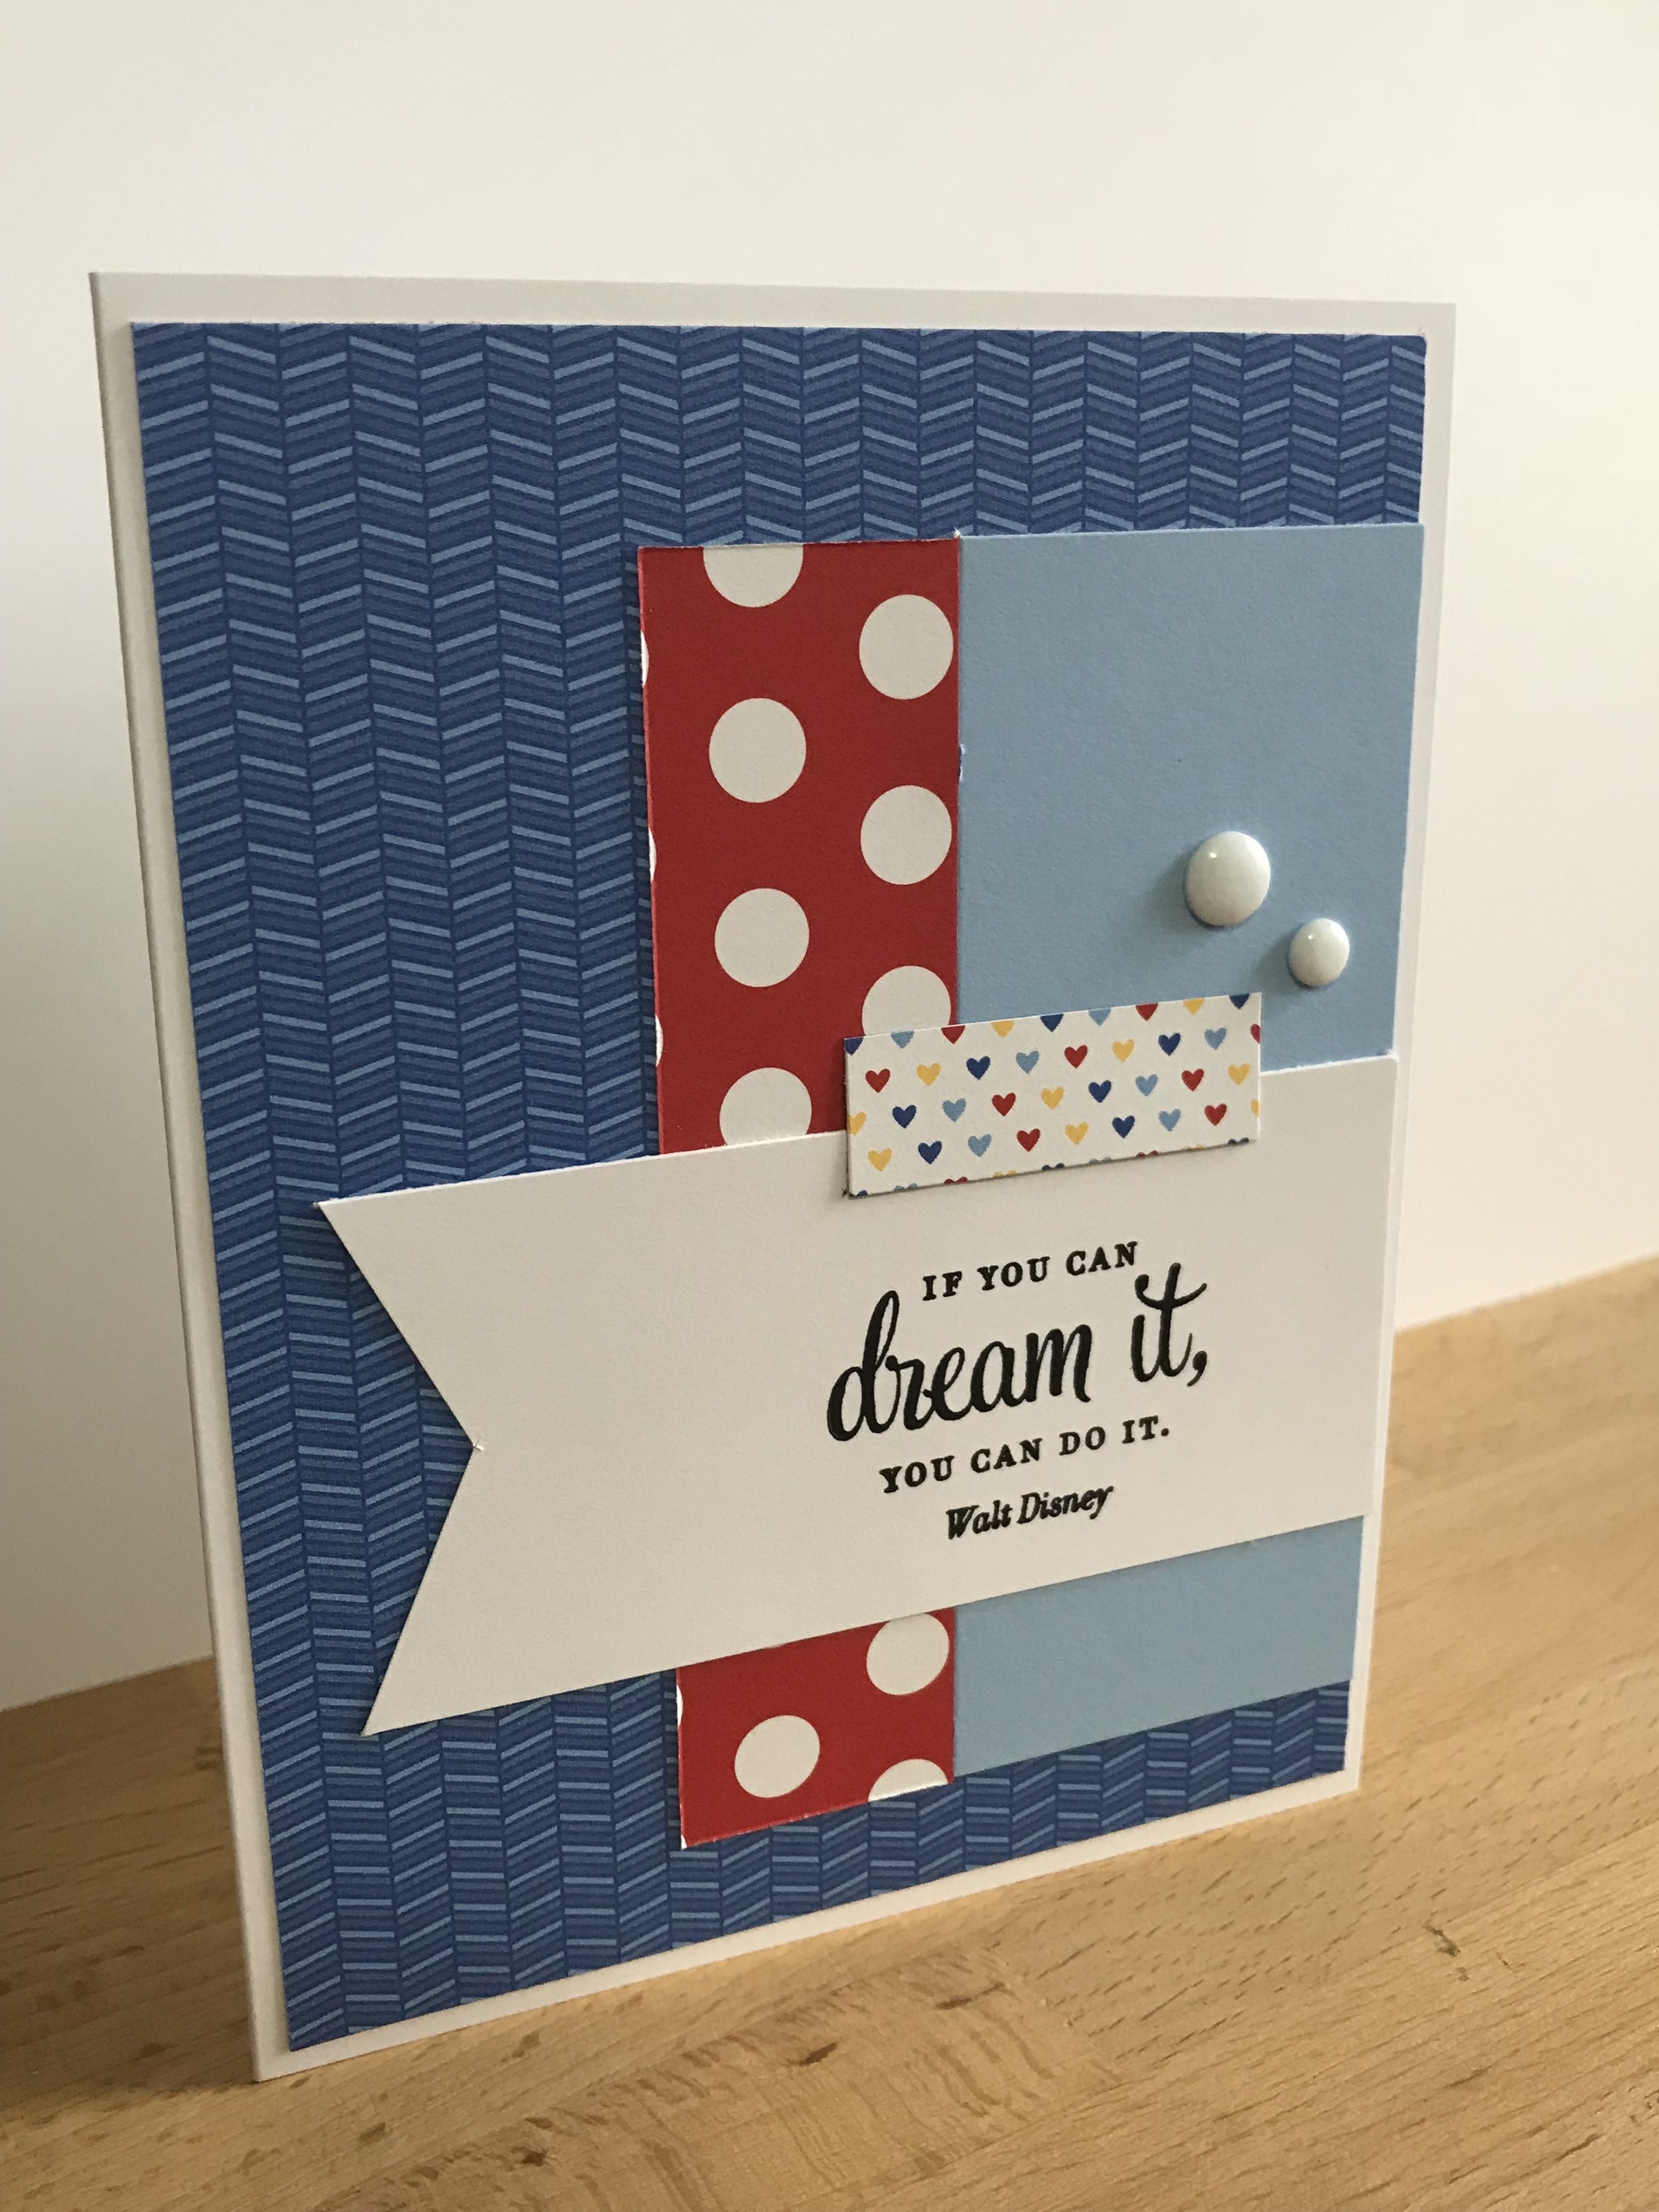
Here’s first card design done!

This is what happens when I “freelance” and use the opposite side of the paper to give the card a different look.

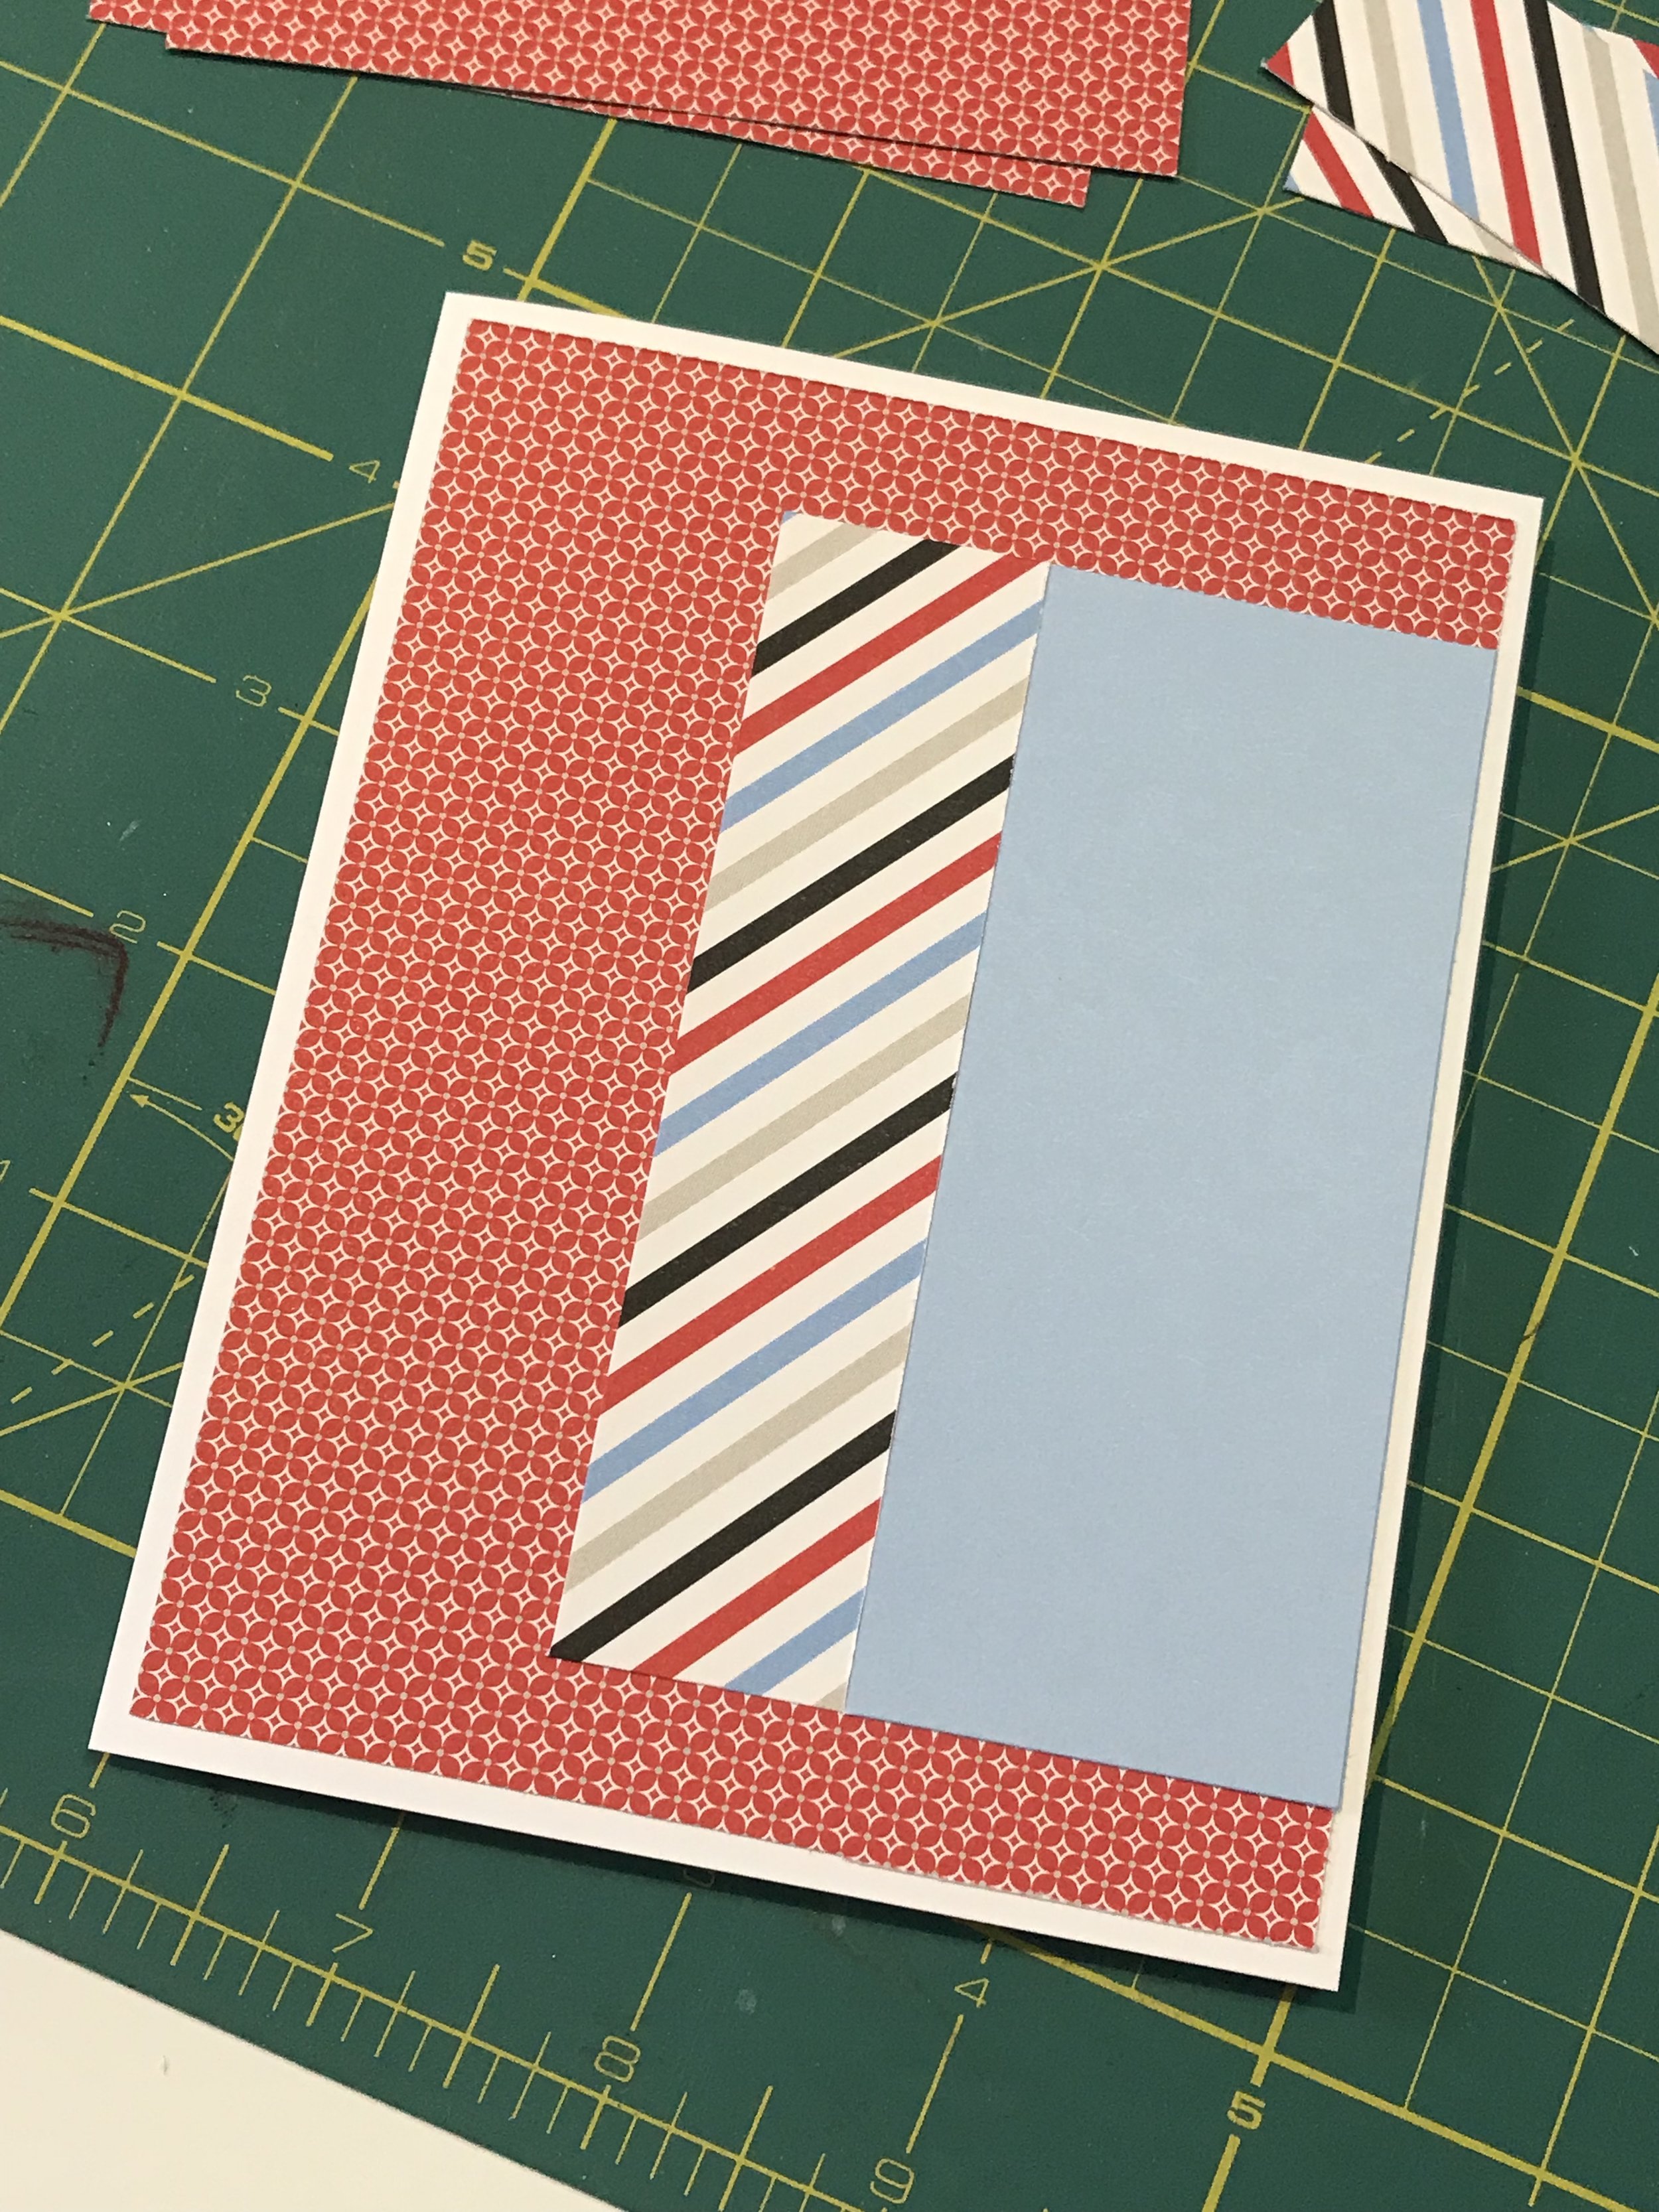
Here are the components for the second card design.

More stamping in the second card design.


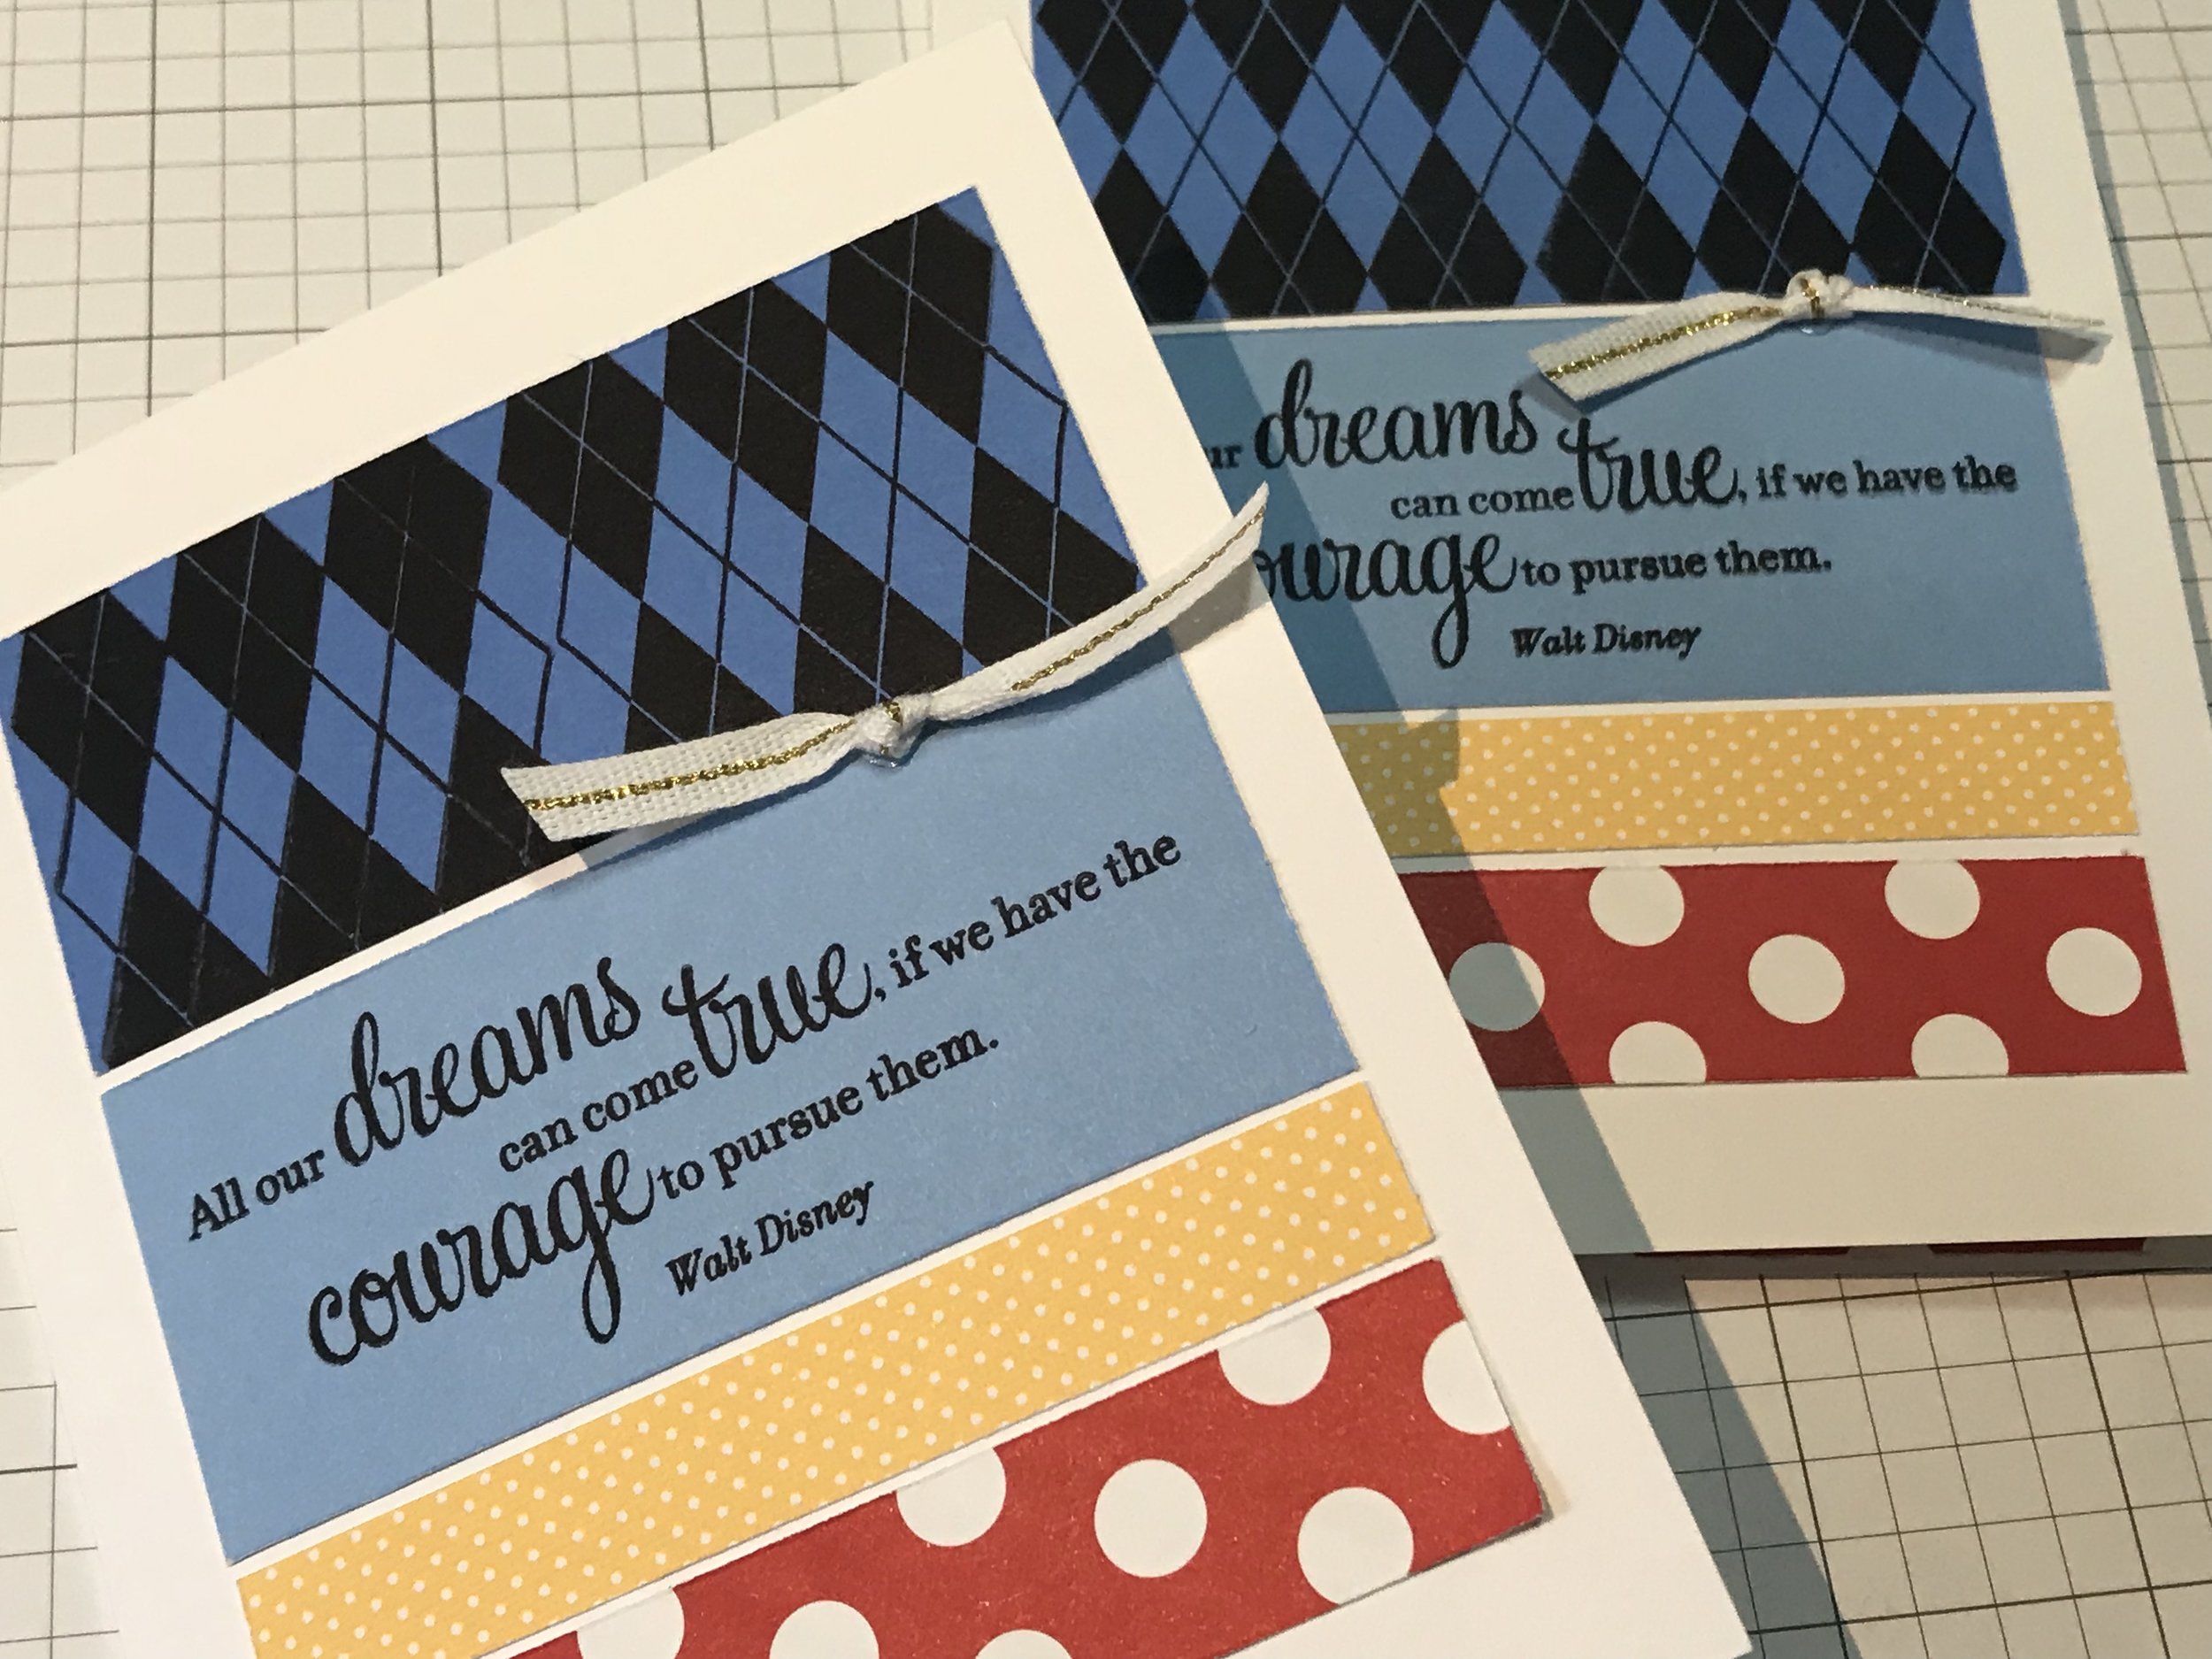
The final product!

I hope you enjoyed all the photos. If you want to purchase the supplies check out the link below and it can be all yours!
Happy crafting!
