Starting off the new year by making some changes!
Hello Friends!
2019 is going to be a year for change. I’m making some changes in my crafting life. I’ve stopped being a consultant for Close to My Heart. They are a wonderful company but I just started feeling overwhelmed by all the products and collecting. I am tired of products “expiring” before I had a chance to promote them. I was paying at least $300 per quarter to maintain the relationship and finding I was way to busy with life to use all the things I was buying. I also have so many stamp sets that I can’t possibly add more. I am moving in a different direction. I’m getting back to the basics…what got me into this crafting journey in the first place…scrapbooking. I will be selling off or donating a ridiculous amount of tools, paper, stamps, etc. to lighten my load in 2019. I encourage all of you to watch the YouTube video below. Lindsay, also known as the Frugal Crafter, is a mainstay in the crafting world for me and she totally captured how I was feeling.
I have many new goals in the new year and one is capturing more of my life in photos (with me in the photos!) and turning them into fun scrapbook pages. I’ll still make the homemade birthday and holiday cards but my focus is going to shift back to my original crafting heart. I hope you will enjoy my new journey here at Tradefish Designs. To all of you out there, have a wonderful new year and make it full of whatever brings you joy!
Thanksgiving Place Cards
Hello Everyone,
We hosted Thanksgiving dinner this year and I wanted to share a crafty project I made for the table. I used scraps of this and that plus my Cricut Maker to create some fun place cards for the table.

I pulled up my Cricut Design Space and searched for a place card I liked for a Fall look. I found a design that I liked but it was a napkin holder. I decided to convert the design and just use the toppers…with some modifications.

For a place card I need names of my guests. I don’t like my handwriting enough to personally write the names so I used my Cut & Write function on my Cricut Maker to make pennants/flags. I popped in my Cricut black pen and the machine used the pen and wrote out the names and then cut the shapes out. Love this feature!

Now I have compiled my pieces. I have the base and a leaf variety plus some color coordinated buttons. The base is two layers. I forgot to capture it on camera. I just glued them together and cut out three different leaves with different colors.
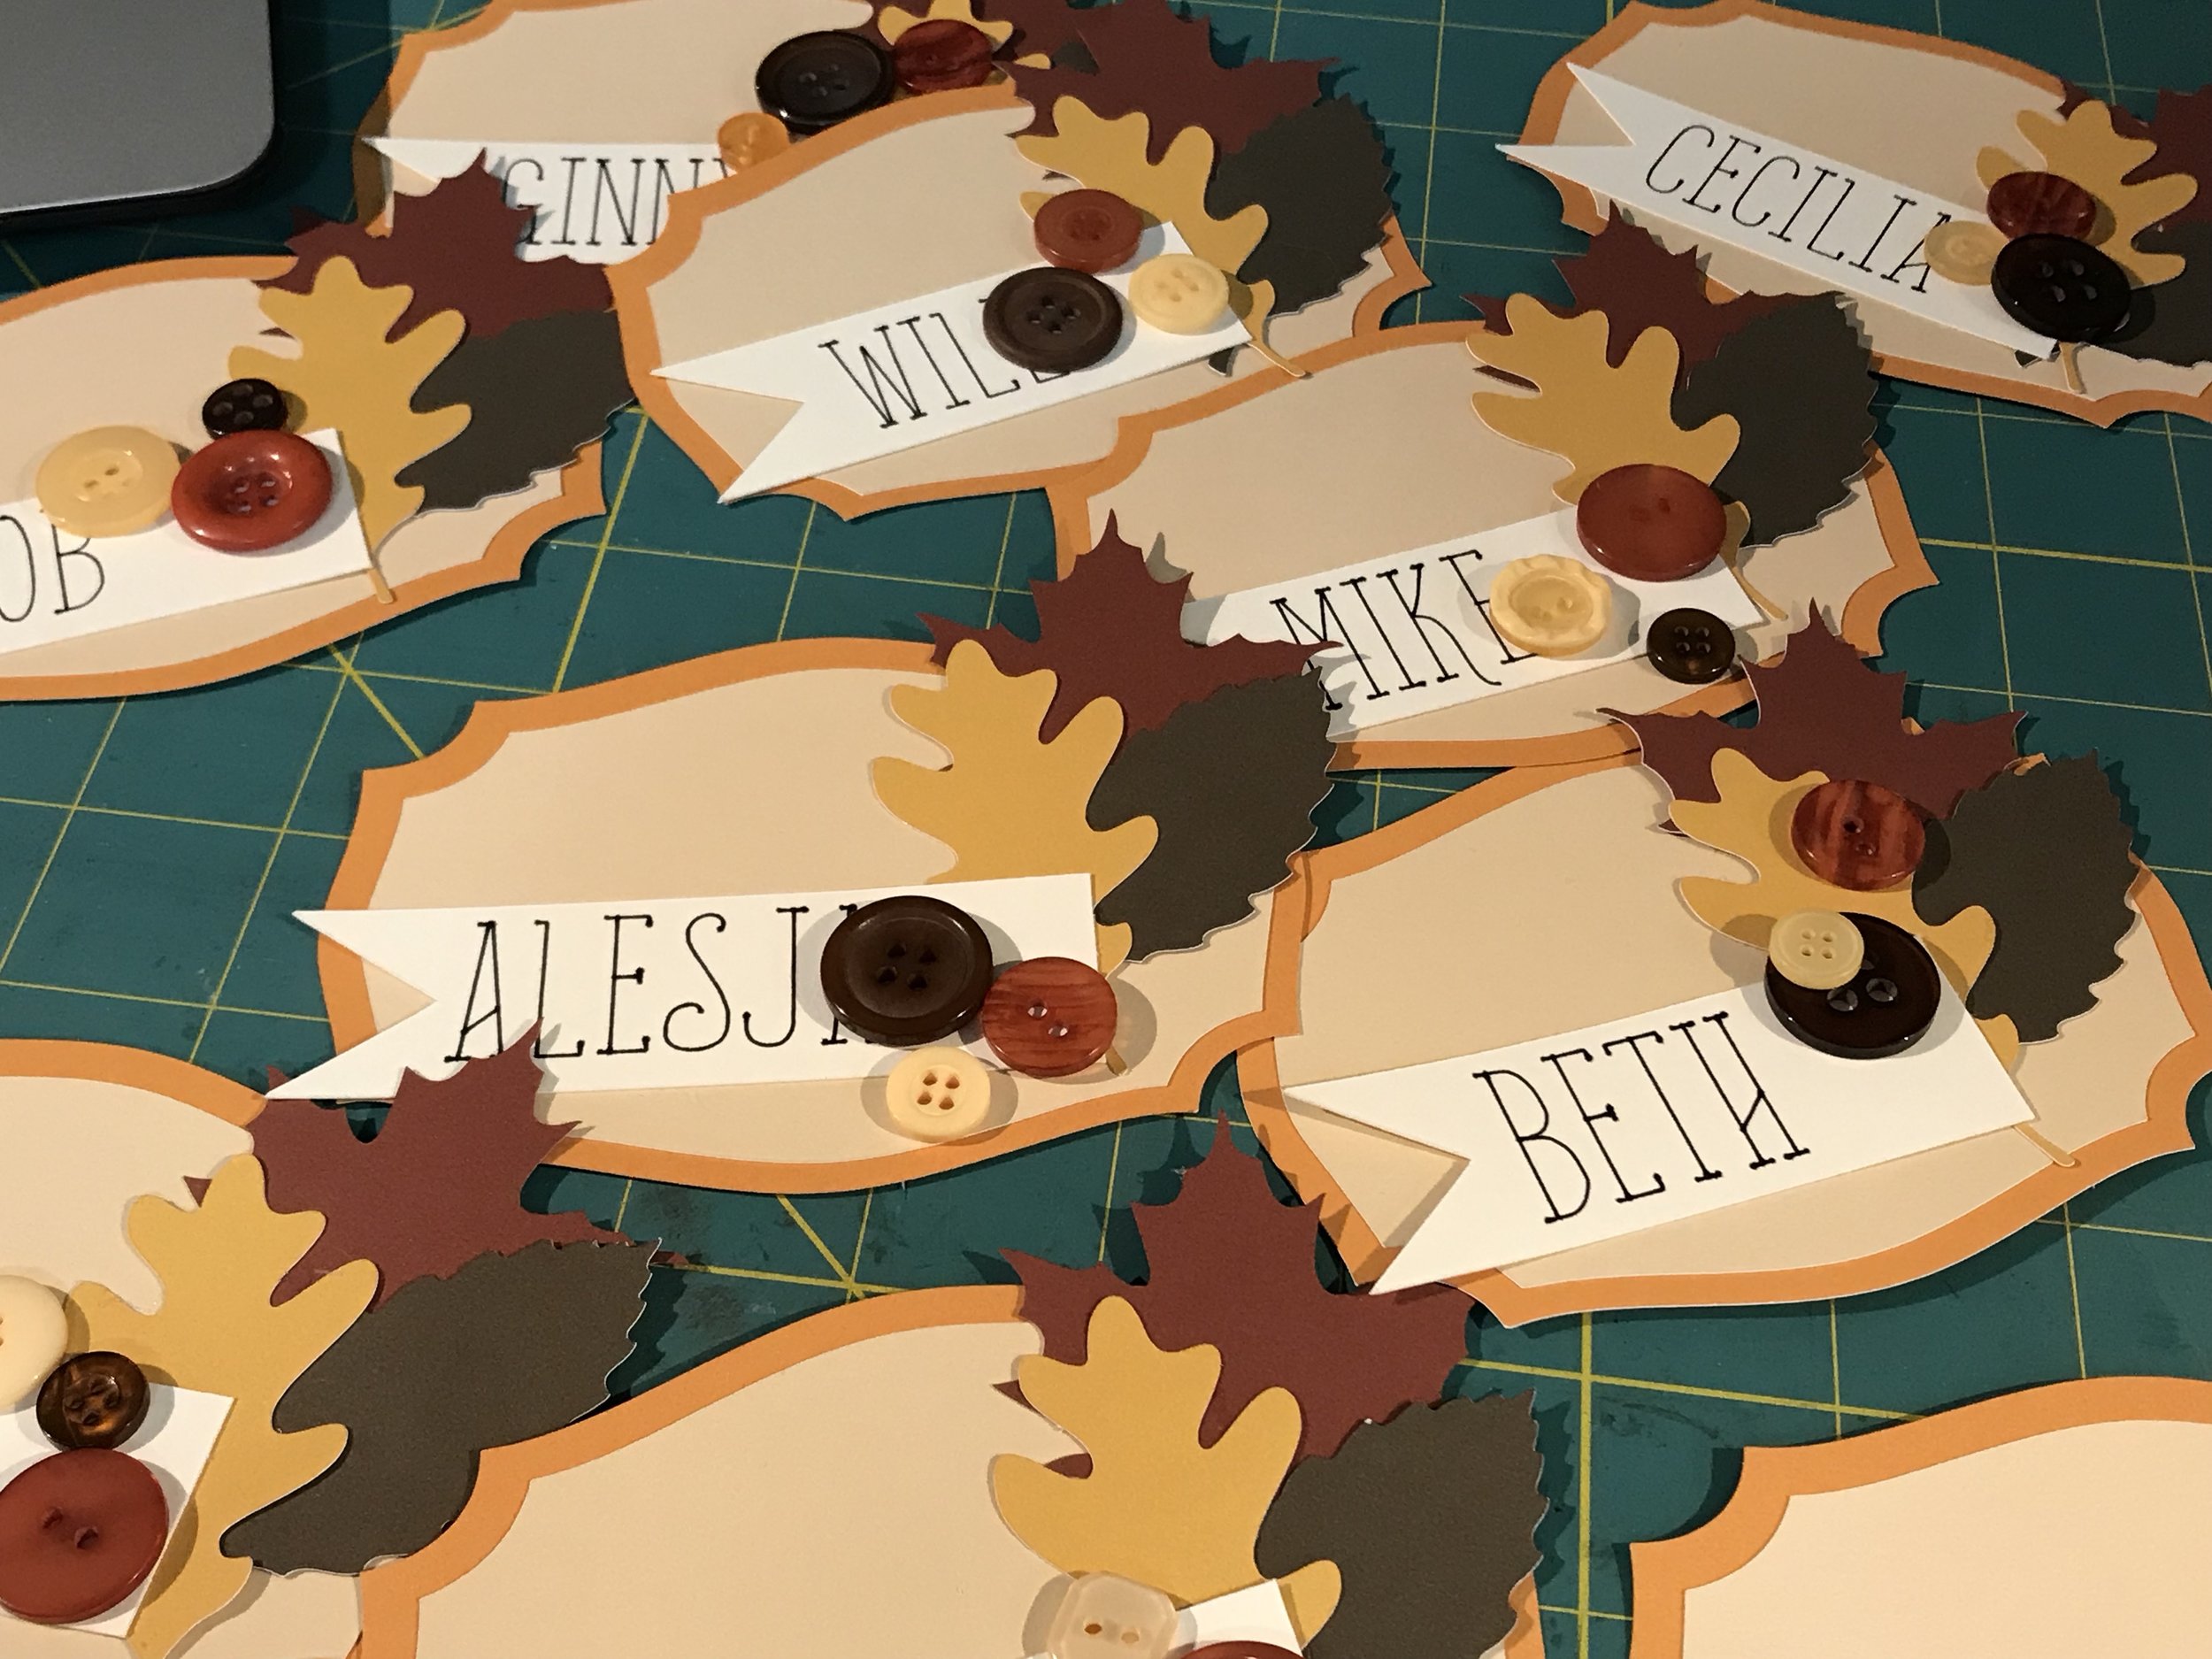
I grabbed some buttons from my stash and started arranging everything the way I liked and started gluing.
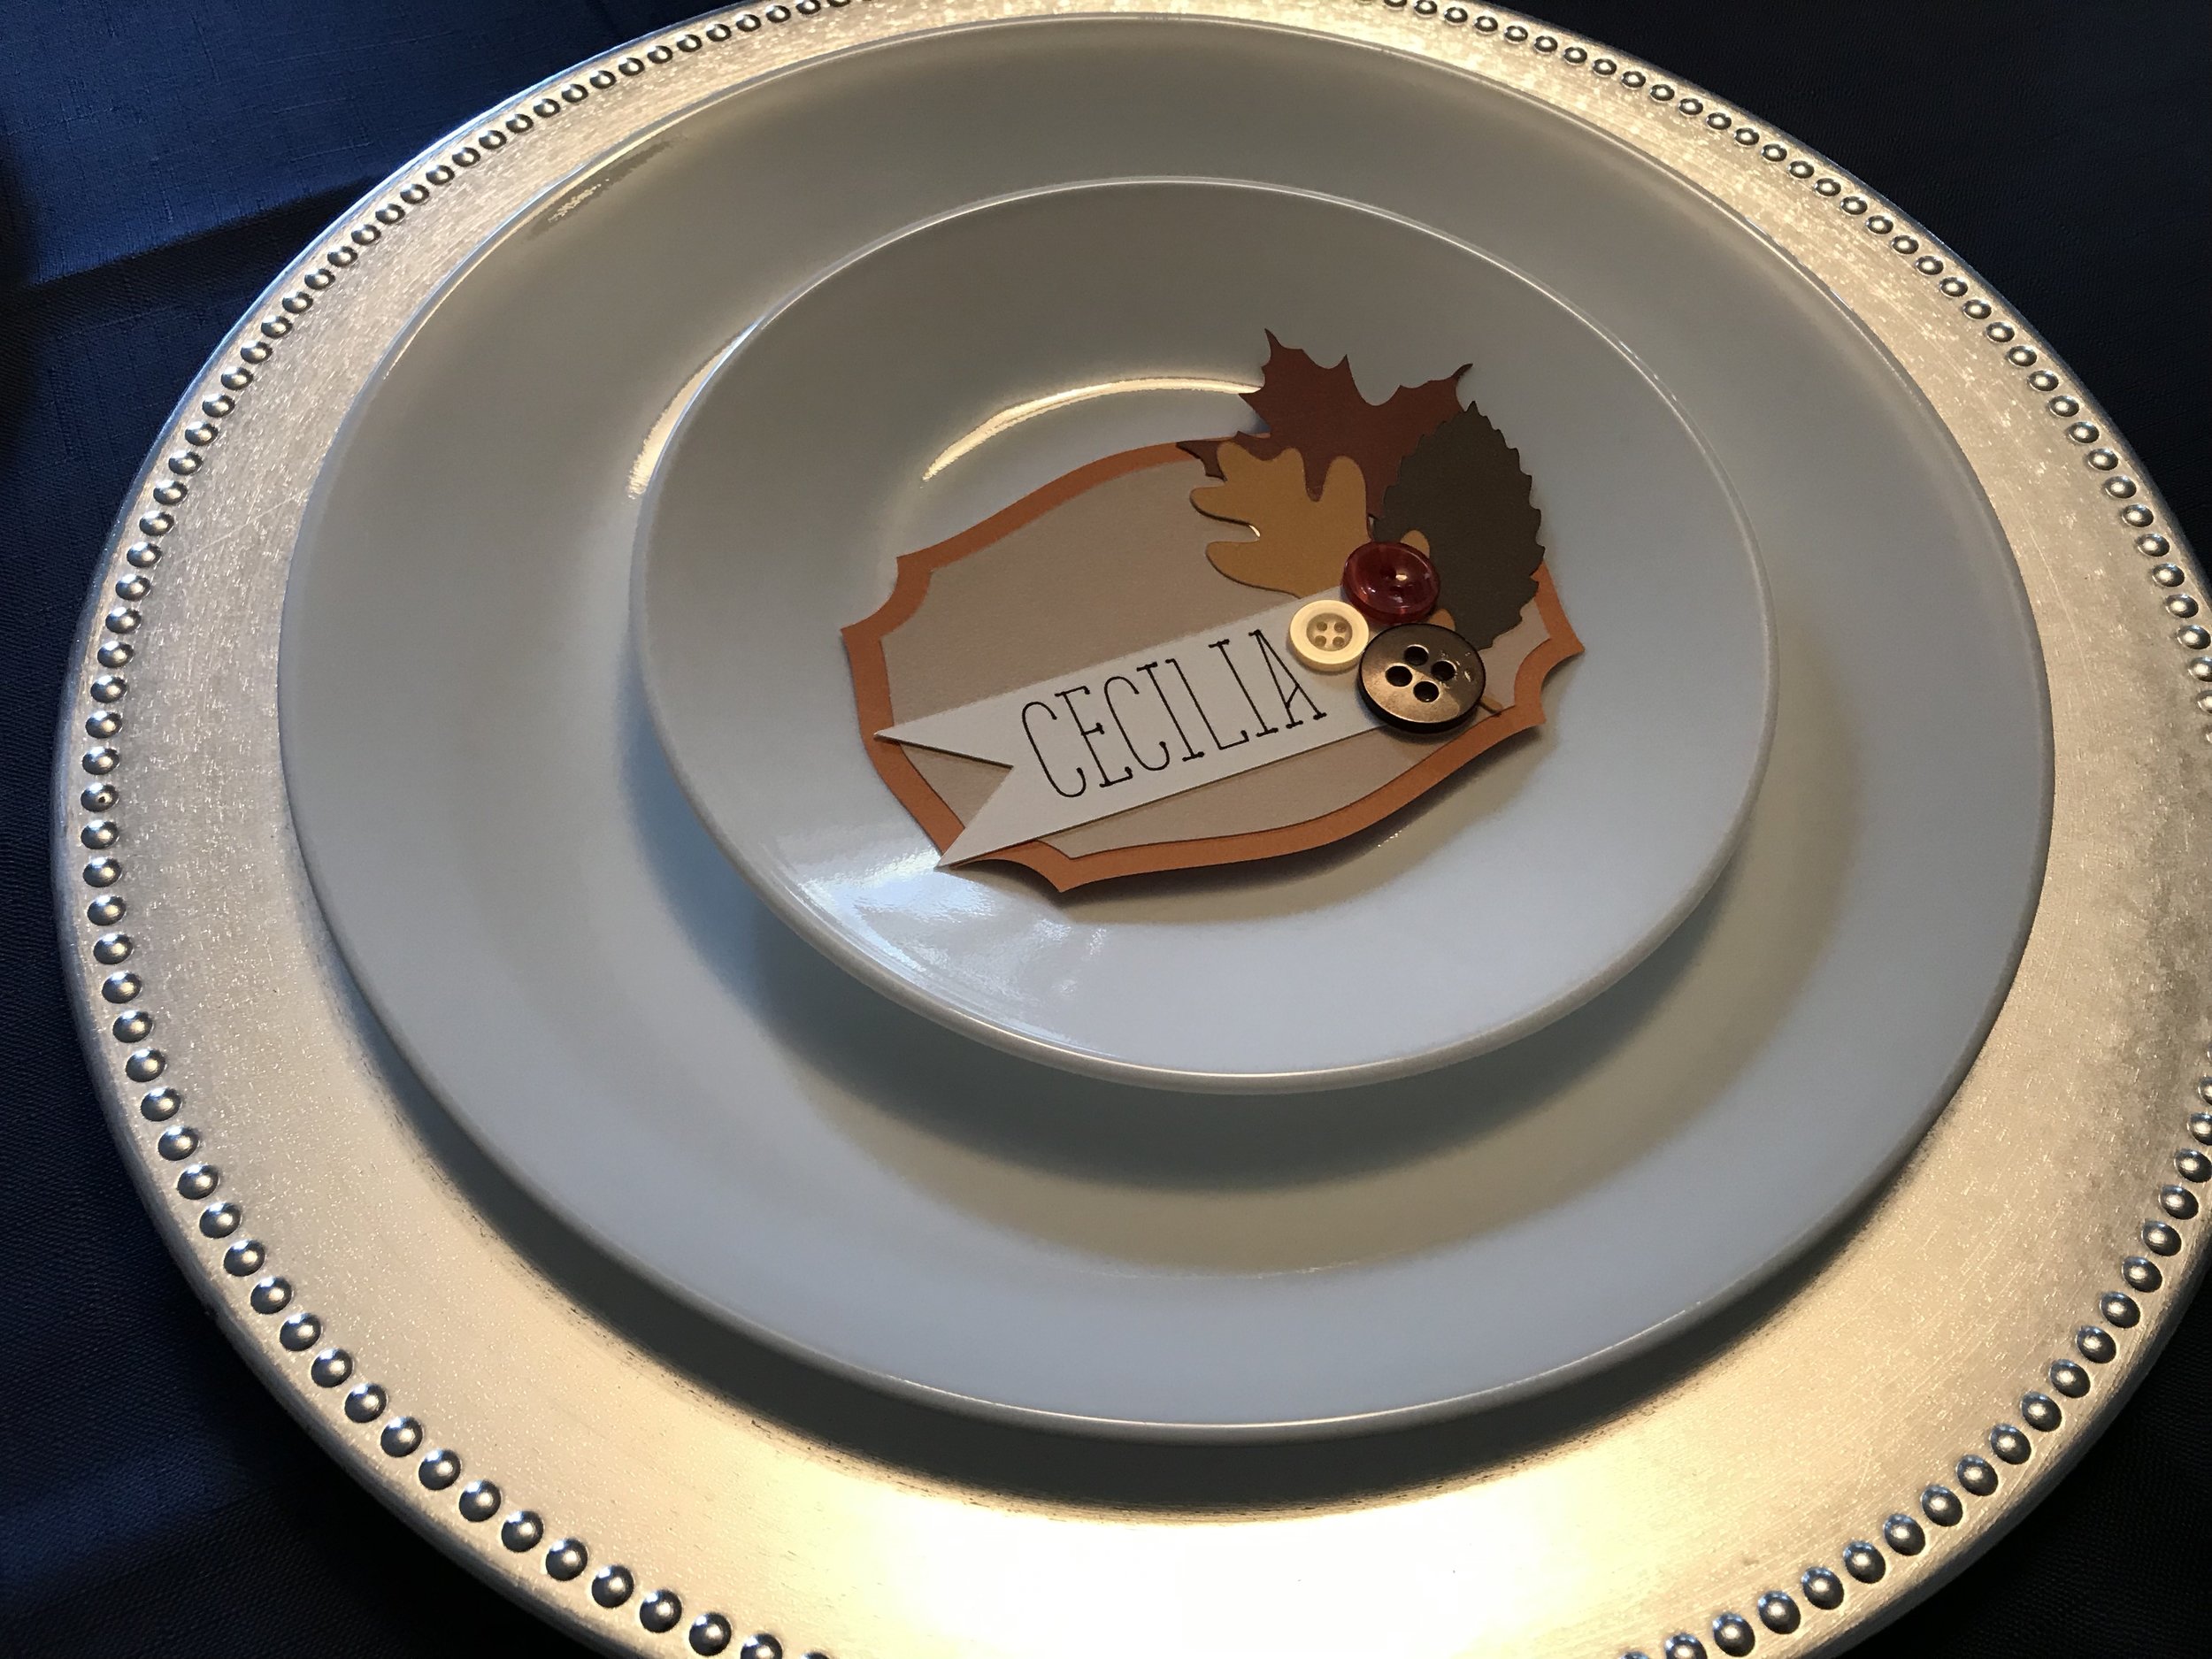
Here is what the place setting looks like with the place card (mine).

Here’s a close up of my place card. I like it and I think my guests will too!

Stay calm & Craft on.
Paper Trufflez Blog Hop!

Welcome to the Paper Trufflez Team Blog Hop. The theme for this hop is “Everything Christmas.” If you have come from Amy Ricker Pitts’ blog, you are on the right path.
The blog hop is a great big circle, so you can start here and work your way around. If you get lost along the way, you’ll find the complete list of participating consultants here. It’s really simple to hop along with us. Simply click on the link at the end of each blog post to move to the next one.

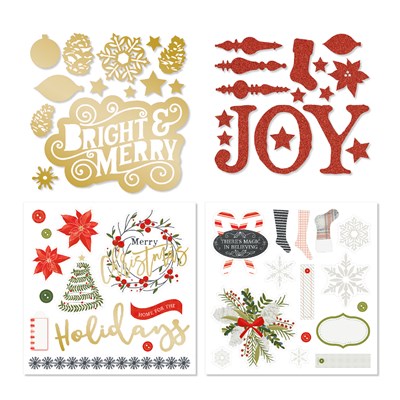
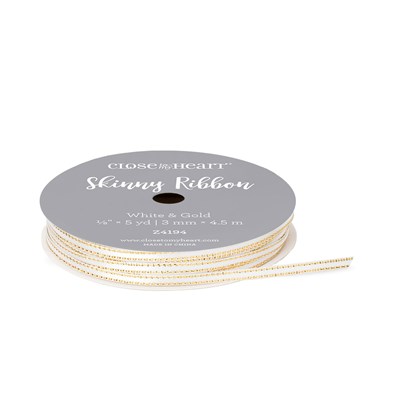
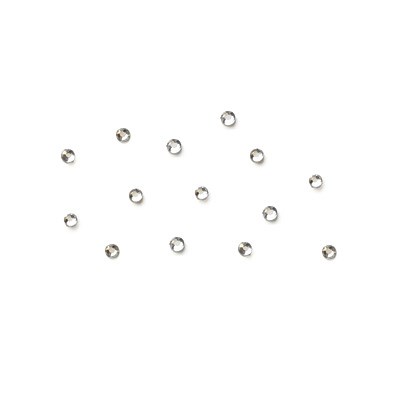
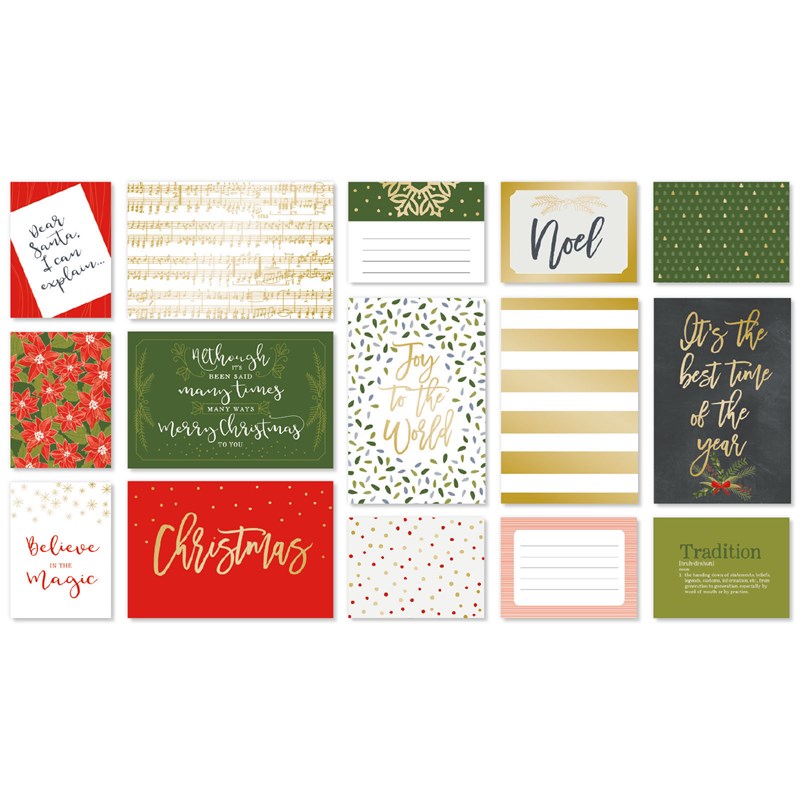
My project today is a multi-page 6x6 scrapbook ready to capture all your memories this holiday season. This project used the ‘Tis The Season Coordinating Cardstock with the coordinating ‘Tis The Season Complements and Picture My Life Cards - Christmas List and this small album will hold a bunch of photos. I have the pages loose for the photos but you could easily add them to a 6x6 scrapbook or even bind them them using other tools. Again, I just used my paper cutter, adhesive and the cardstock and complements to create this fun project. White & Gold Skinny Ribbon and Bitty Sparkles are optional.


The Complements Kit has so many different types of embellishments. I used the beautiful red glitter shapes.

These pages highlight the gold foil elements.


I love the different Picture My Life Cards…they really make a difference throughout the album.


The addition on the Bitty Sparkles adds some whimsy to the snowflake stickers.


More Bitty Sparkles….


Lighting on this one is off but the last page of the album is highlighted with these gorgeous red glitter letters - also part of the Complements pack.
Now “hop” on over to Lisa Hidy’s blog to see her fabulous artwork. Be sure to visit all the Consultants in the hop to get some fun creative ideas. If you get lost along the way, here is a list of participants. Thanks for stopping by!
Here are the Close to My Heart Products used in this project (links to purchase above in post)…

Keep it crafty!
Grateful Heart Layout
Helloooooo!
I’m back with another 2-page layout highlighting the Grateful Heart paper pack from Close to My Heart and the coordinating Complements. In this layout I show off pictures of our recent visit with our son on Parent’s Weekend at the Coast Guard Academy. We took our son and some of his friends golfing and we had a wonderful time. My husband, Rob, came within inches of a hole in one on a par 3 course. For someone who hasn’t seriously played in a decade or two it was pretty impressive. I hope you enjoy the clean and simple style of this layout.


Happy crafting!
Paper Trufflez Team Blog Hop!

Welcome to the Paper Trufflez Team Blog Hop. The participants in this hop will be highlighting new products from the 2018 Holiday Expressions catalog. If you have come from Chris Franco’s blog, you are on the right path.
The blog hop is a great big circle, so you can start here and work your way around. If you get lost along the way, you’ll find the complete list of participating consultants here. It’s really simple to hop along with us. Simply click on the link at the end of each blog post to move to the next one.
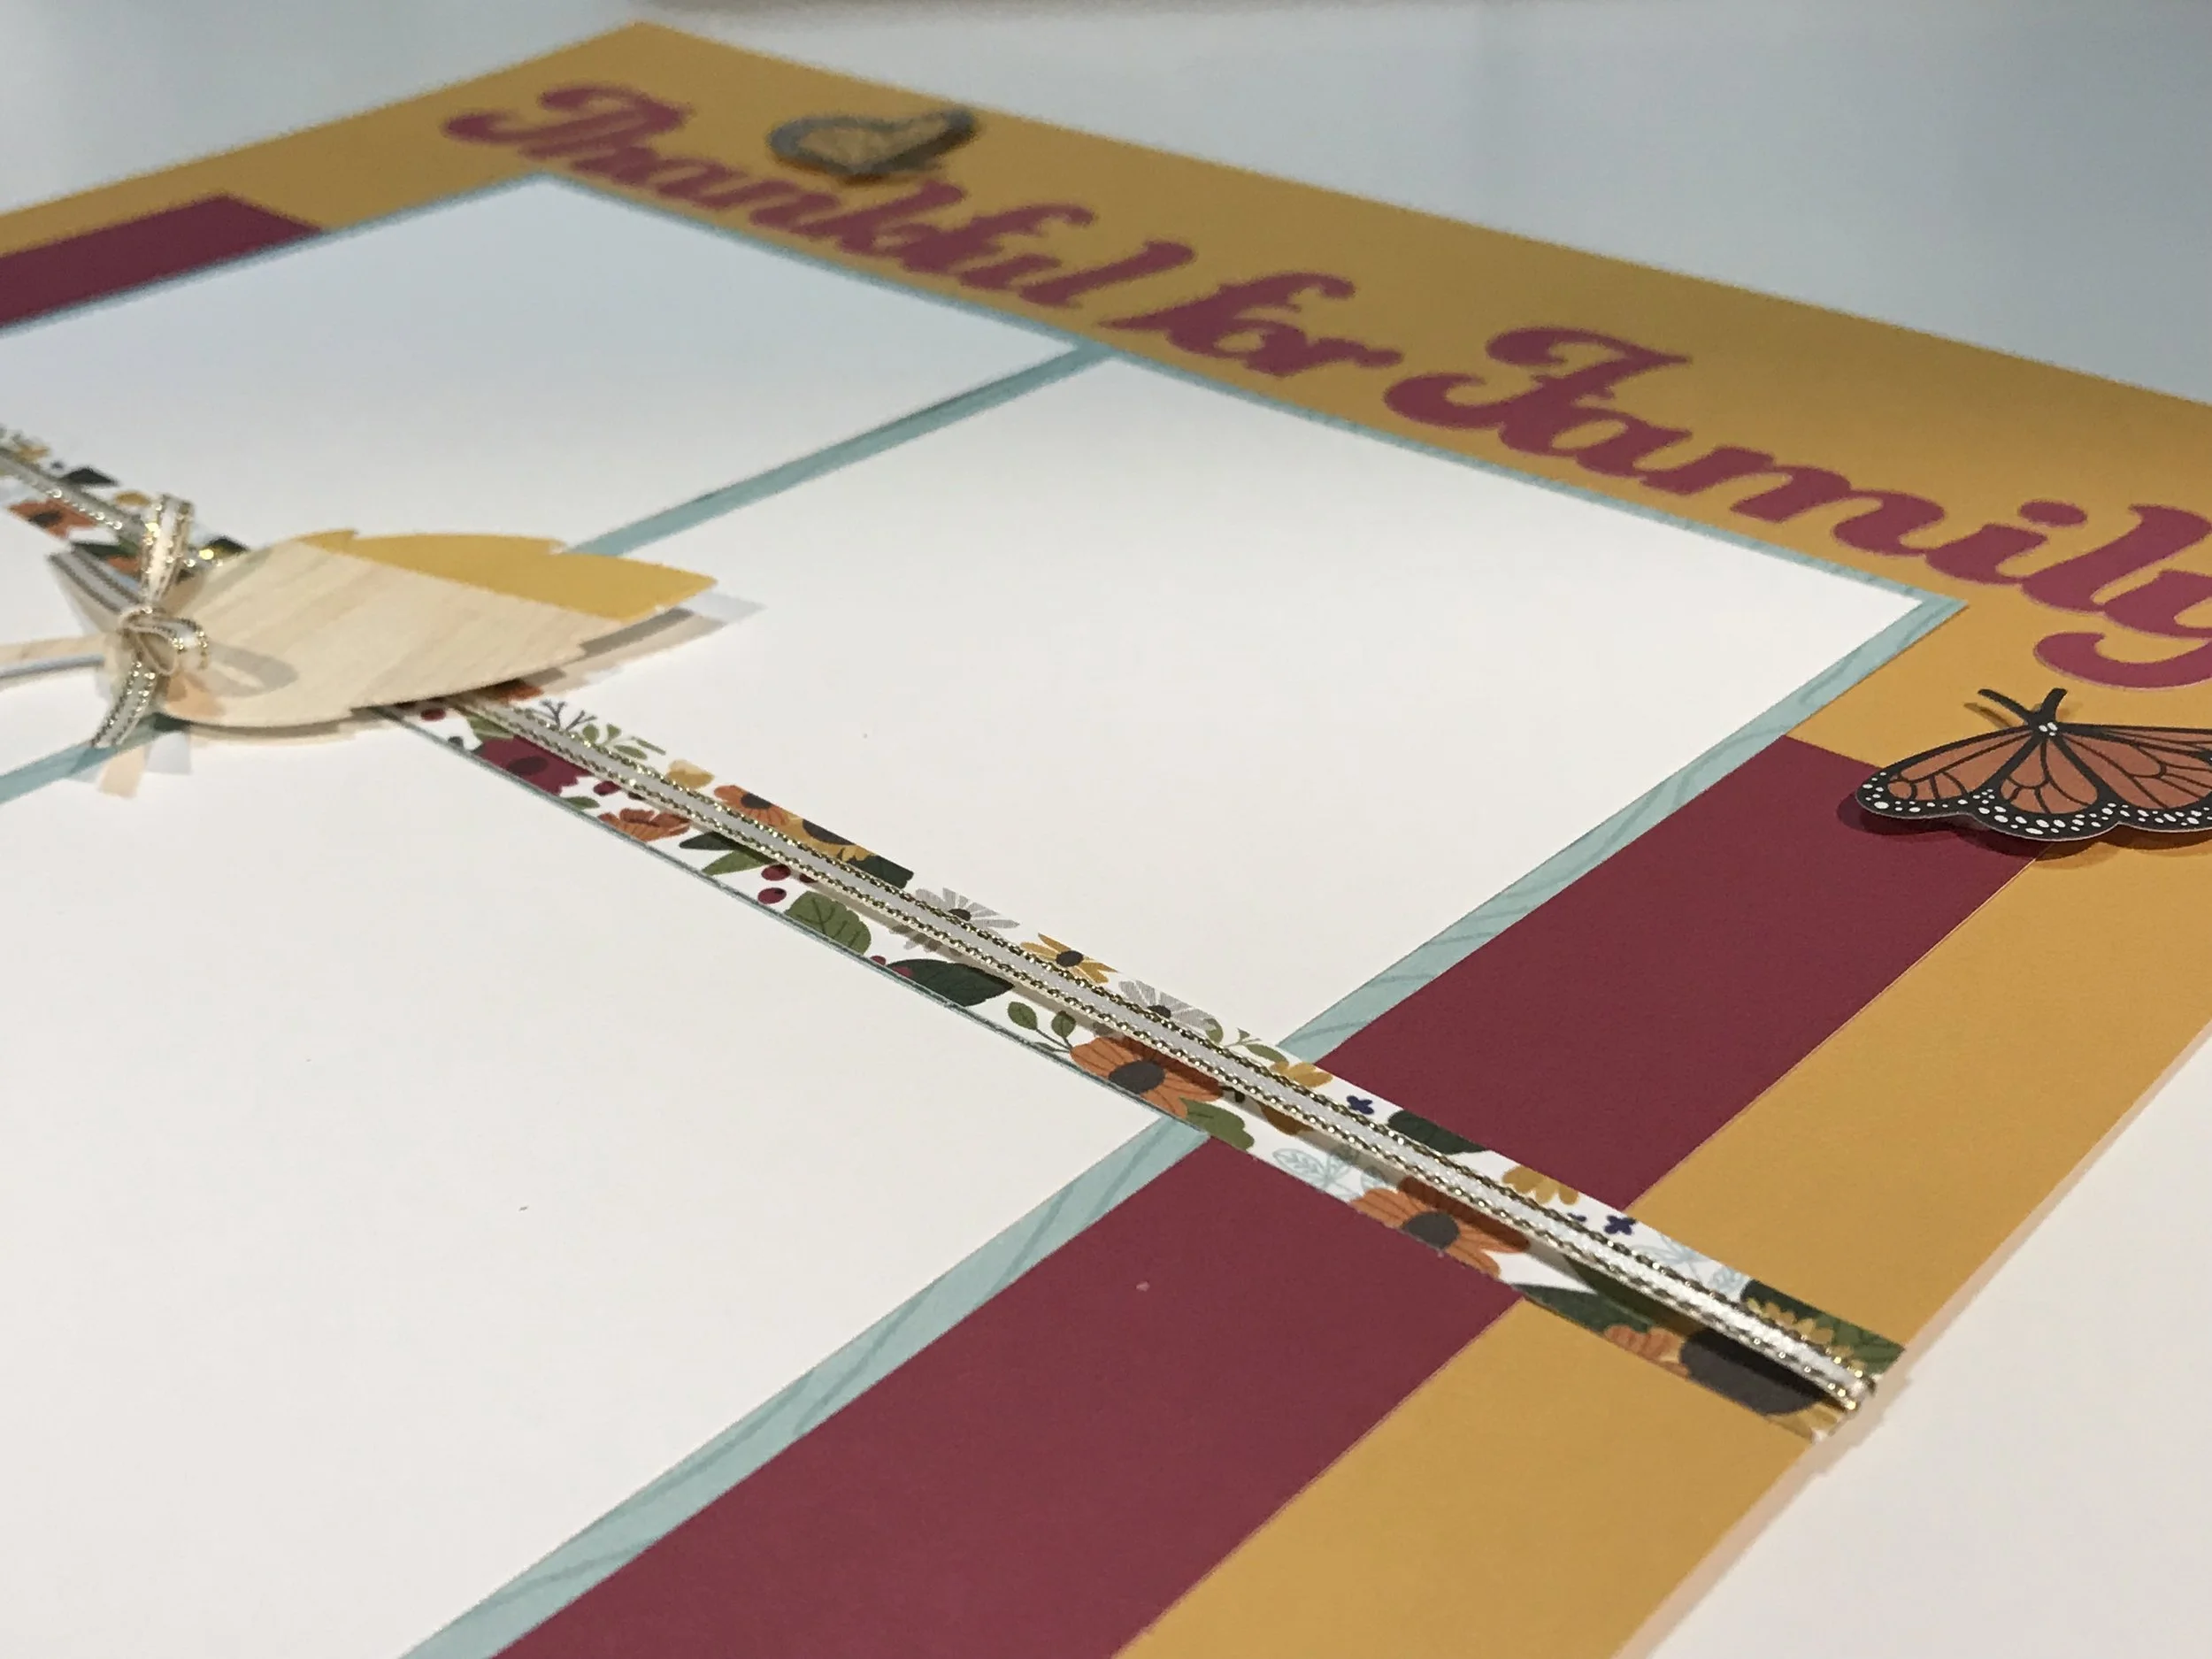
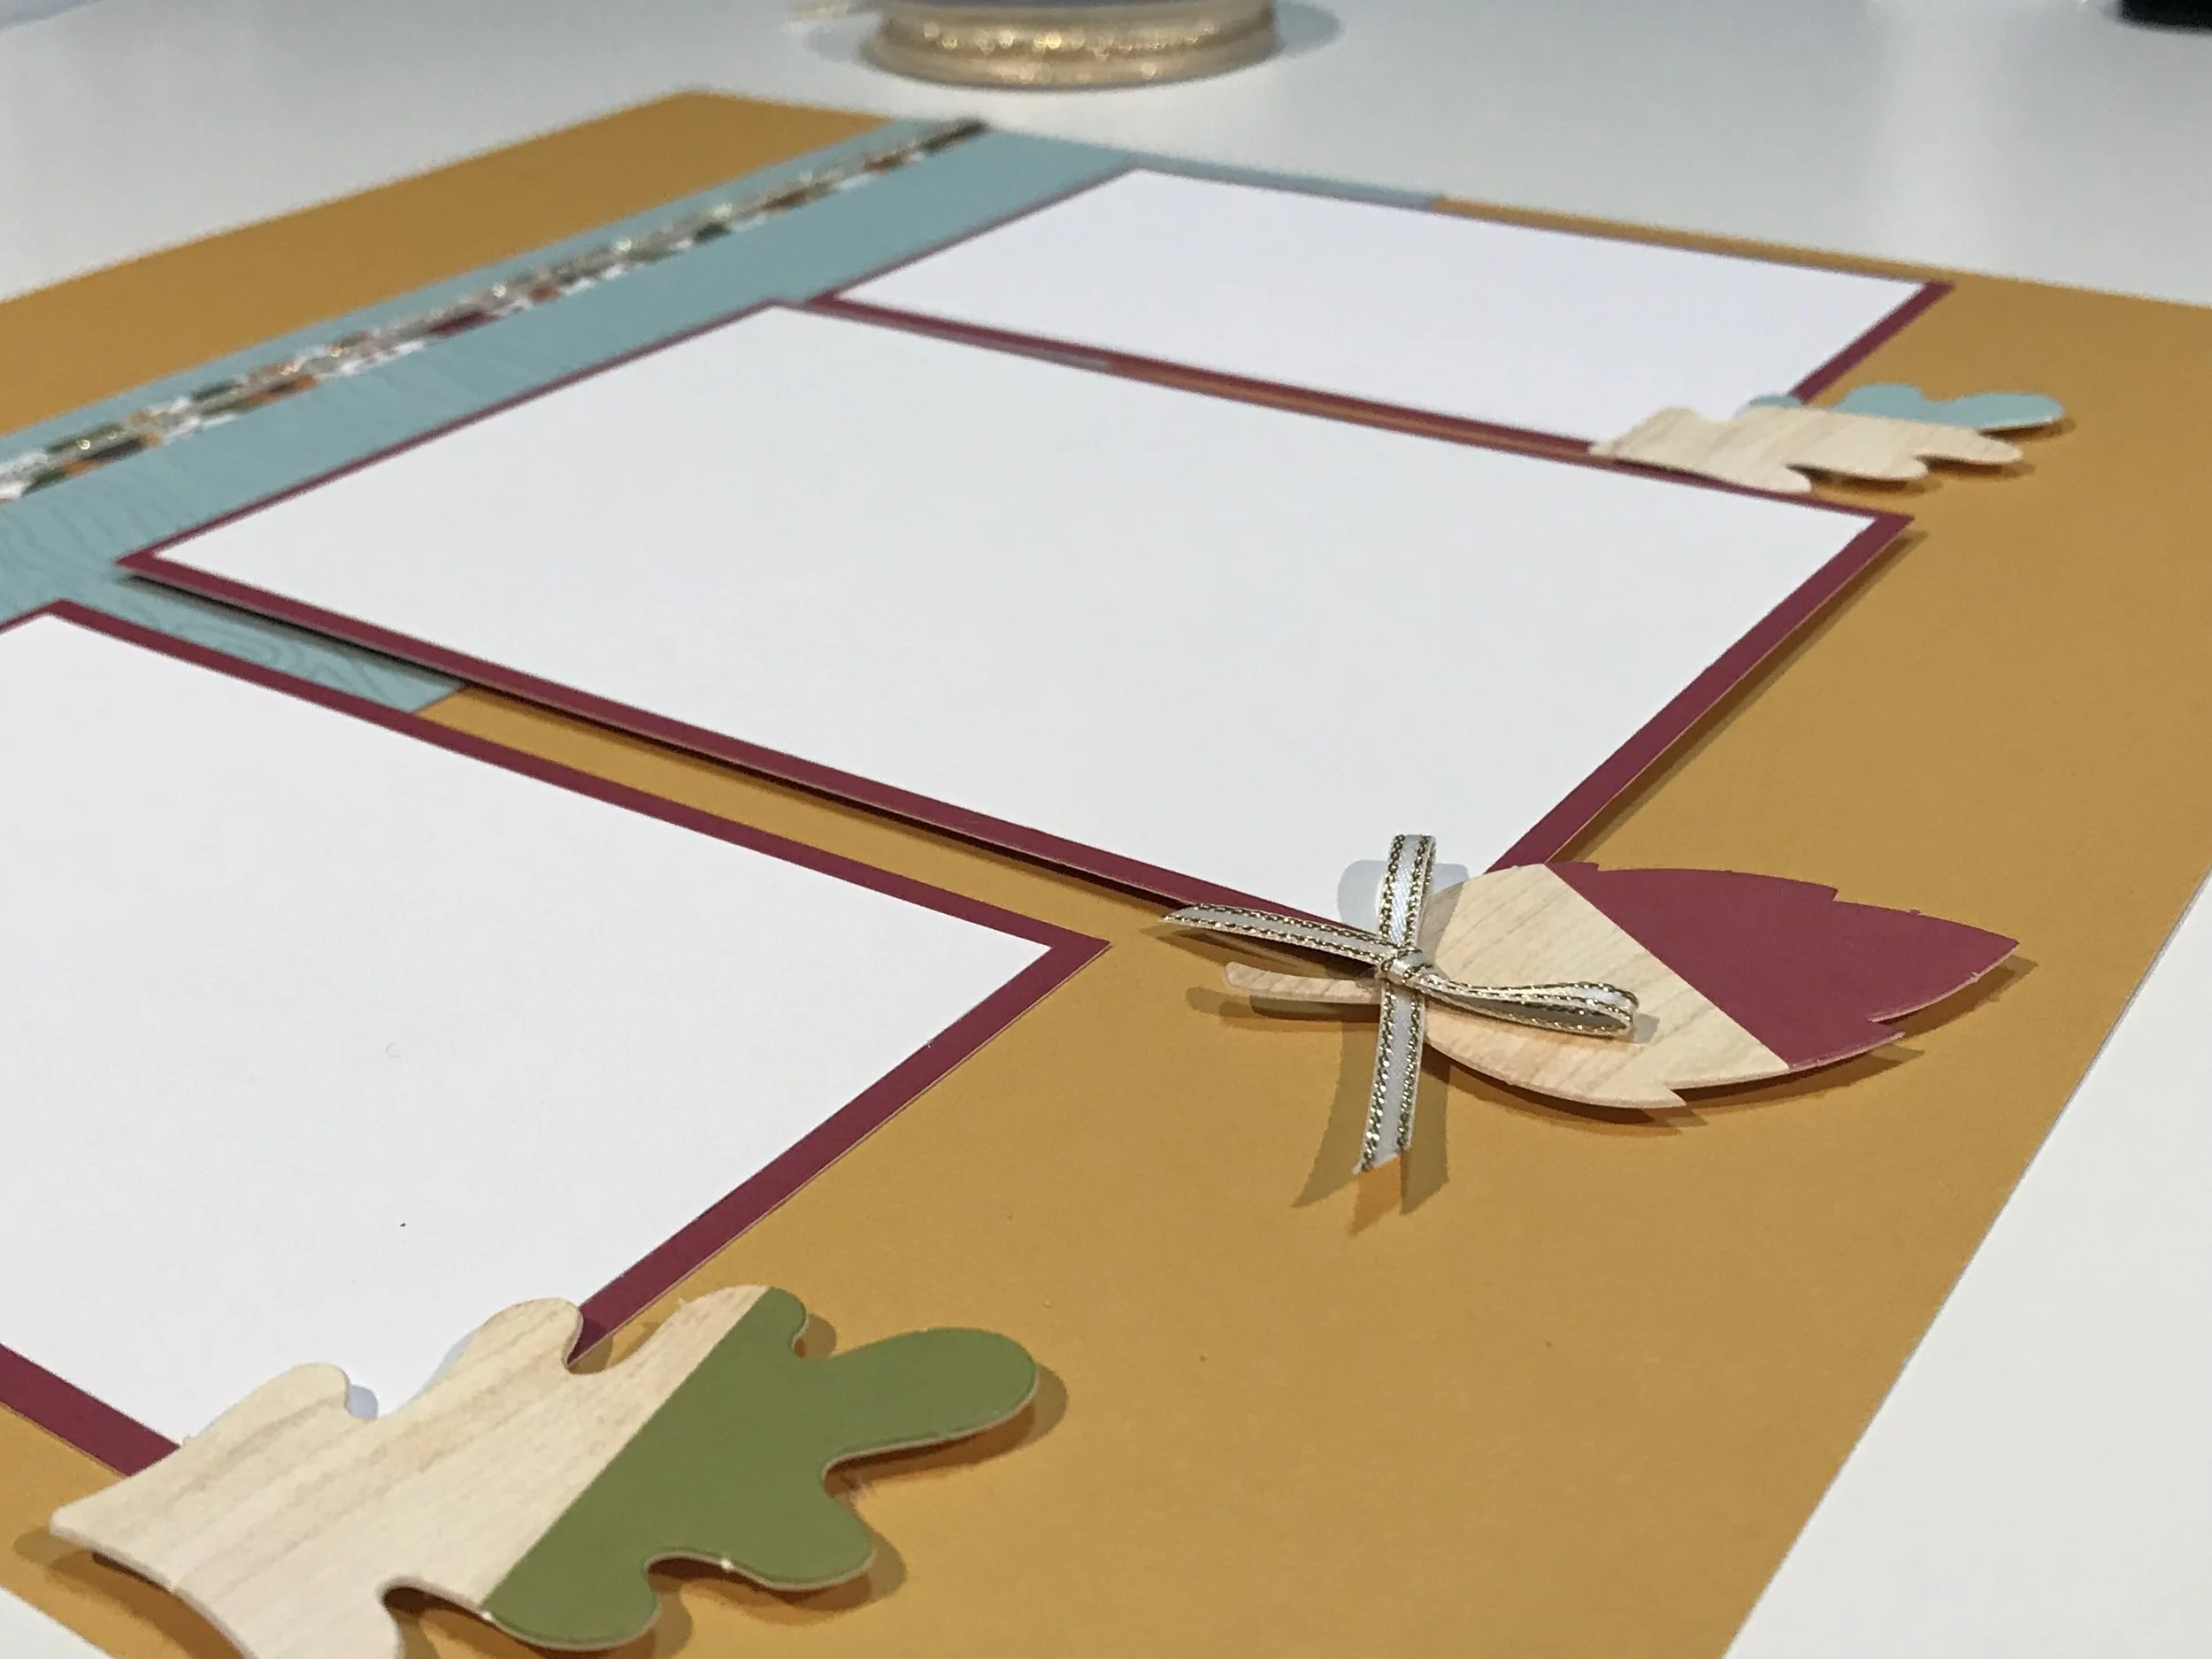
My project today is a 2-page layout that I plan to use for my Thanksgiving dinner photos this year. This project used the Grateful Heart paper with the coordinating Complements. My layouts tend to be more on the clean and simple side as I want my photos to take center stage.

The layout title is Thankful for Family. I used my Cricut Close to My Heart Artbooking cartridge to pull out a lovely font. I added a few cute butterfly stickers to jazz it up a little.

The second page shows off more of the Complements…this time, the chipboard leaves and the cute owl sticker.

Here’s a side angle to show off the dimension in the layouts as well as give you a closer look at the White & Gold Skinny Ribbon.
Now “hop” on over to Denise Anderson-Turley’s blog to see her fabulous artwork. Be sure to visit all the Consultants in the hop to get some fun creative ideas. If you get lost along the way, here is a list of participants. Thanks for stopping by!

Happy Crafting!
Advent Calendar
If you are looking for a new Advent Calendar for this holiday season I would like to suggest the one designed by Close to My Heart. If you would like to purchase the kit go HERE.

Close to My Heart and Cricut have teamed up again for the holiday season. You can get the digital cartridge, Season of Joy*, with over 45 images and projects including several seasonal icons, titles, and sentiments, as well as a collection of 3-D projects that you can create after a few simple cuts on your Cricut® machine.
*Only available for use with Cricut Explore™, Cricut Explore Air™, Cricut Explore Air™ 2, and Cricut Maker™


The base Advent Calendar kit provides the basic materials you’ll need, but you’ll need a few additional items to complete the project. If you don’t have these items already, make sure to also add them to your order:
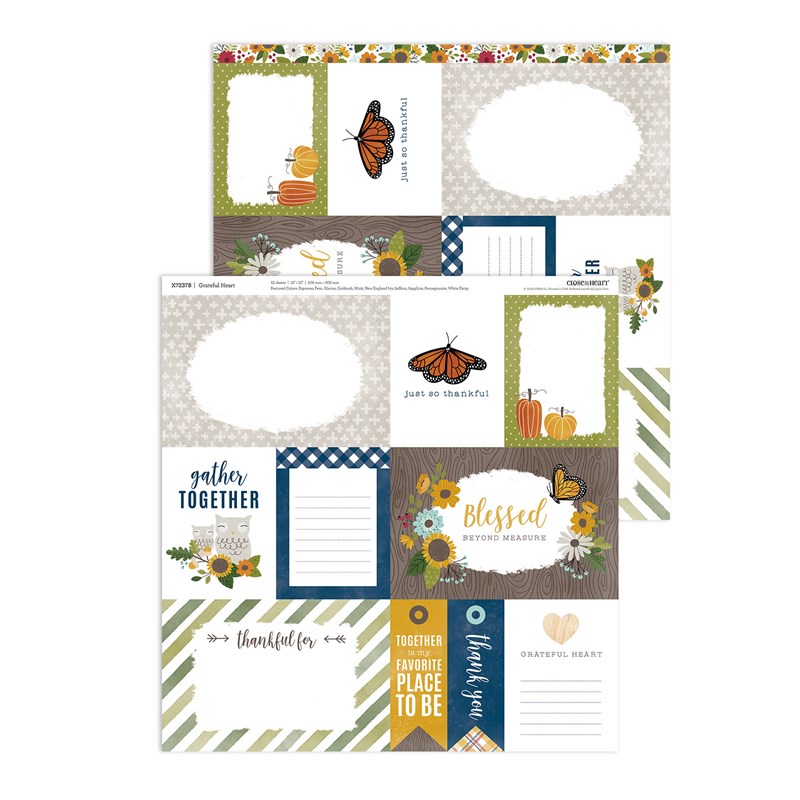
Paper of the Month Highlight: Grateful Heart
This month I wanted to highlight the Grateful Heart Paper Pack from Close to My Heart. This speaks to fall cards and layouts but also has some wonderful neutrals that can be used year round. Many of the designs would be ideal for masculine projects…and I know we are always looking for masculine-friendly paper.

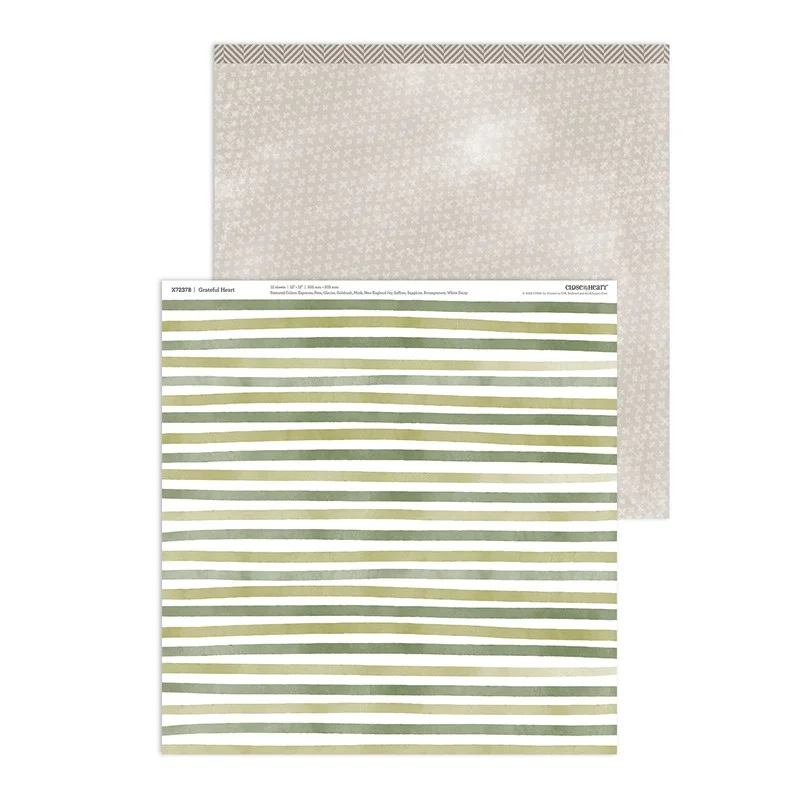
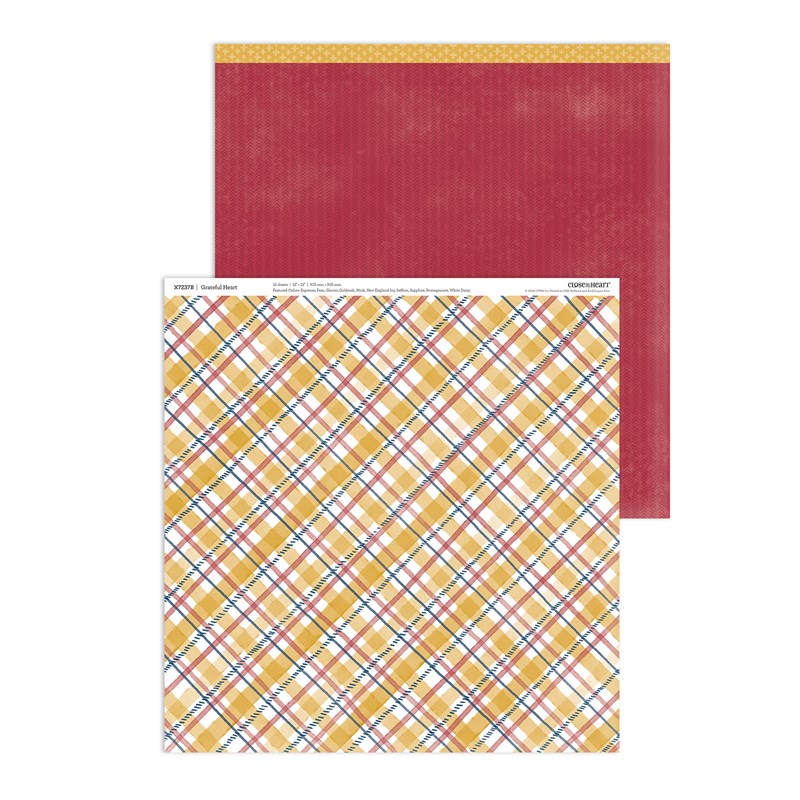
Grateful Heart Paper Collection

Great neutrals!
More neutrals…


Definitely neutral.
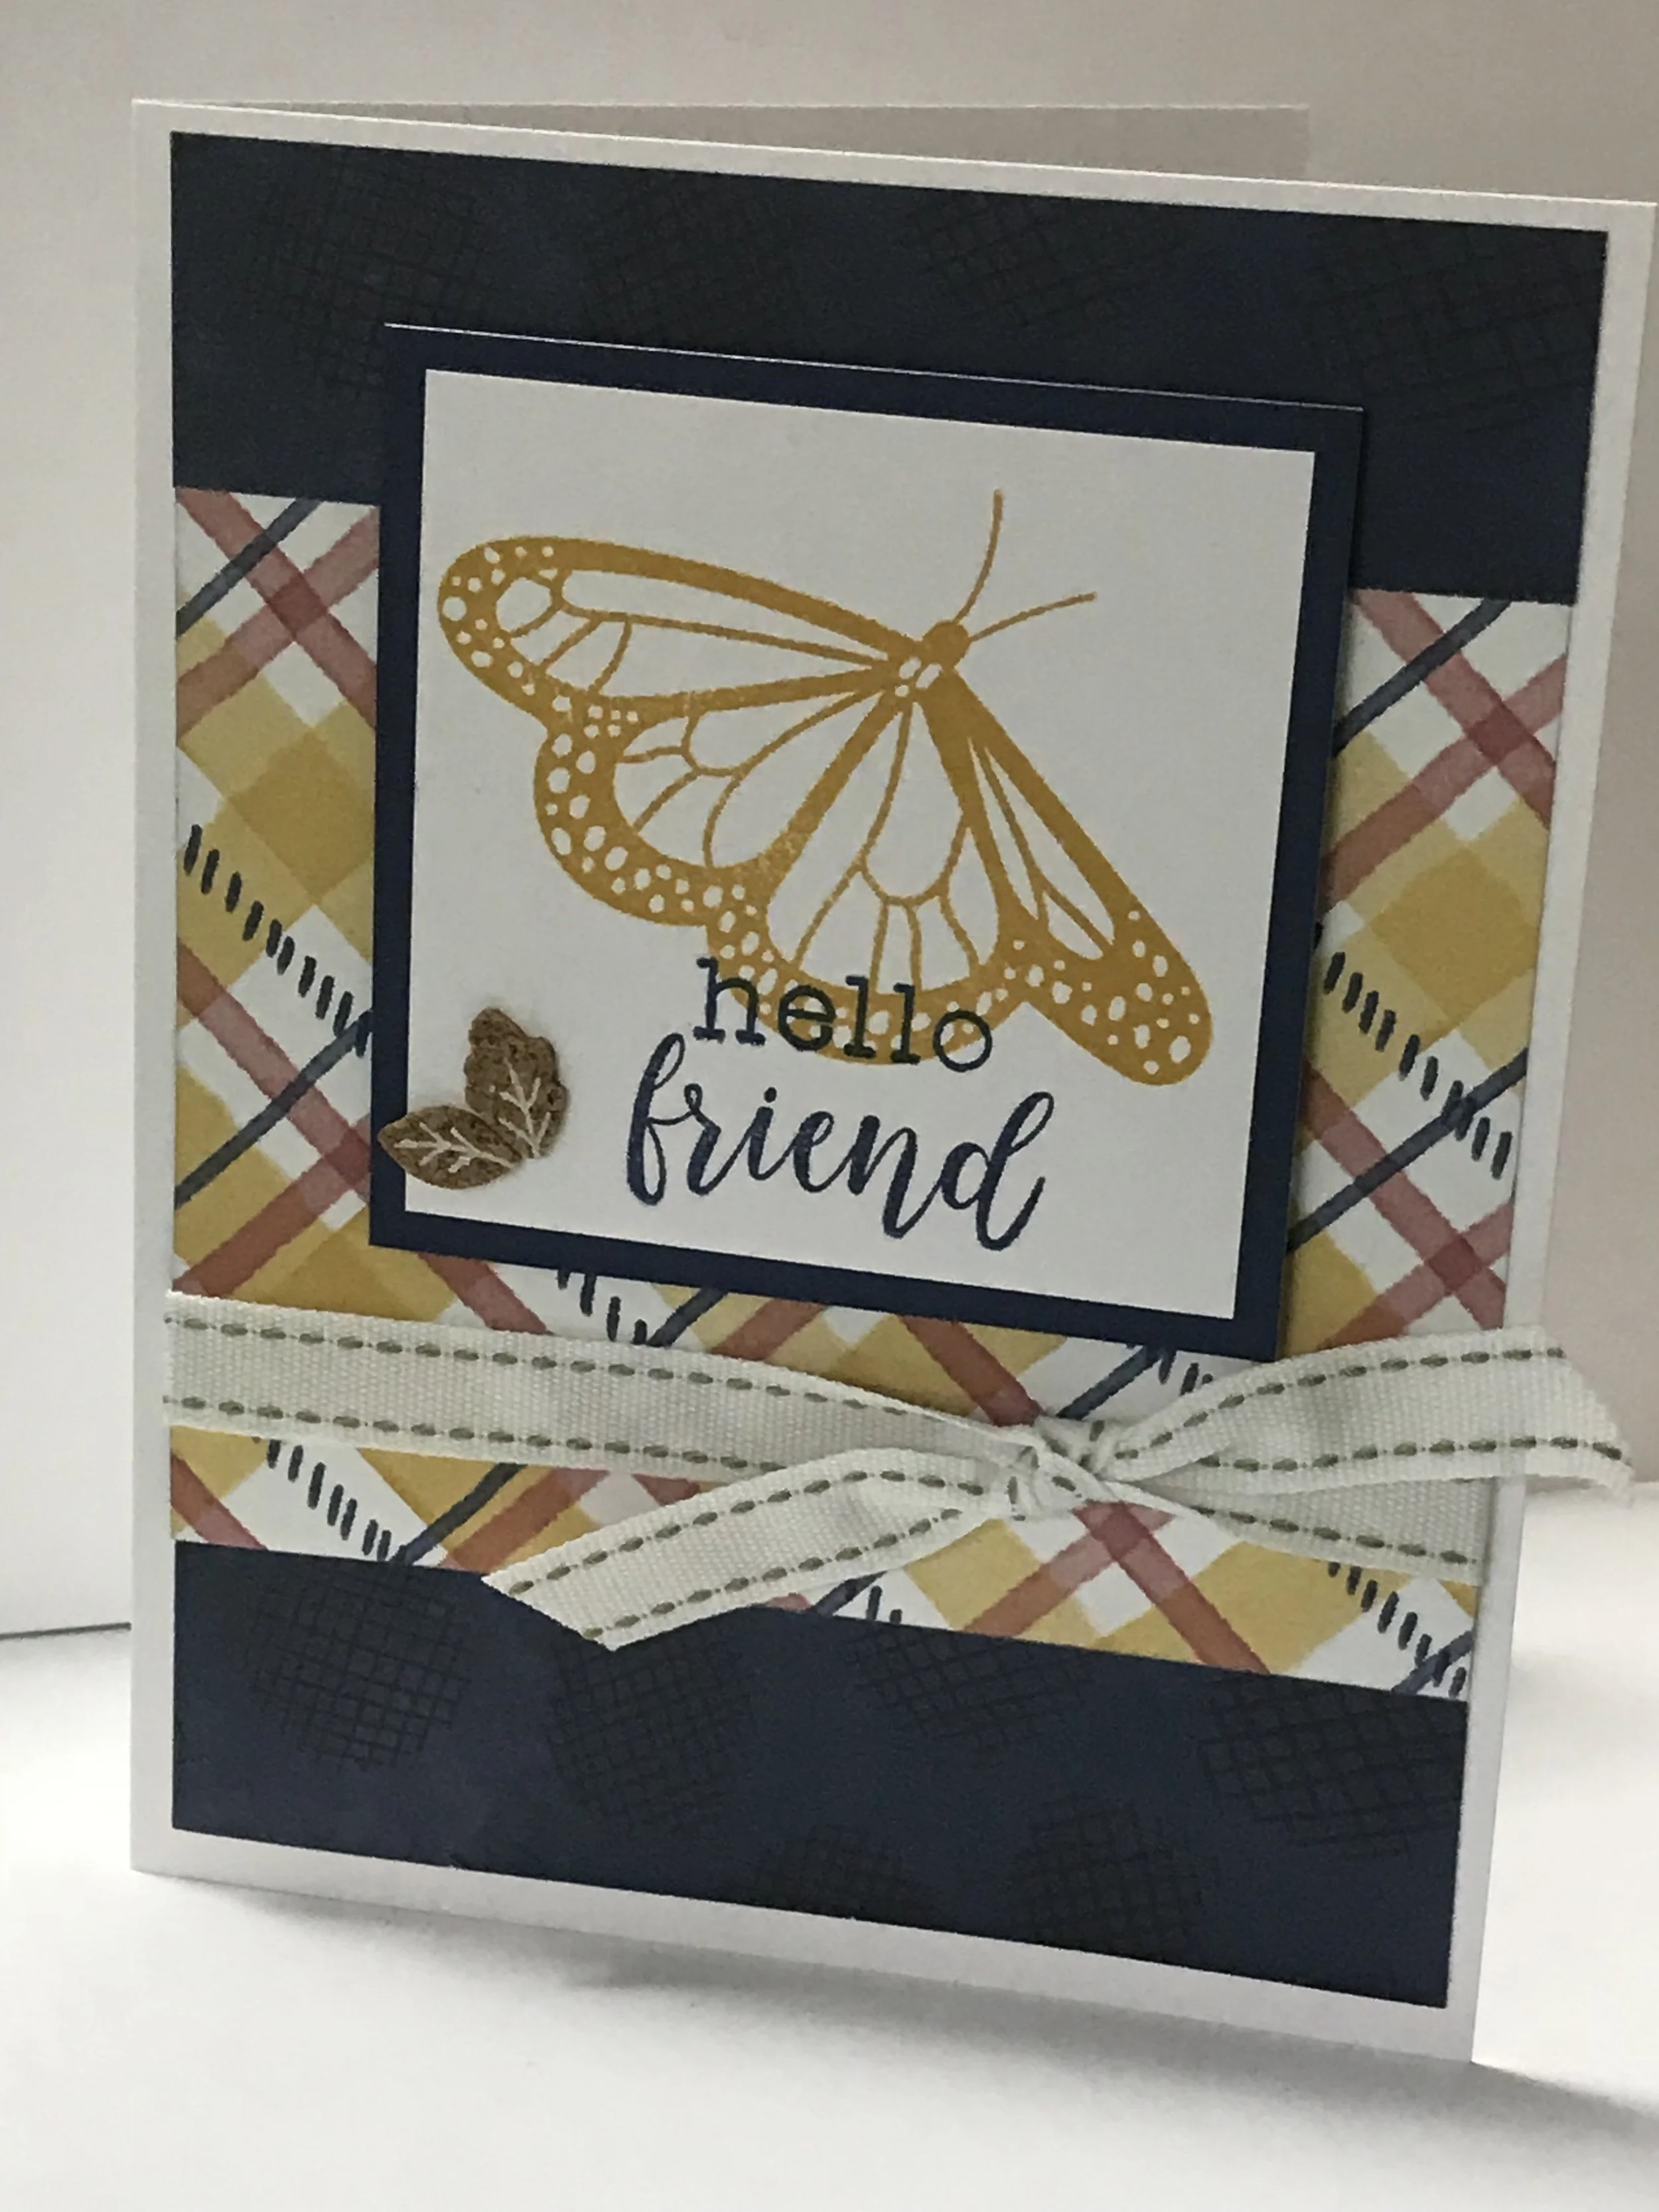
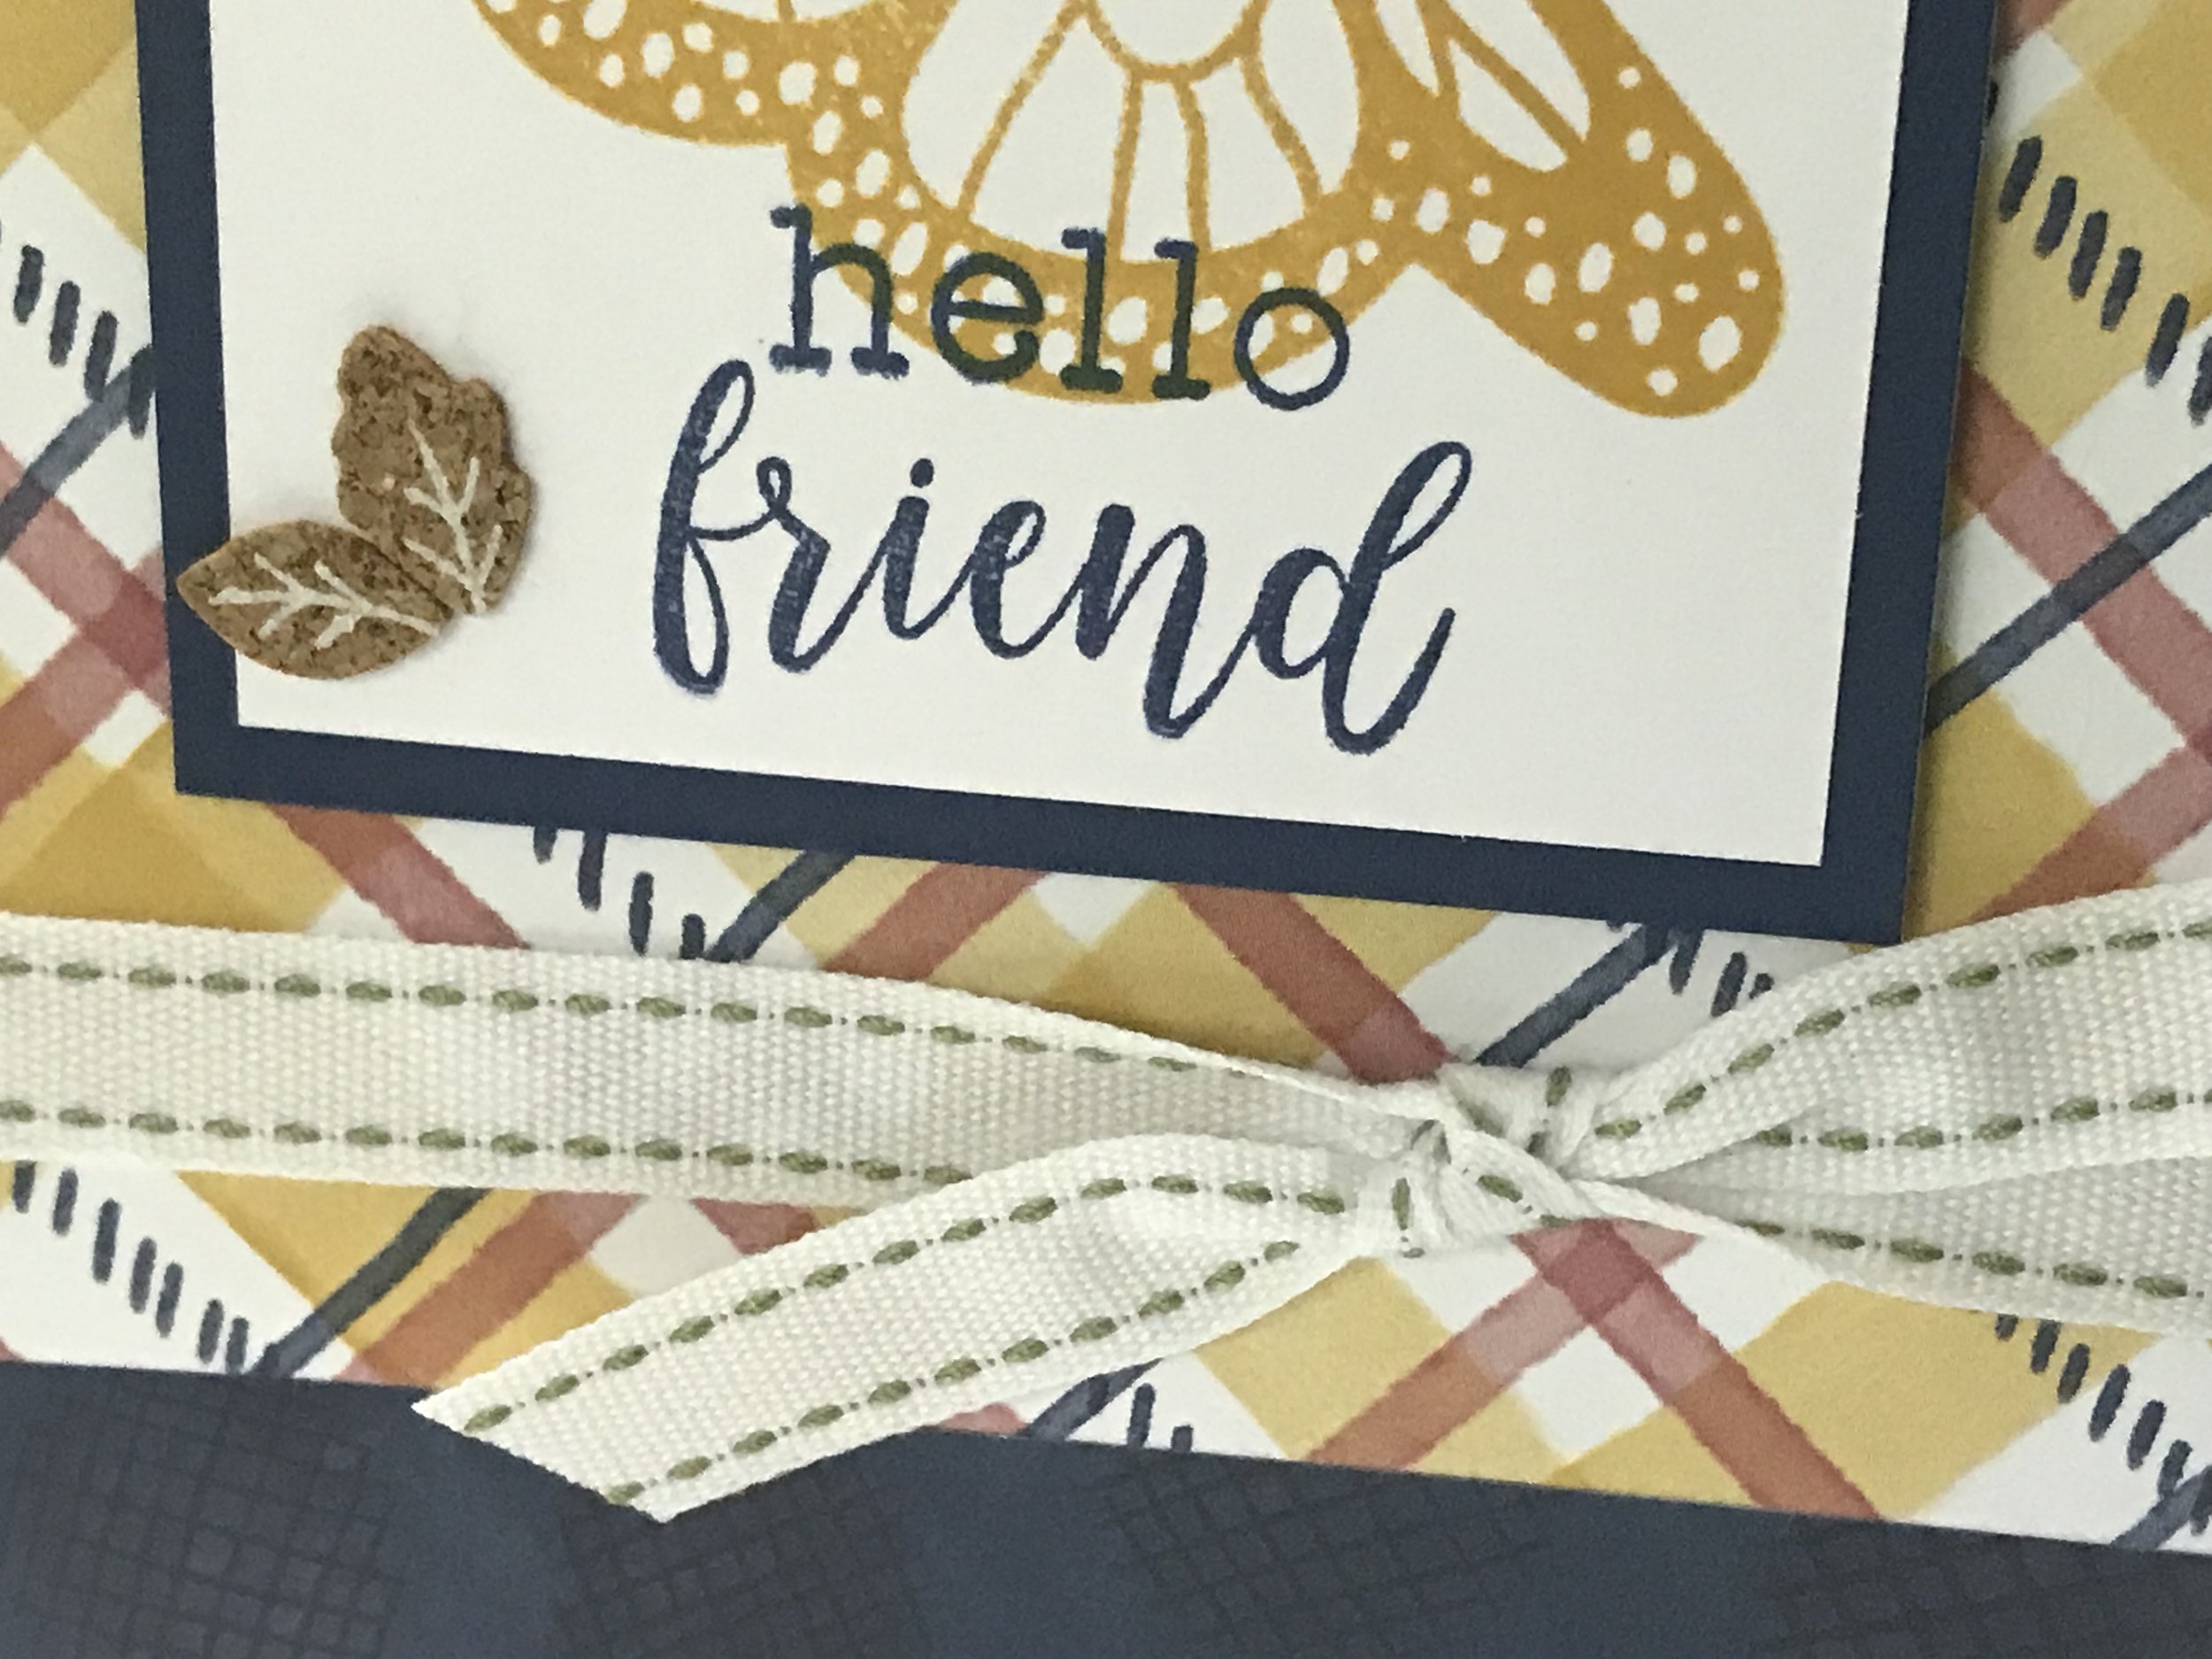
Close up showing off the cute ribbon and cork leaves!
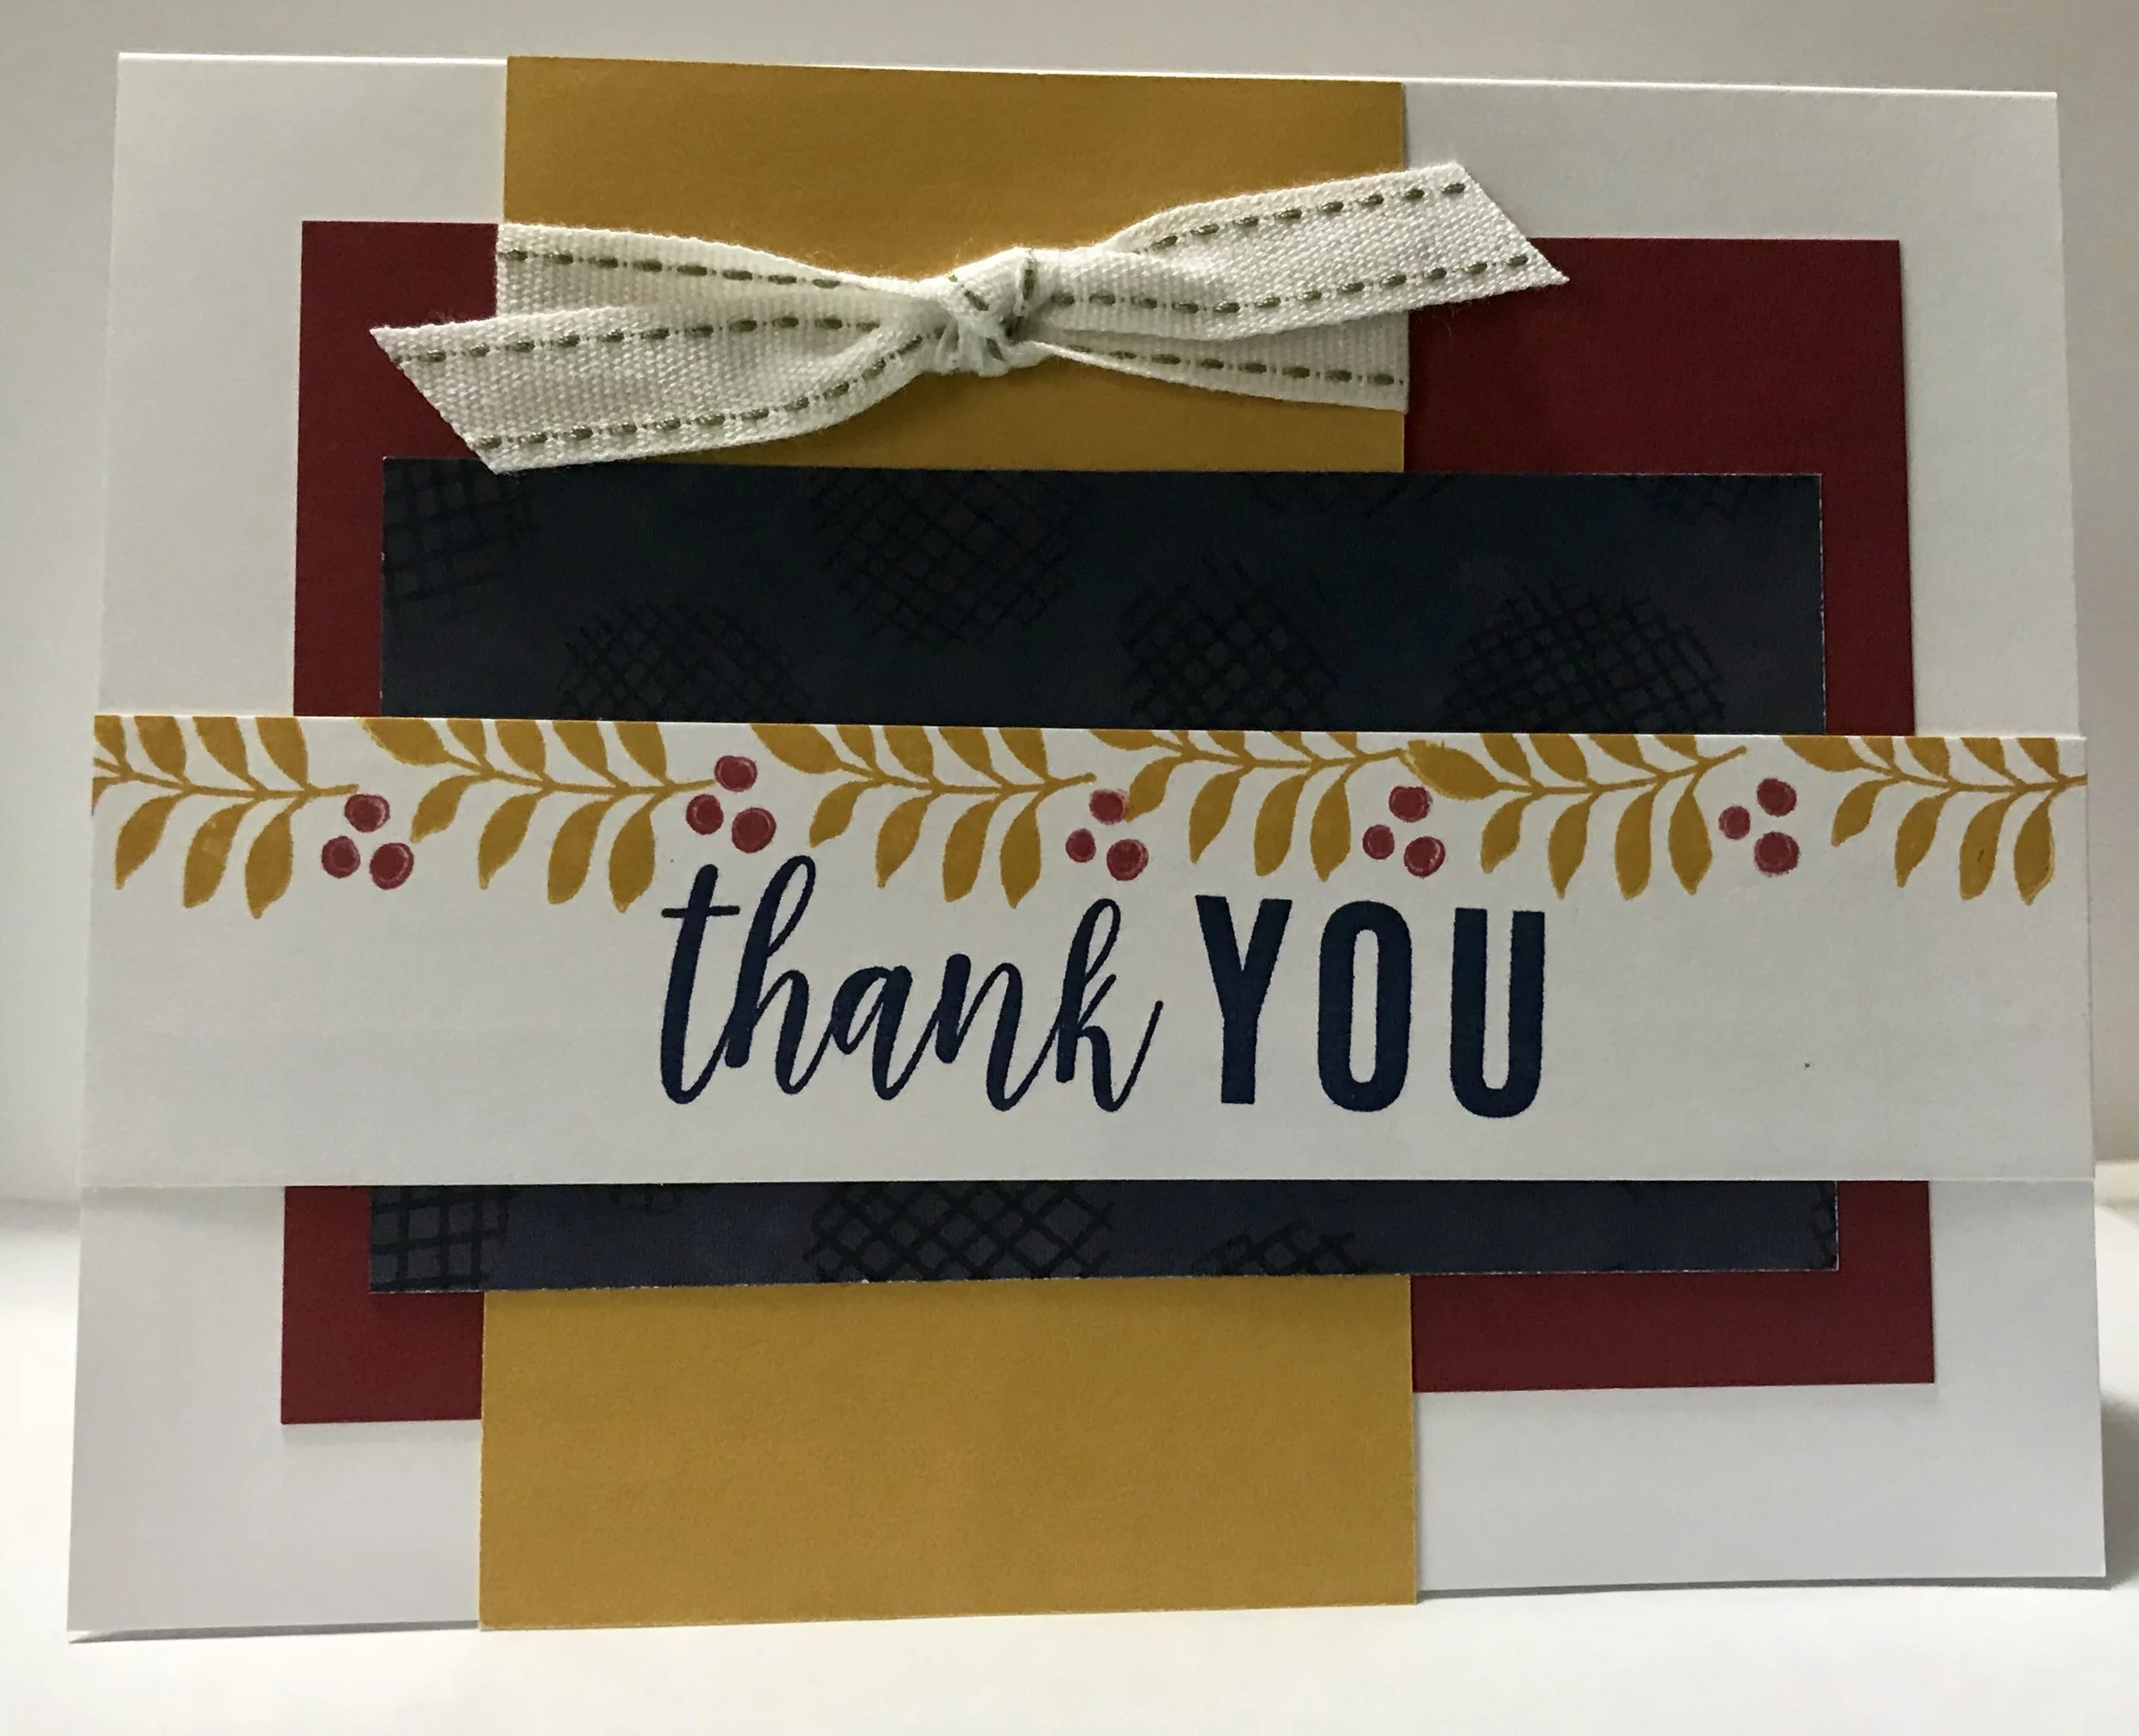
You can never have enough thank you cards!

And I have to add a 2 page layout!
Here is a list of supplies used and links to purchase them:
Grateful Heart - Cardmaking (Stamp Set)

Happy Crafting!
October Stamp of the Month
Looking for an wonderful stamp set for the your Fall cards. Look no further than the Close to My Heart Stamp of the Month for October! Here’s Thanks & Giving, a set of 16 stamps.

Want this super sweet stamp set? Spend $50 at Close to My Heart and get a chance to purchase this set for $5. This stamp set is valued at $18.95. Here are some project samples…


Happy Crafting!
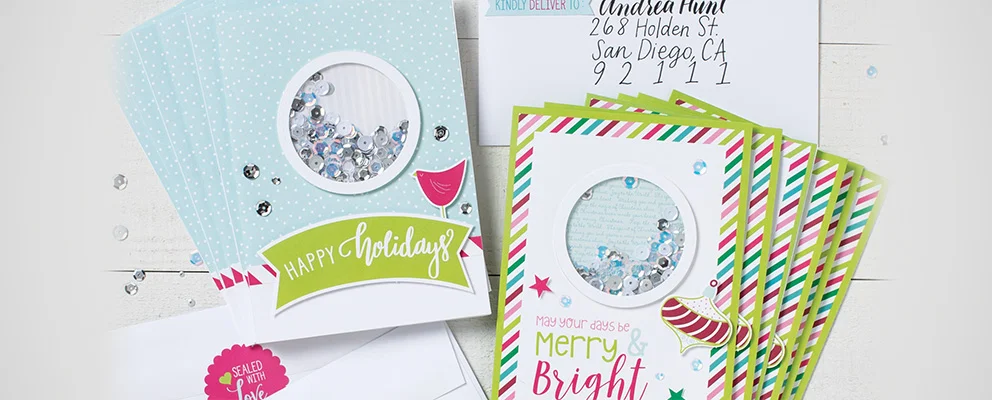
Holiday Shaker Cards!!!

Quick and Easy Holiday Shaker Cards!
(October 1 - October 31st)
Shake things up this holiday season with the Holiday Sparkle Cut Above® card kit! This kit contains materials for creating 12 festive shaker cards, including printed card bases, die-cut pieces, stickers, sparkly sequins, and simple assembly instructions.
Get a 20% discount when you get the Holiday Sparkle Bundle, which pairs the card kit with the My Acrylix® Love with All the Trimmings stamp set, specially designed to further customize the insides of your cards.
You can also receive this delightful card kit FREE when you sign up as a Consultant (HERE) or host a qualifying party.

Buy the Holiday Sparkle Bundle and save 20%! The Bundle includes the Cut Above® Card Kit—Holiday Sparkle and the My Acrylix® Love with All the Trimmings Stamp Set. Make twelve (12) festive shaker cards!

Just want another cool stamp set for the holidays? Buy Love with All the Trimmings HERE.

Already have (or ordered) the bundle but want to make more than twelve (12) cards and need supplies? Go HERE to buy supplies for making more.

Happy Crafting Everyone!
Beautiful Moments - Boutique (Plus "Sweet" Bonus)
Hello Everyone,
I wanted to highlight the Boutique Paper Pack this month. In doing so I am sharing a couple of layouts featuring the Boutique and Seasons Mix-in Paper Pack. In addition, I used the Boutique Complements and Silver Glitter Gems to add the finishing touches to the layouts.

Here’s a close up of the left side of the layout highlighting the title and journaling items taken from the Boutique Complements.

Here’s a closer look at the right page in the double layout. You can see I added a bit of bling with the Silver Glitter Gems.

I created a second double page layout with some of the scraps. This one is a bit more clean and simple…just my style.

I hope you enjoyed these scrapbook layouts. If you have any questions please feel free to email me at cecilia@tradefishdesigns.com. If you’re interested in purchasing any of the items featured about please use the links below.
I hope you can all take some time to get crafty today!

More Magical Layout (Even More)
Here are the last two layouts in the More Magical Workshop. I took photos of the process of putting them together. This workshop is only available through the end of the month so you better get it before it’s too late!


Love the black dots…looks like Mickey ears!


And here’s the third 2-page layout in the workshop.

Here the bits and pieces for the fourth 2-page layout.


Here’s the cheater method to attach ribbon on a layout. I just wrap it around the back and use of little clear tape to secure it.

Love the crispness of the sentiments from the stamp set.


The completed 2 page layout.
I hope you’ve enjoyed this week’s series on the More Magical Workshop kit from Close to My Heart. If you’re interested in purchasing the kit click the link below. Remember, it’s only available until the end of September.
Happy crafting everyone!


More Magical Cards
Close to My Heart More Magical Cards
The More Magical Workshop includes the instructions and supplies for creating 8 cards (2 different designs). I had a blast working on it and took pictures for you of the process.

Here’s what the instruction look like - everything you need to put these adorable cards together!

The Workshop Kit comes with the cards, envelopes, paper, stamps and embellishments to create the 8 cards.


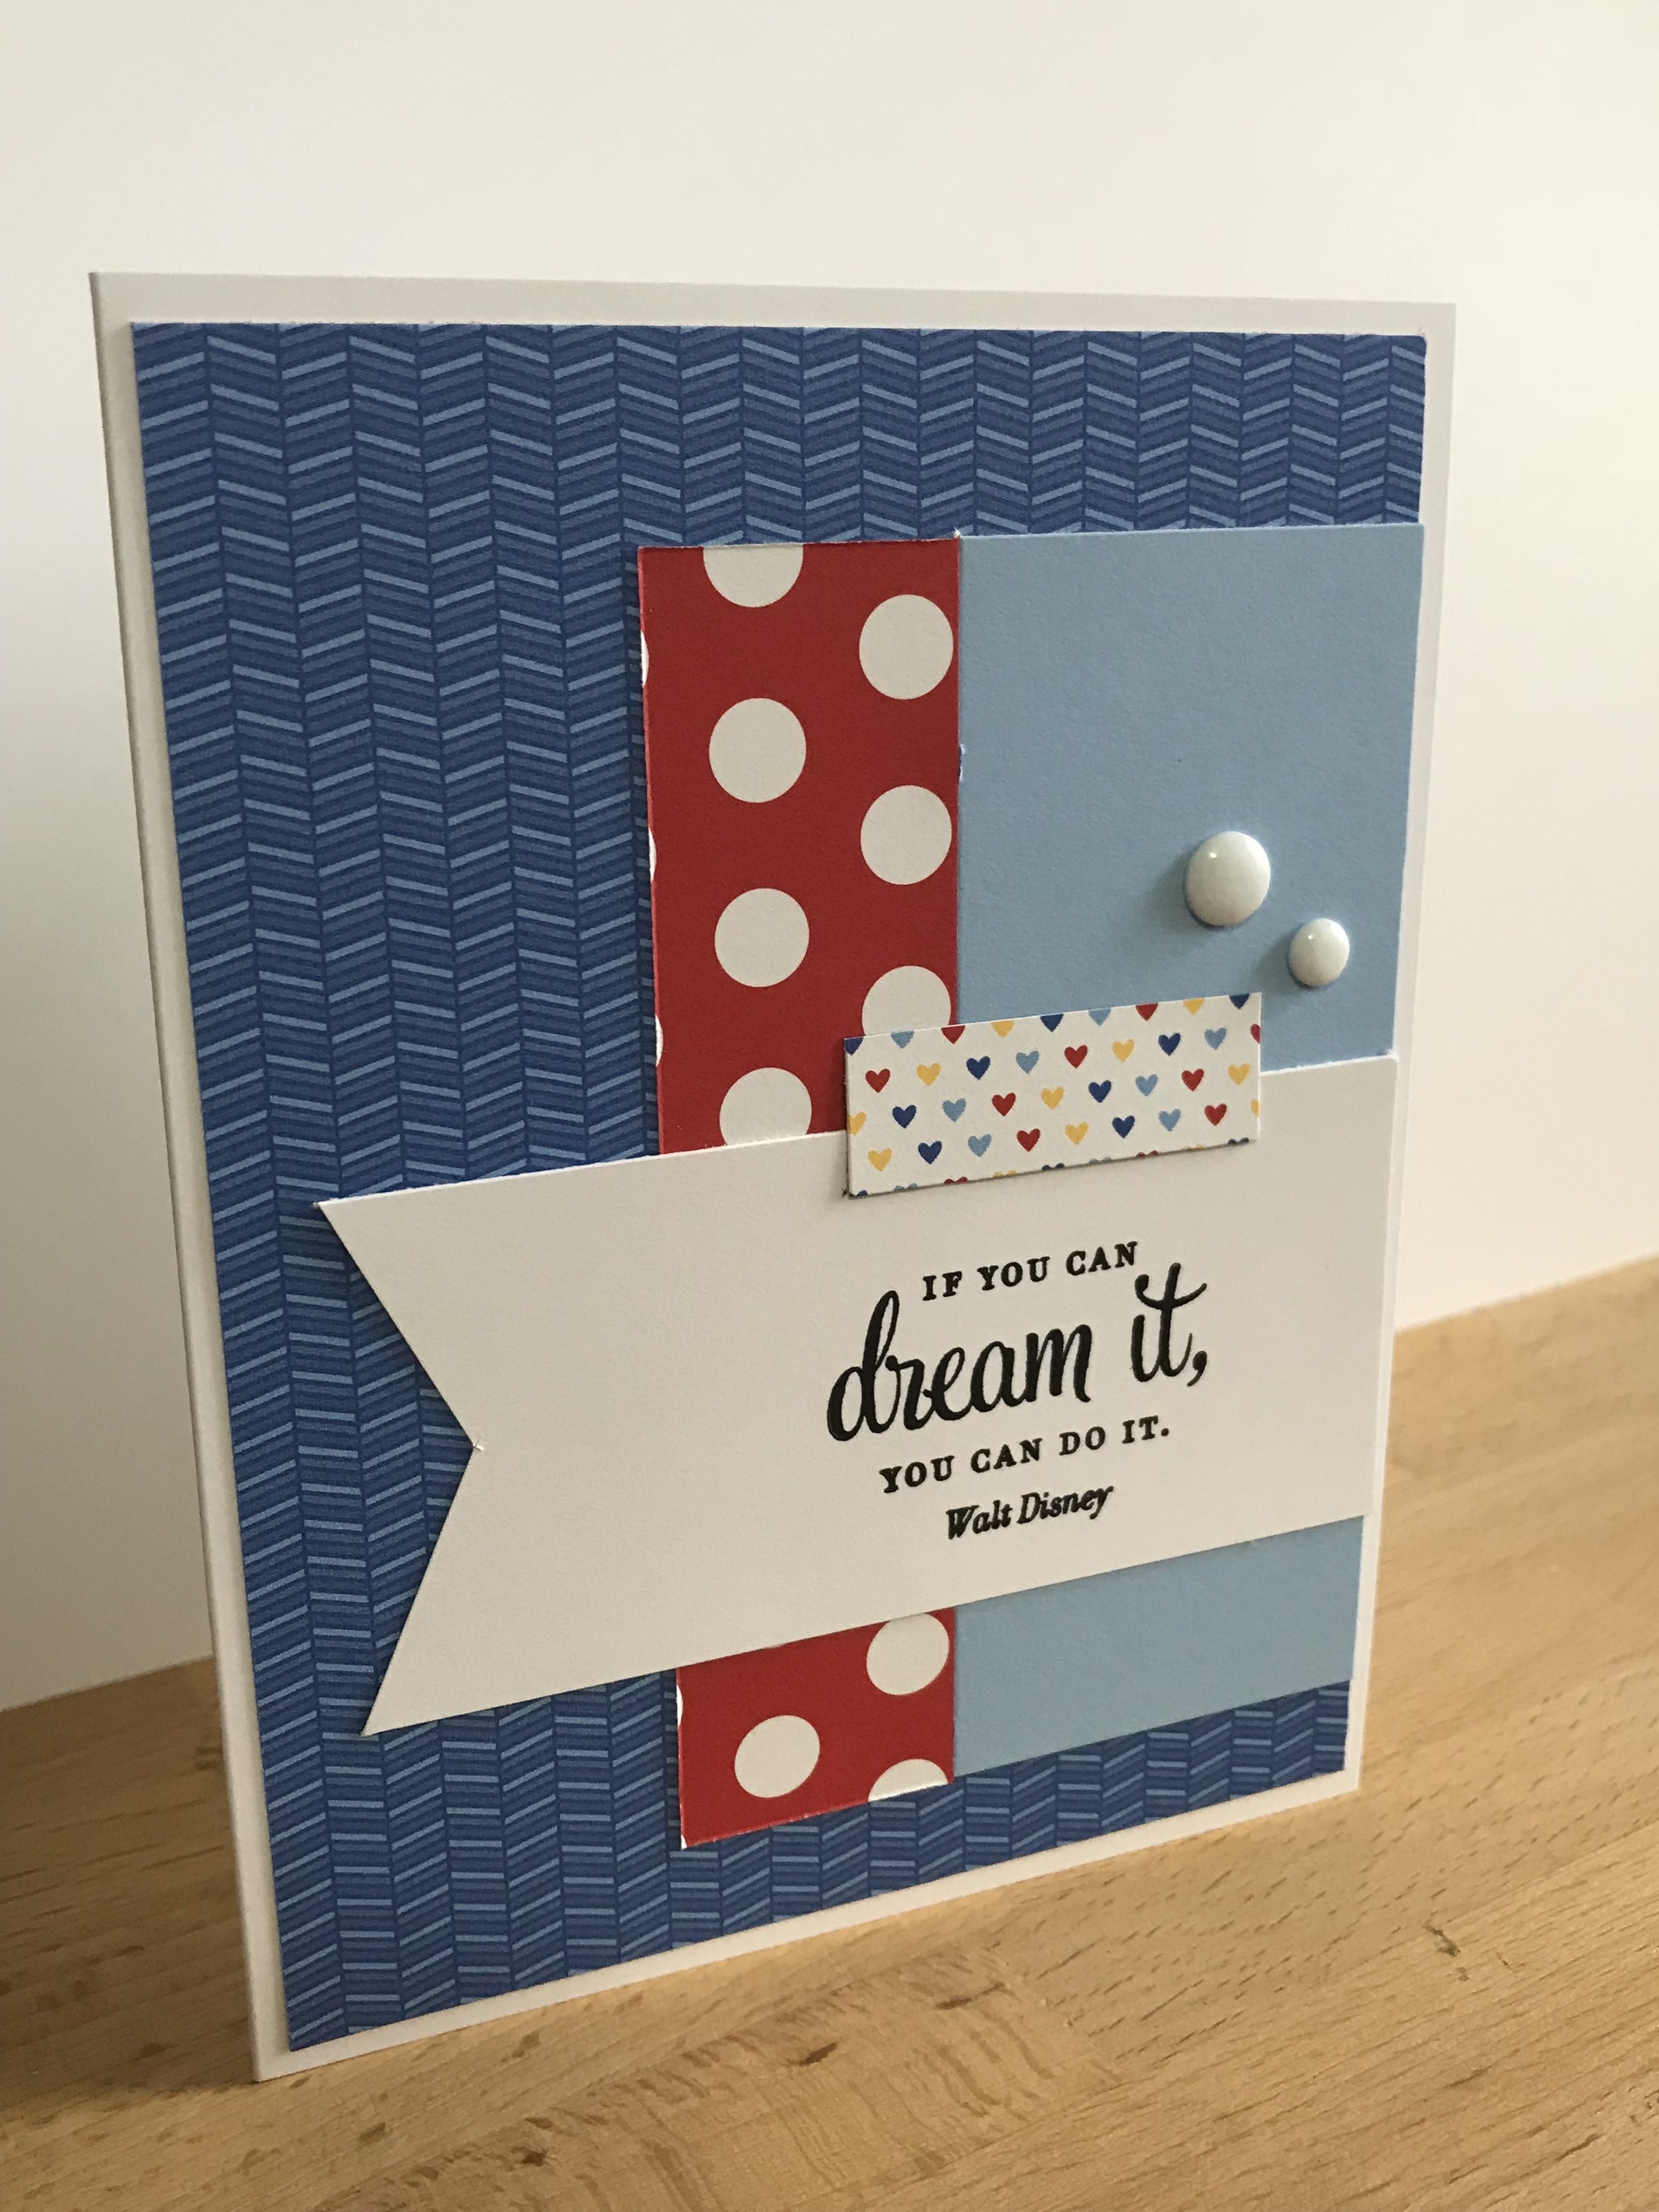
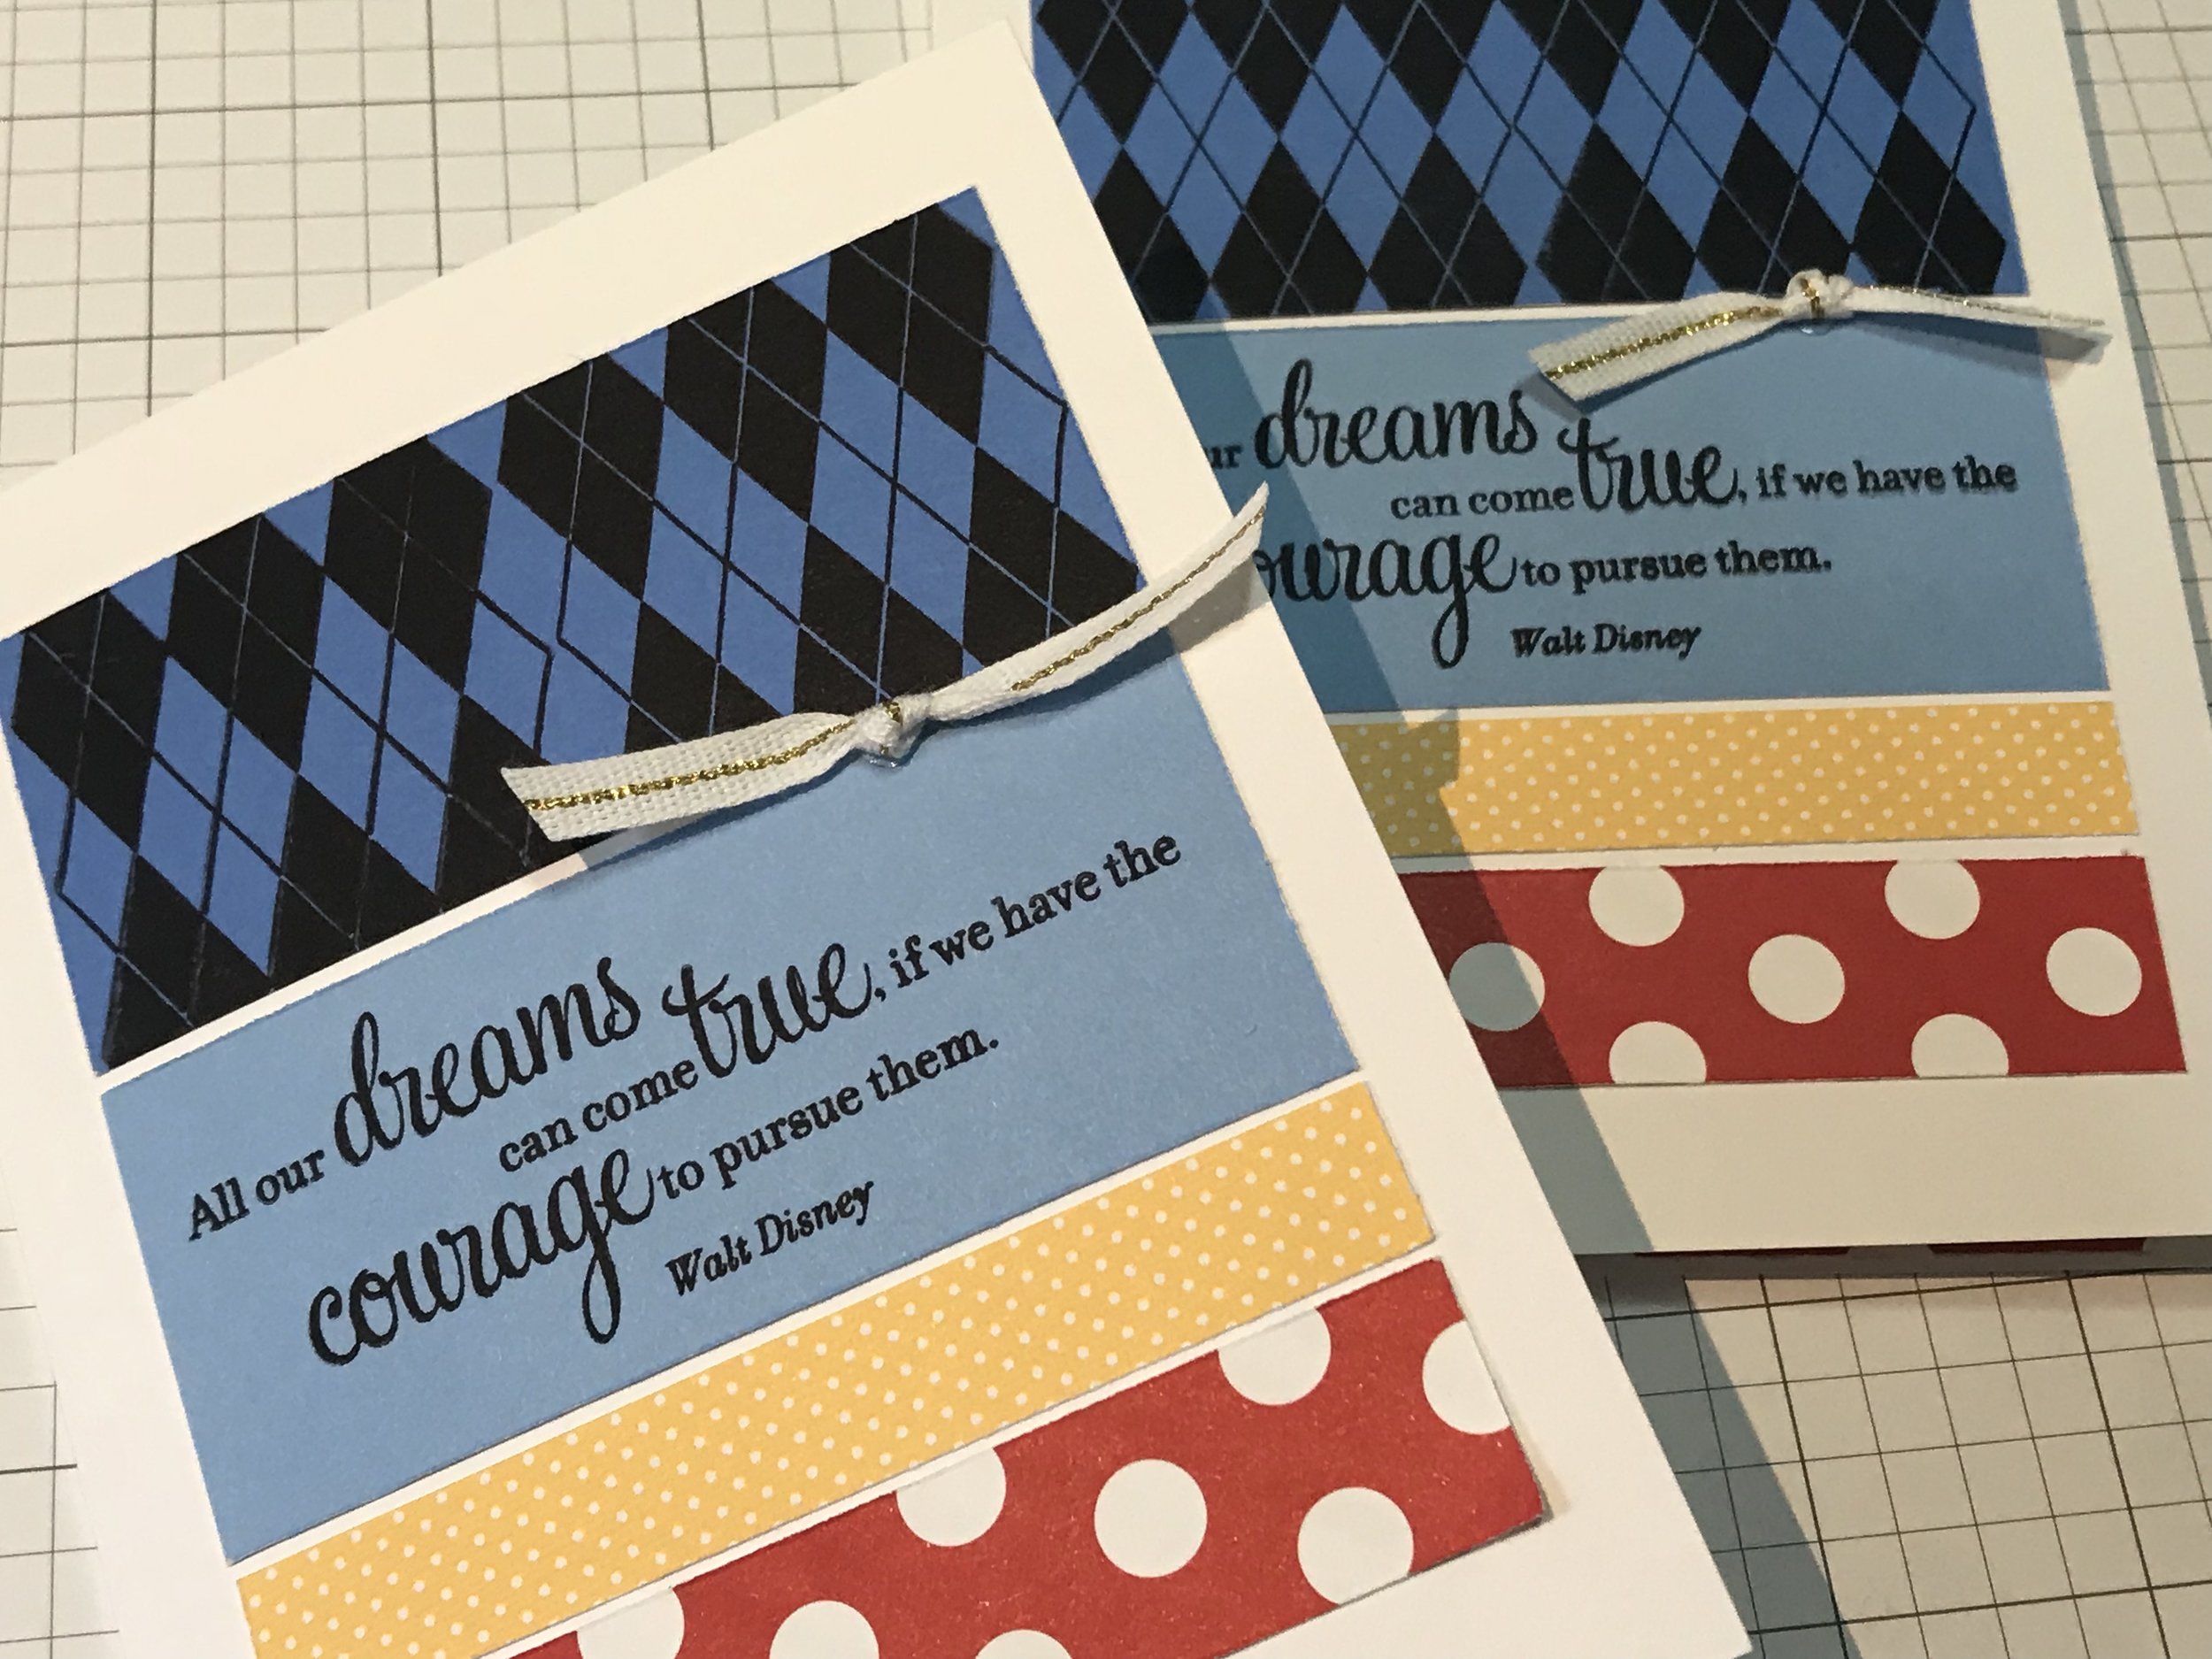
The stamp set has some great quotes by Walt Disney.

I worked assembly-line style for this card.


Here’s first card design done!

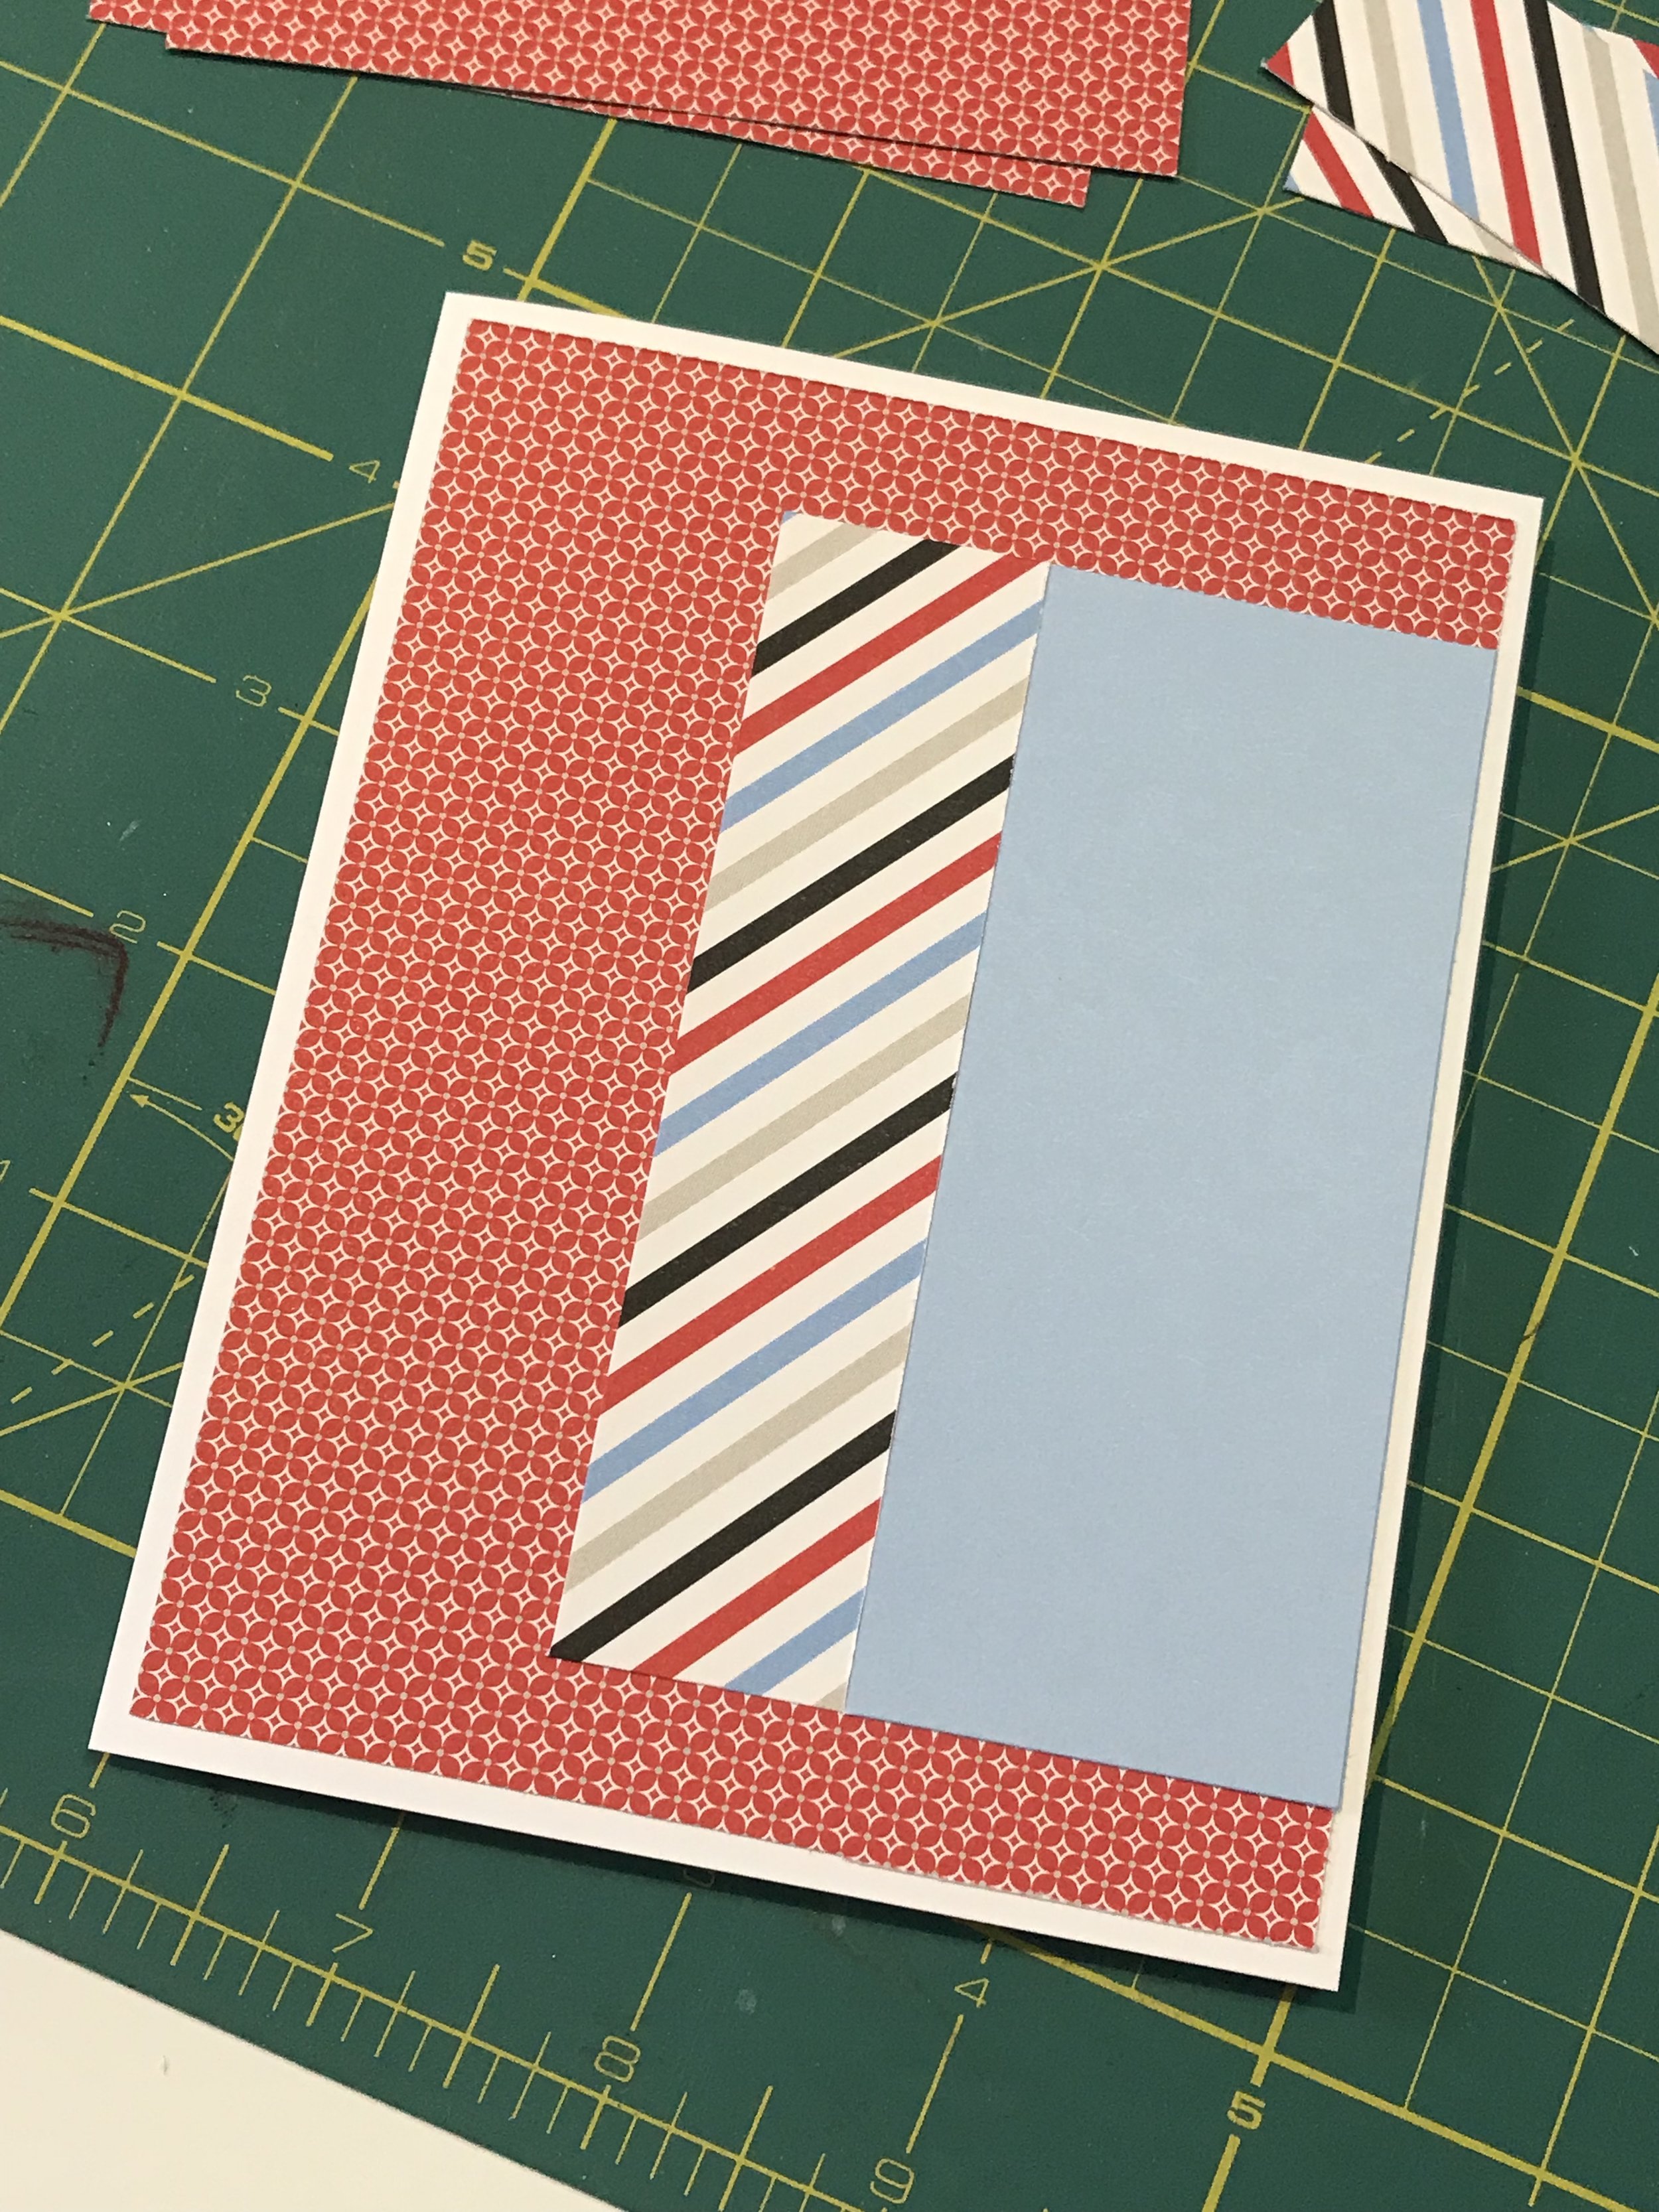
This is what happens when I “freelance” and use the opposite side of the paper to give the card a different look.

Here are the components for the second card design.

More stamping in the second card design.


The final product!

I hope you enjoyed all the photos. If you want to purchase the supplies check out the link below and it can be all yours!
Happy crafting!

More Magical Layouts
There is a Close to My Heart promotion this month called More Magical. This promotion gives you all the supplies to make 4 - 2 page layouts and 8 cards. I’ve created a couple of the layouts and wanted to share them with you. Check out the photos below and tell me these layouts wouldn’t be perfect for a Disney trip!


These layouts are adorable. If you want to find out about making them for yourself let me know. Here’s the link to pick up your More Magical Workshop!

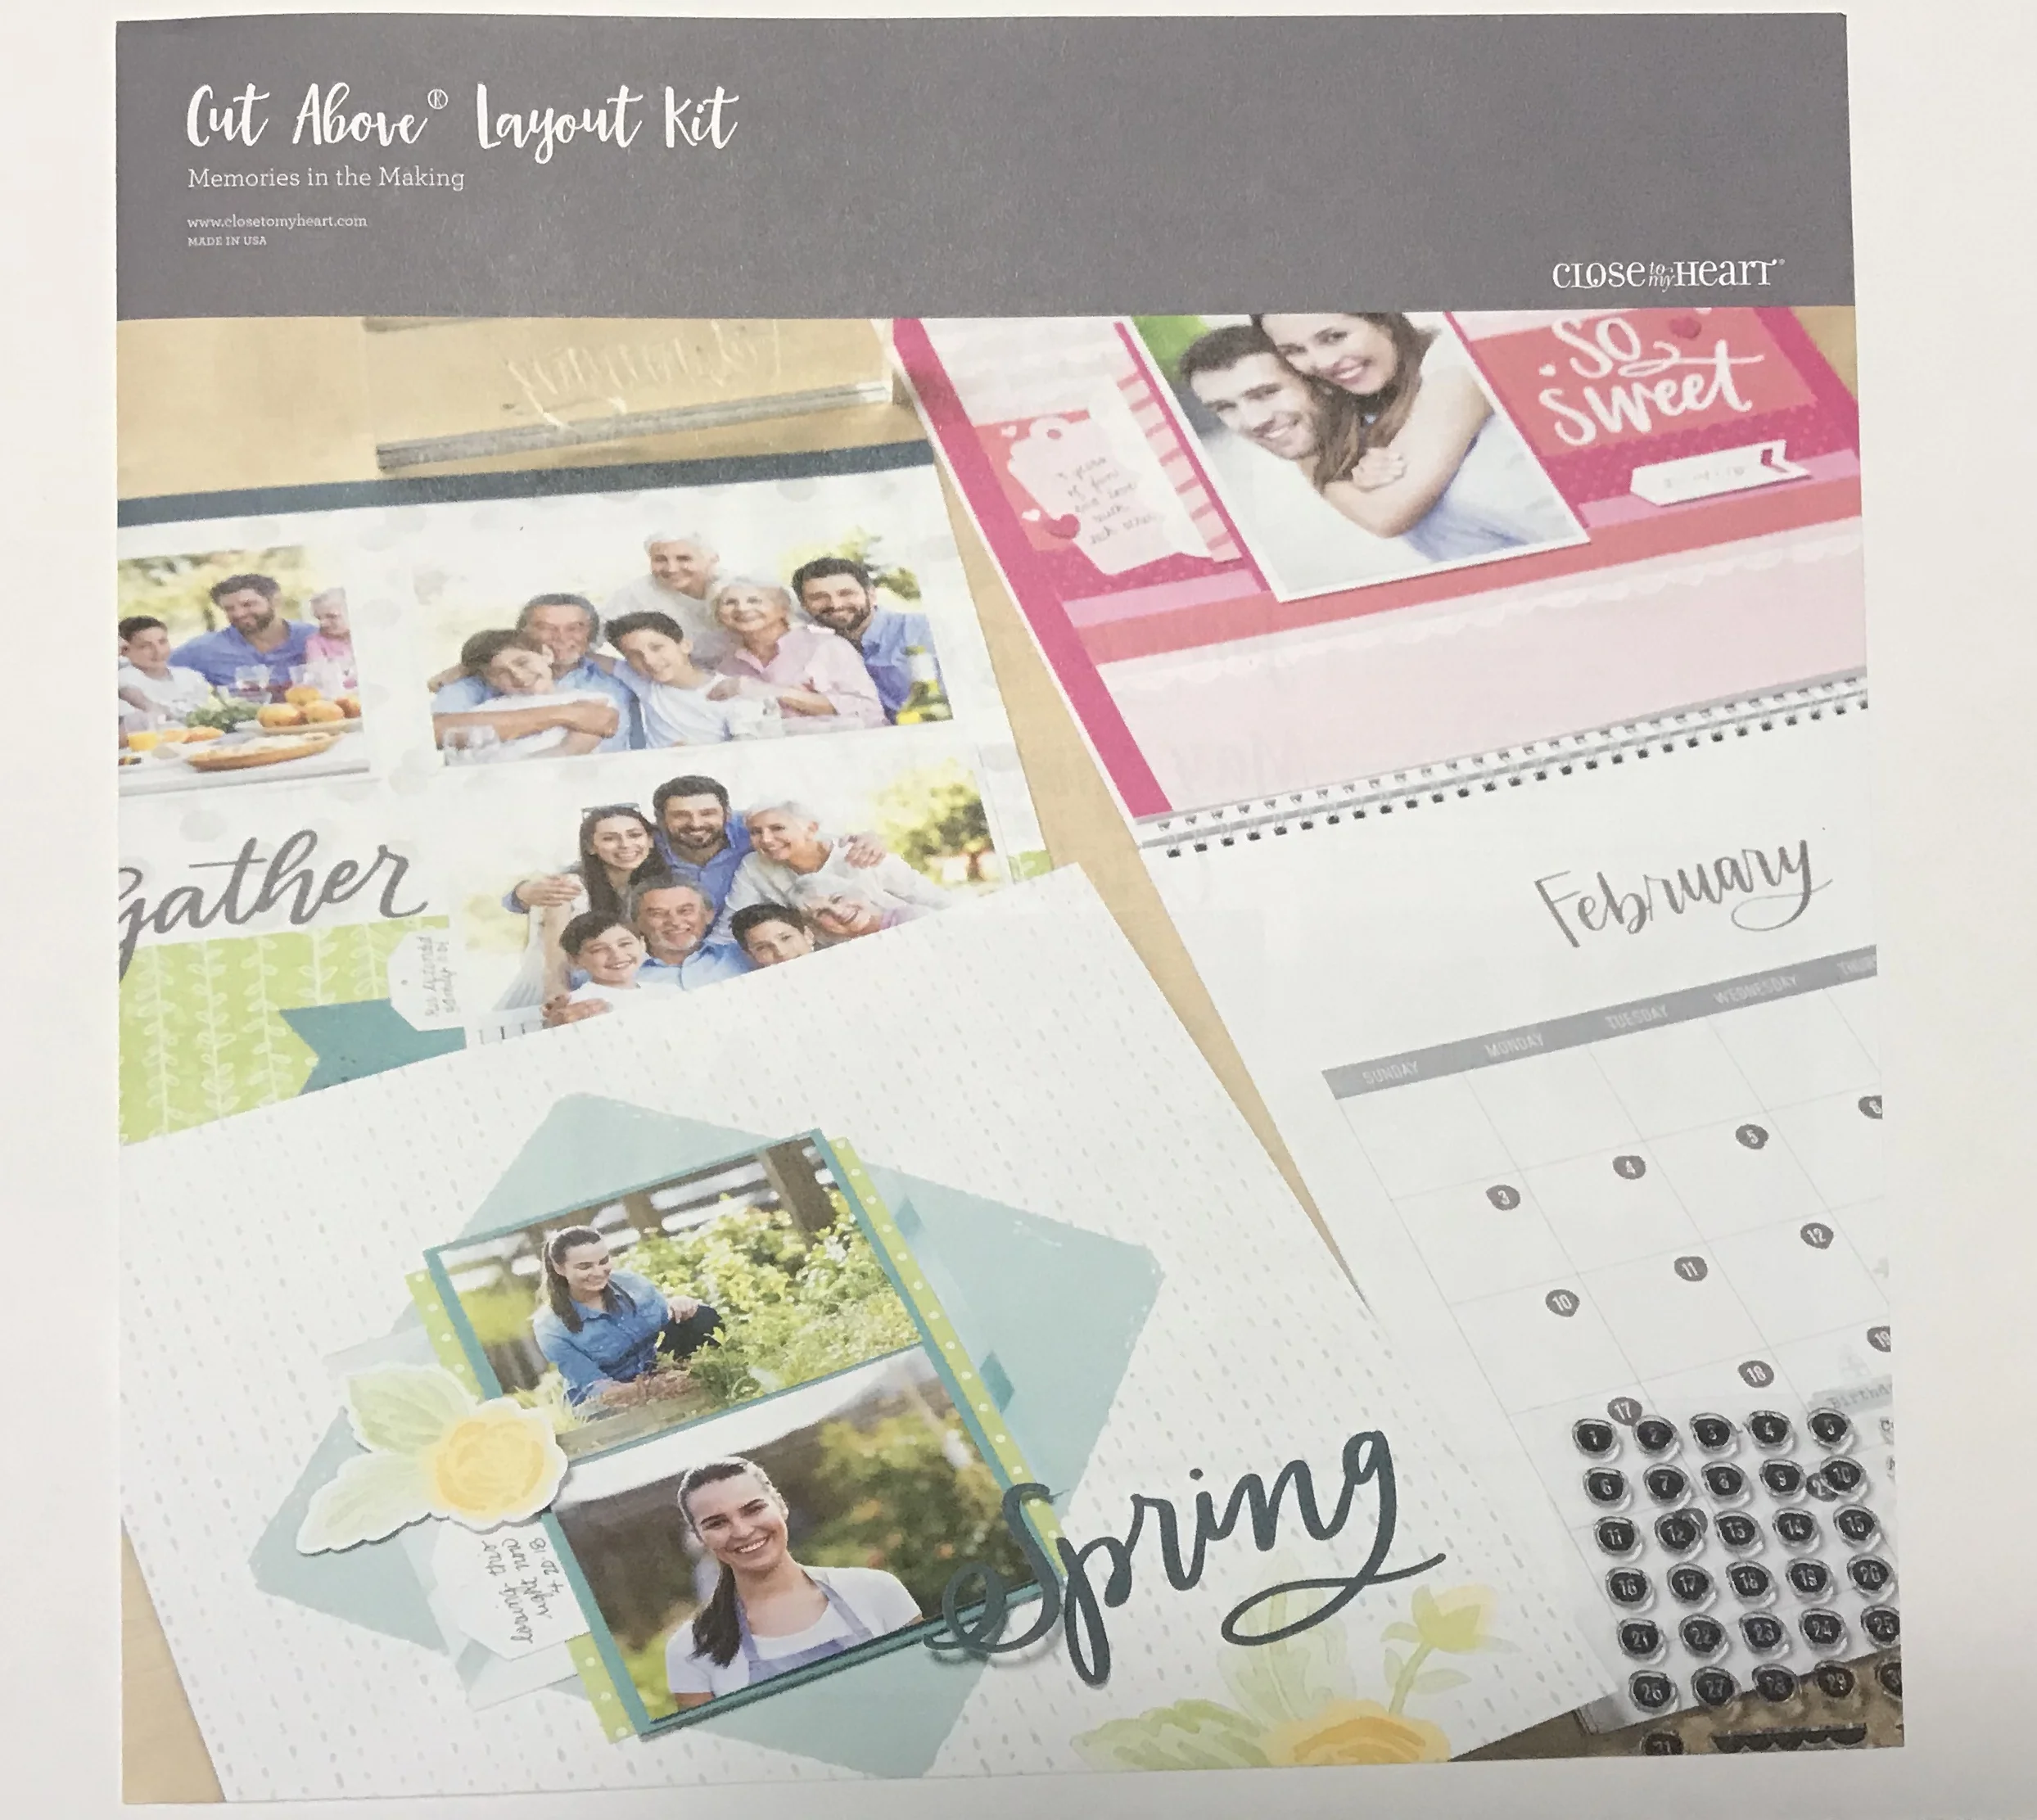
Memories in the Making (Part 2)
Hello Everyone,
I'm back with the rest of the pages from the Memories in the Making Kit from Close to My Heart. I have completed all the layout pages and I wanted to show off the completed album. I hope you enjoy it!


That's the whole album for 2019. It's quite a deal for a whole year's worth of memories. Here are the links to purchase one of the Memories in the Making Kits!

Memories in the Making
Today's post showcases a CTMH promotion for September called Memories in the Making. It is a kit that helps you create a calendar or a scrapbook with layouts in preparation for 2019! I'm going to make a scrapbook as I'm more a personal planner kind of person so I'm skipping the calendar. If you scroll down you will find a link to my YouTube video where I show off the products and show you how to make a few pages.


New Holiday Expressions Catalog!
Welcome!
September 1st brings exciting news about a new catalog release from Close to My Heart. The Holiday Expressions Catalog is here and will be available for ordering from September 1 through December 31st. It contains all the holiday crafting fun you are looking for this fall/winter. Check out my walk-thru video below!


Gift Card Holder
Hello,
Today's post is a card that holds a gift card I made recently for our son. The goal was to create a card that would open up to display a gift card as a surprise. No real reason other than to send him a small treat. I used the paper and complements called Fresh Air from Close to My Heart (now retired). I just wanted to share a fun idea I found in a video tutorial I received from Crafter's Companion when I purchased a score board. Here's the front of the card.

Here's the inside of the card without the gift card. Our son loves being outdoors so I thought this paper and stamp set was perfect.

I've added a few angled views to show you the dimension I achieved and to give you a different perspective.


Here's a photo showing you where the gift card will sit. As soon as you open up the card the gift card pops up.


I hope you enjoyed my project today. Here is a link to another (simpler) gift card holder style that I found on Crafter's Companion's UK website.
If you want to make sure and see future posts, please make sure you subscribe on the home page. Have a wonderful day paper crafters!

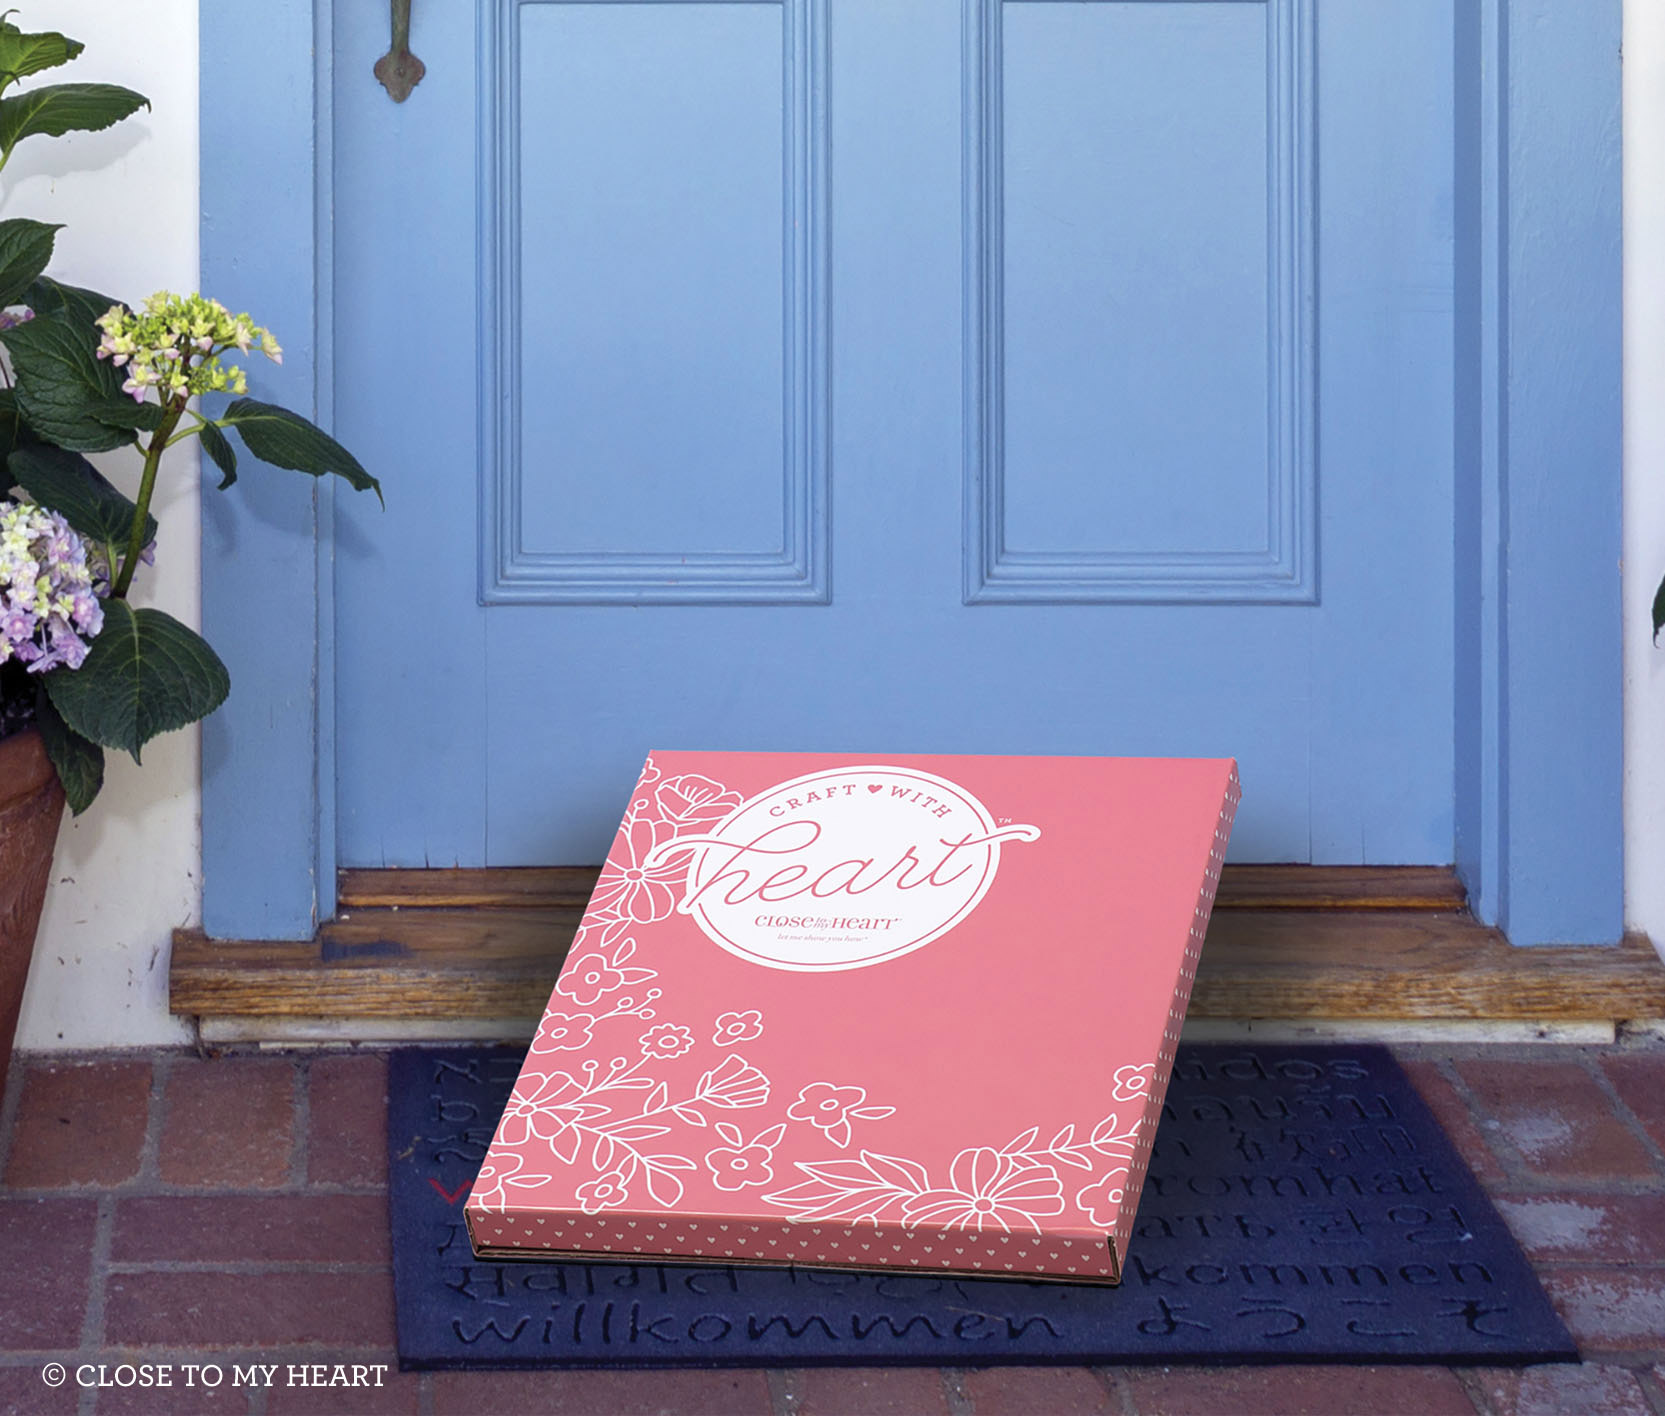
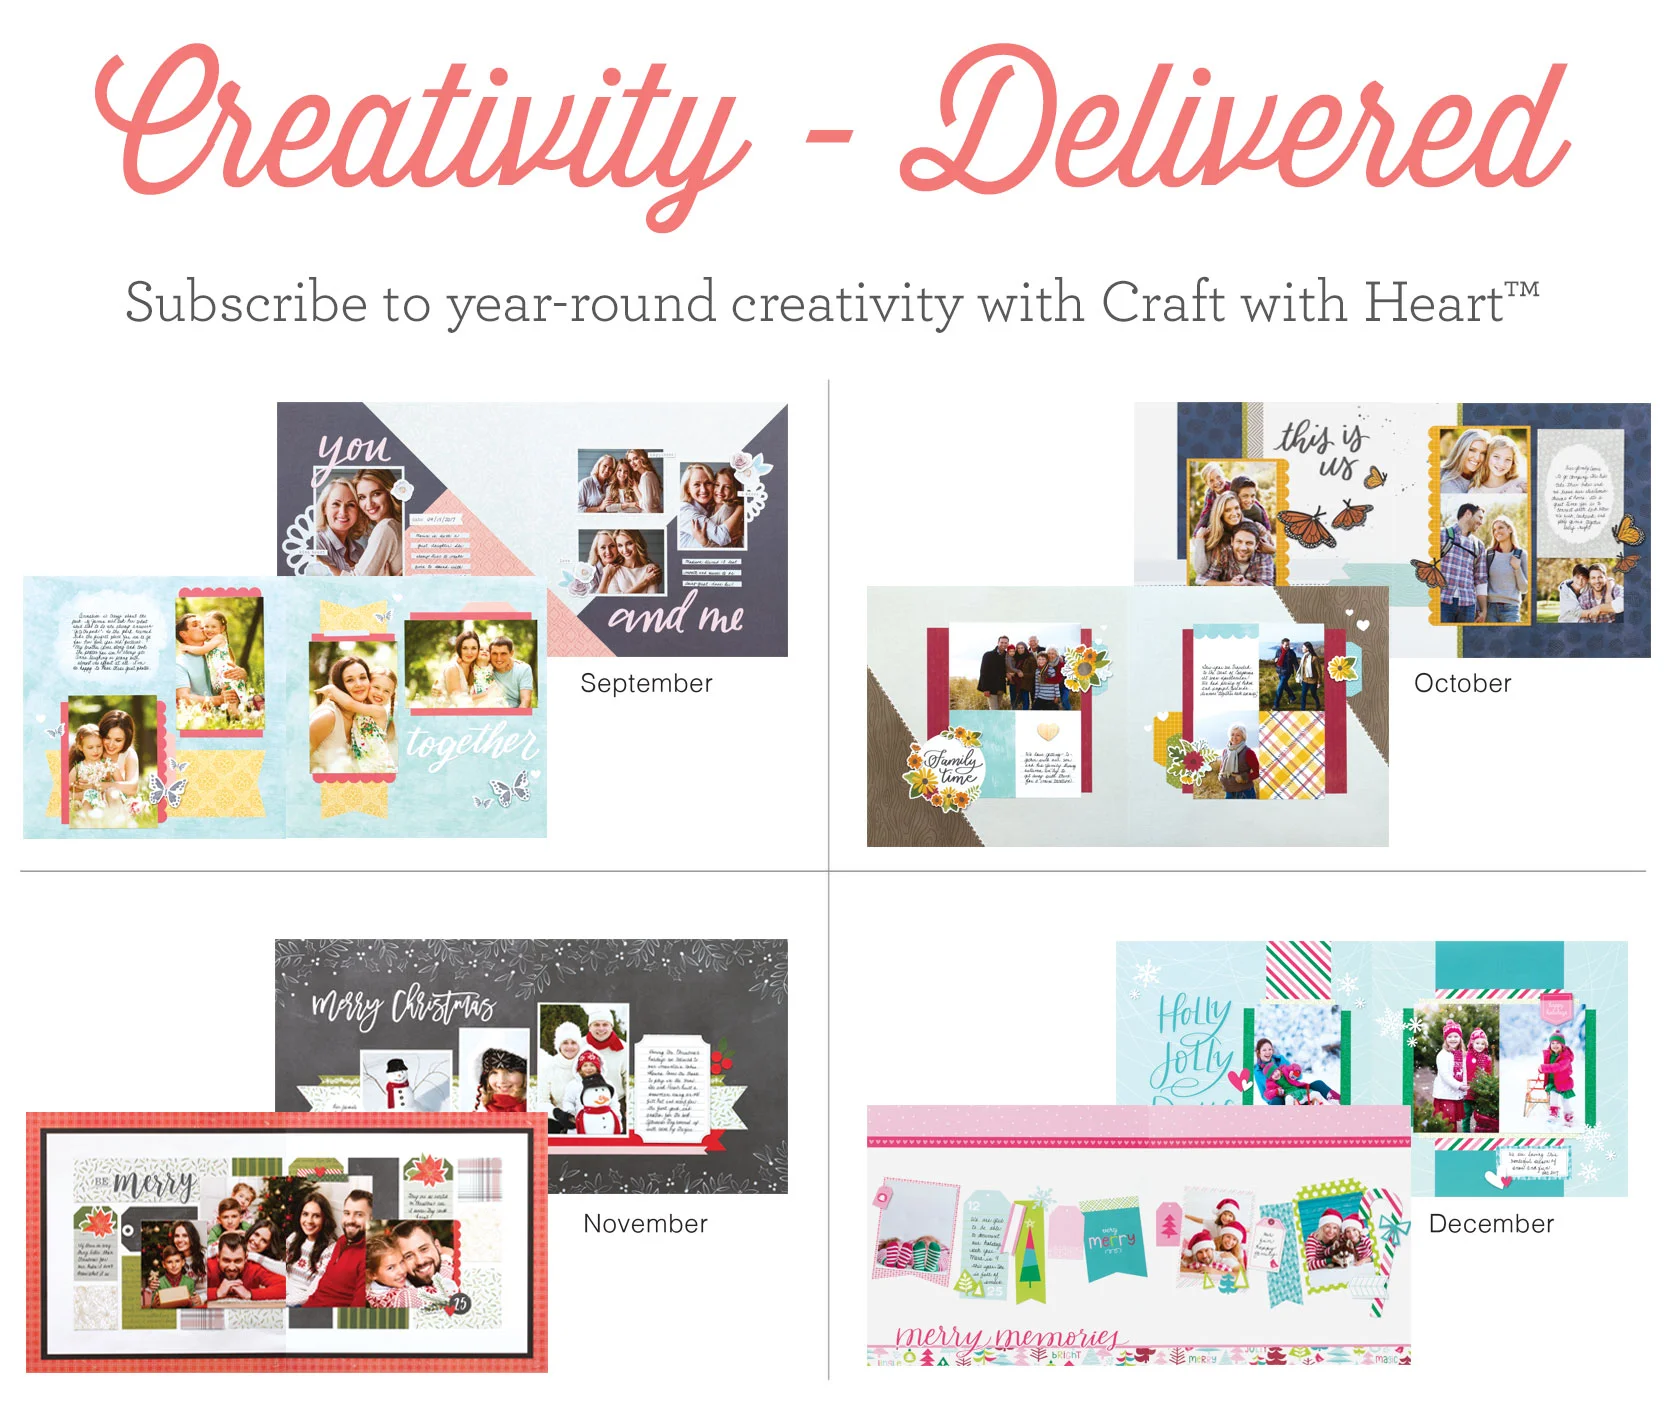
CRAFT WITH HEART SUBSCRIPTION!

I would like to introduce a new subscription program from Close To My Heart that sends ready-to-make scrapbook layouts directly to your door! With a Craft with Heart subscription, you’ll receive exclusive Cut Above 2-page layout kits in the mail, making it easier to catch up on your scrapbooking.
Craft with Heart will be available in monthly, 4-month, and 12-month subscription options. Take advantage of the program option that works best for you. The monthly and 4-month options are not available until September 1, but the 12-month subscription option is available a month early so you can get started right away!
The 12-month option is actually the best deal. With the 12 month subscription, you will receive four layout kits three times a year at a 20% discount, plus FREE SHIPPING! AND . . . with the 12-month subscription only, you will also receive a code from Persnickety Prints for 30 FREE 4″ x 6″ PRINTS with each delivery! That’s 90 free 4″ x 6″ prints each year!
Each kit comes with all of the pieces to make (2) two-page 12″ x 12″ layouts. Kits include: base pages, pre-cut pieces and die-cuts, stickers, photo placeholders, and page protectors—all you need is adhesive and a journaling pen! You will be able to complete the super cute layouts quickly and easily.


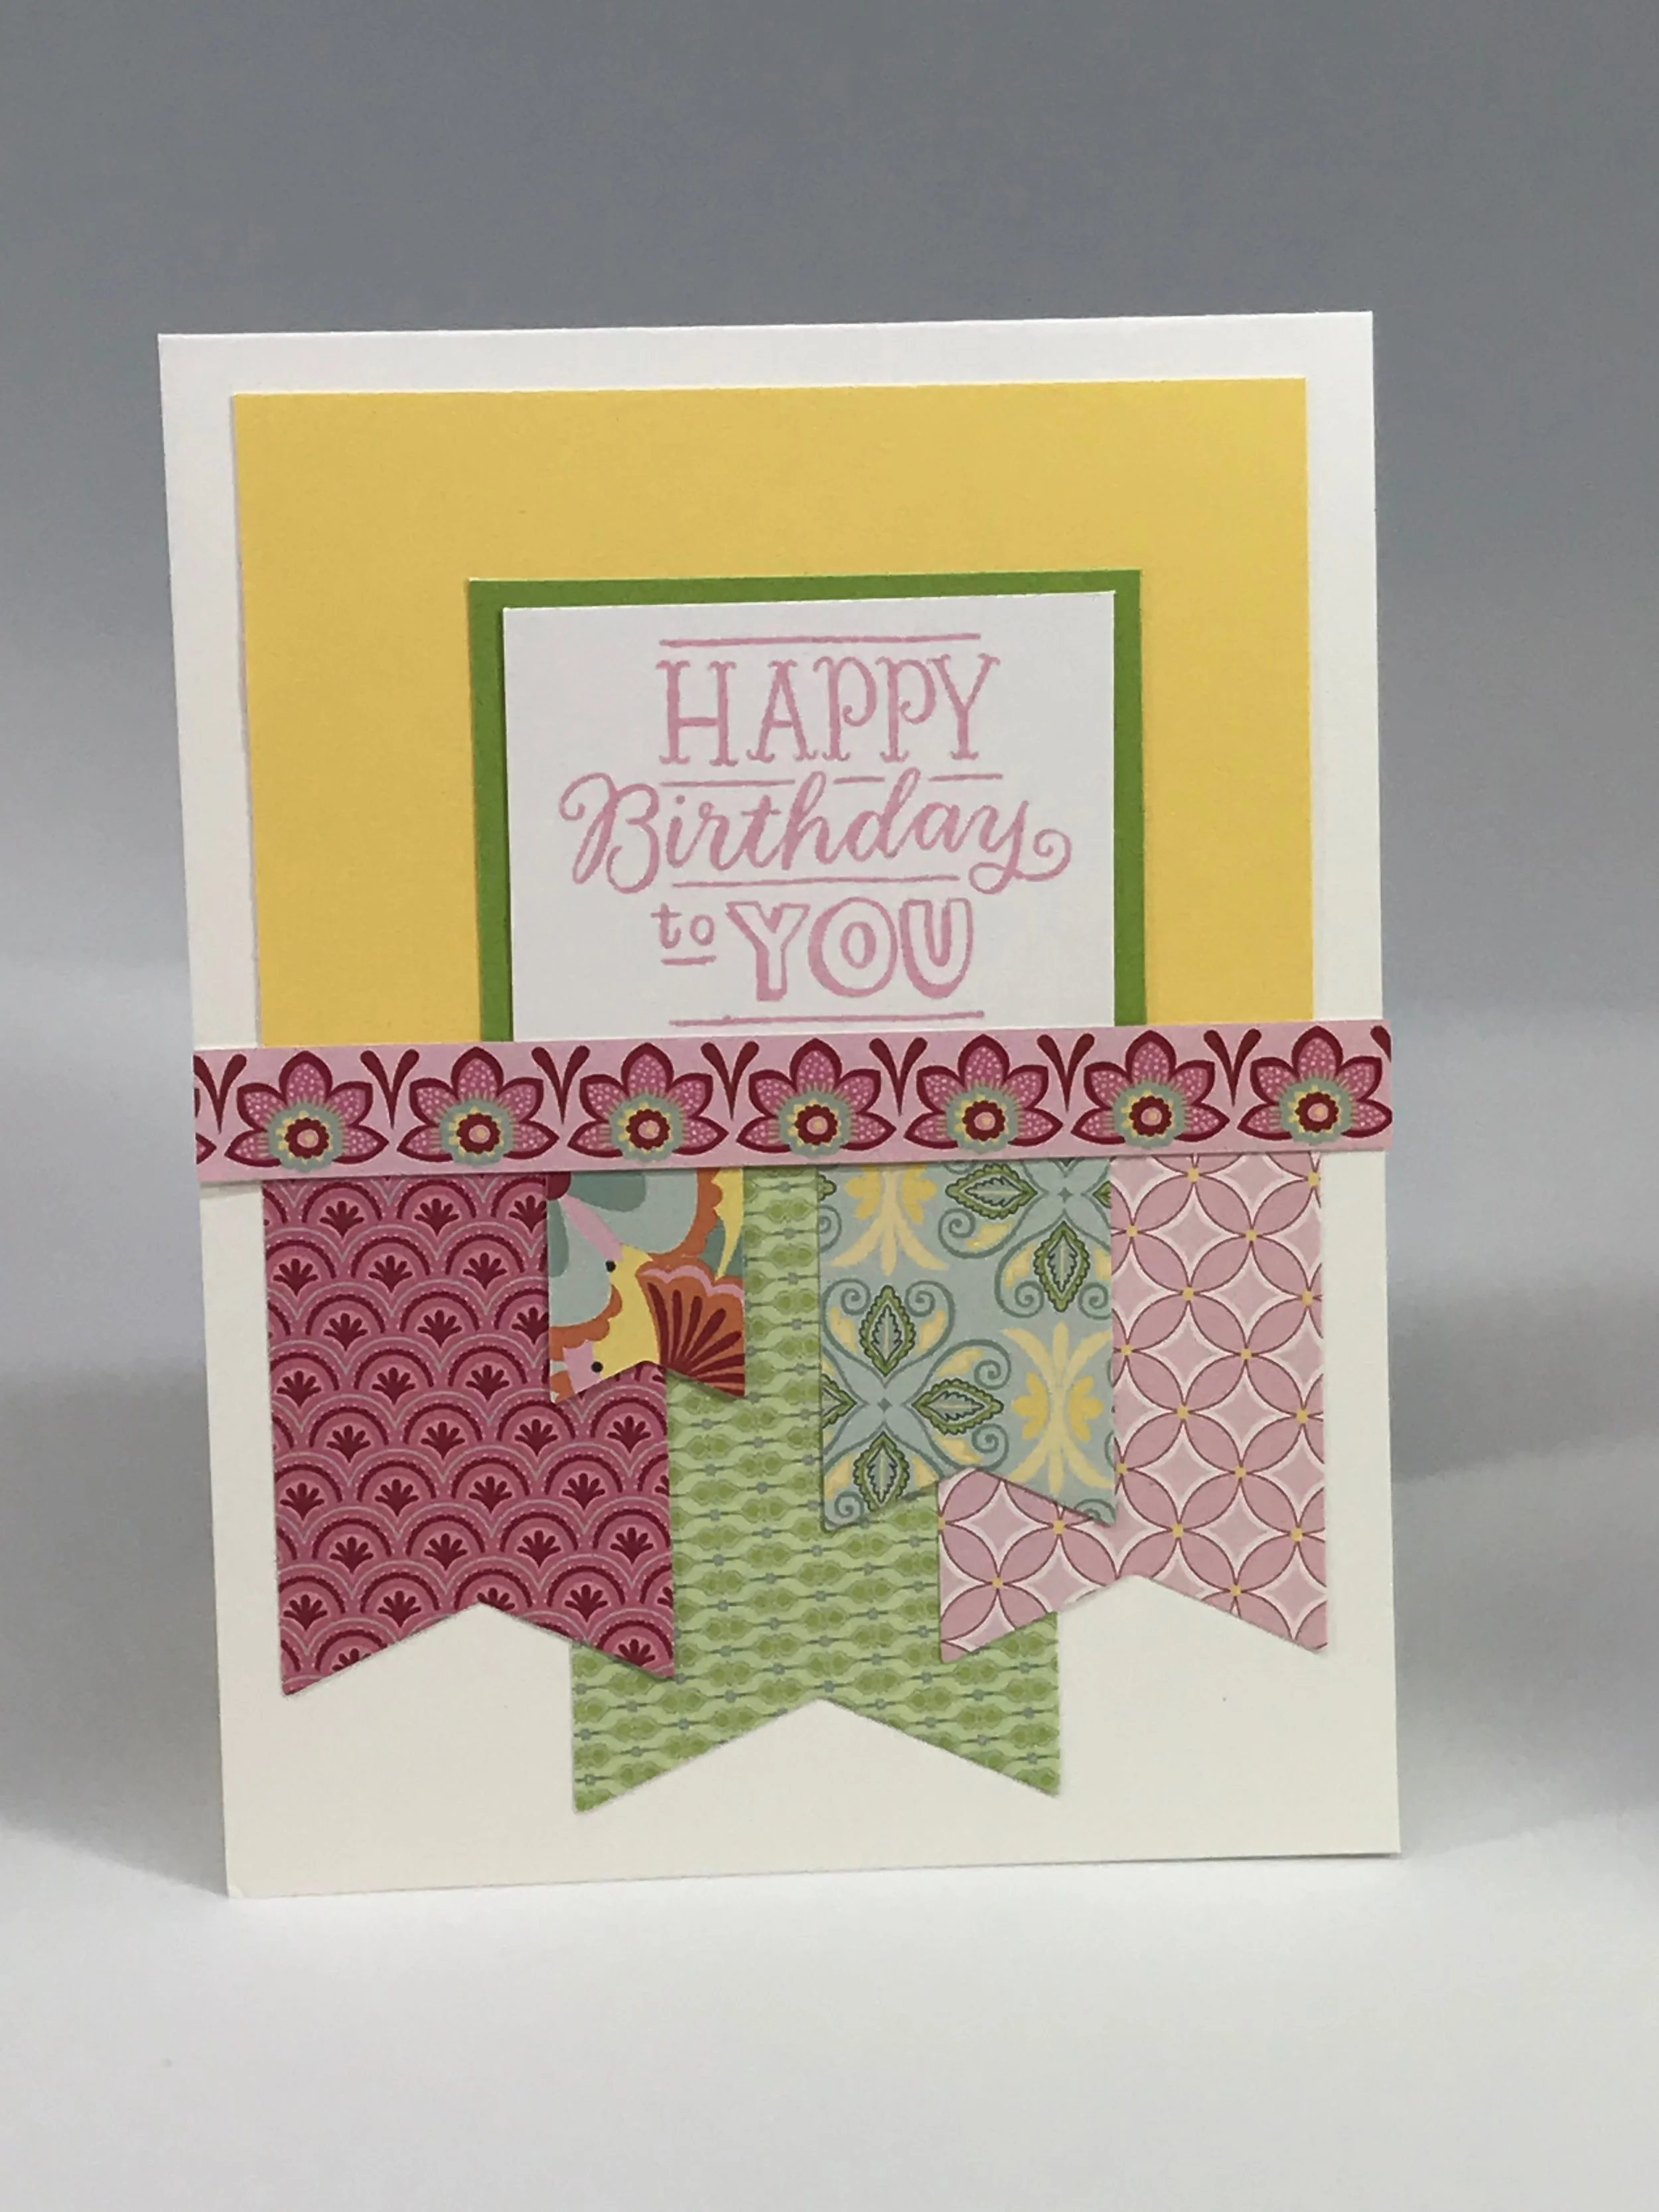
Happy Birthday to You ("Made from the Heart" with scraps!)
Here's a card I made one afternoon using up some fun scraps I had from a retired paper pack. I'm sure you all know what it's like to hoard those fun bits of paper from a group of papers you will miss. Well, I needed a birthday card and wanted to use those bright and cheerful bits of paper.

Here's where I got my inspiration for my card. I often turn to sketches to help when I'm in a funk. I use Pinterest, YouTube or other resources like Close To My Heart's Make It From the Heart (Vol. 4). This volume is filled with card sketches and samples. Below you will see what caught my eye for this card.


One I had a plan of attack I needed to gather my supplies. In this case, I grabbed some scrap paper and my CTMH Basic Banners Thin Cuts and started cutting away.

Once I had my banners and bits I started playing around with the layout and chose my "zip strip" for the border.

Now that I knew what I wanted to do with my banners I needed to form the top base to my card and lined it up with the banners.

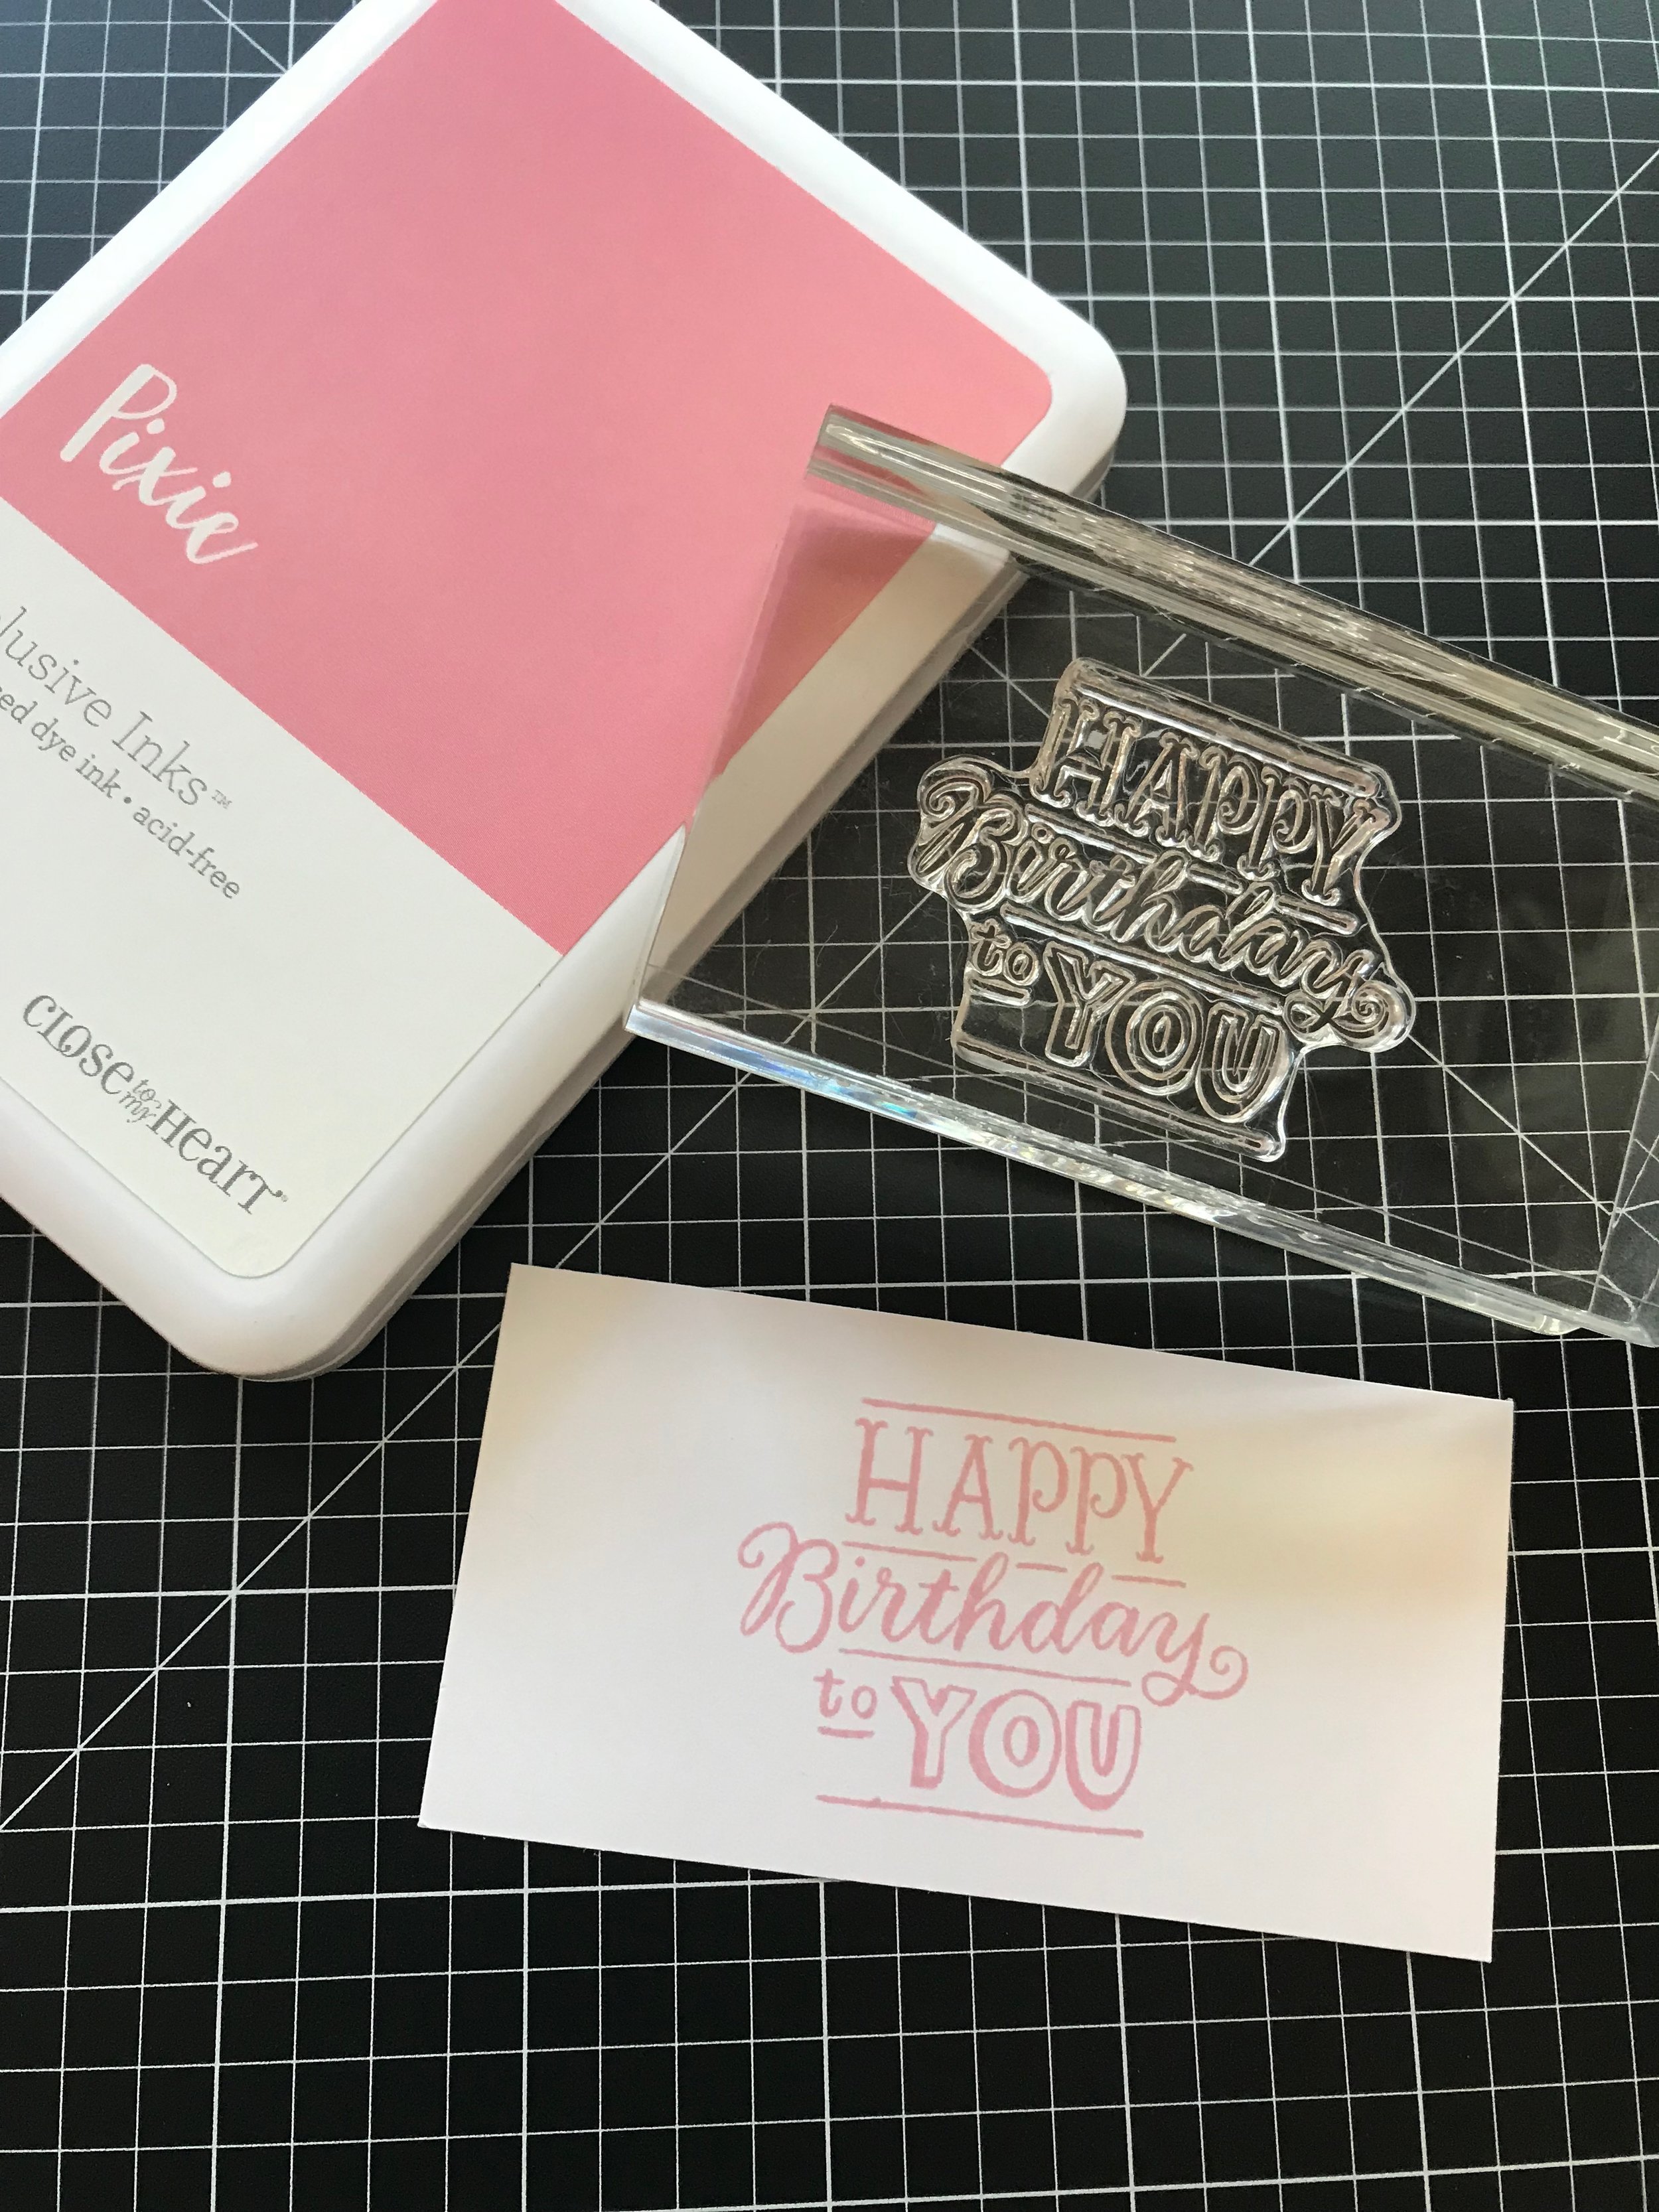
Next, I pulled out my Pixie ink pad and a fun birthday stamp from CTMH's Birthday Sparkles and worked on my card's sentiment.
Now for more layering and I'm on my way to being finished.

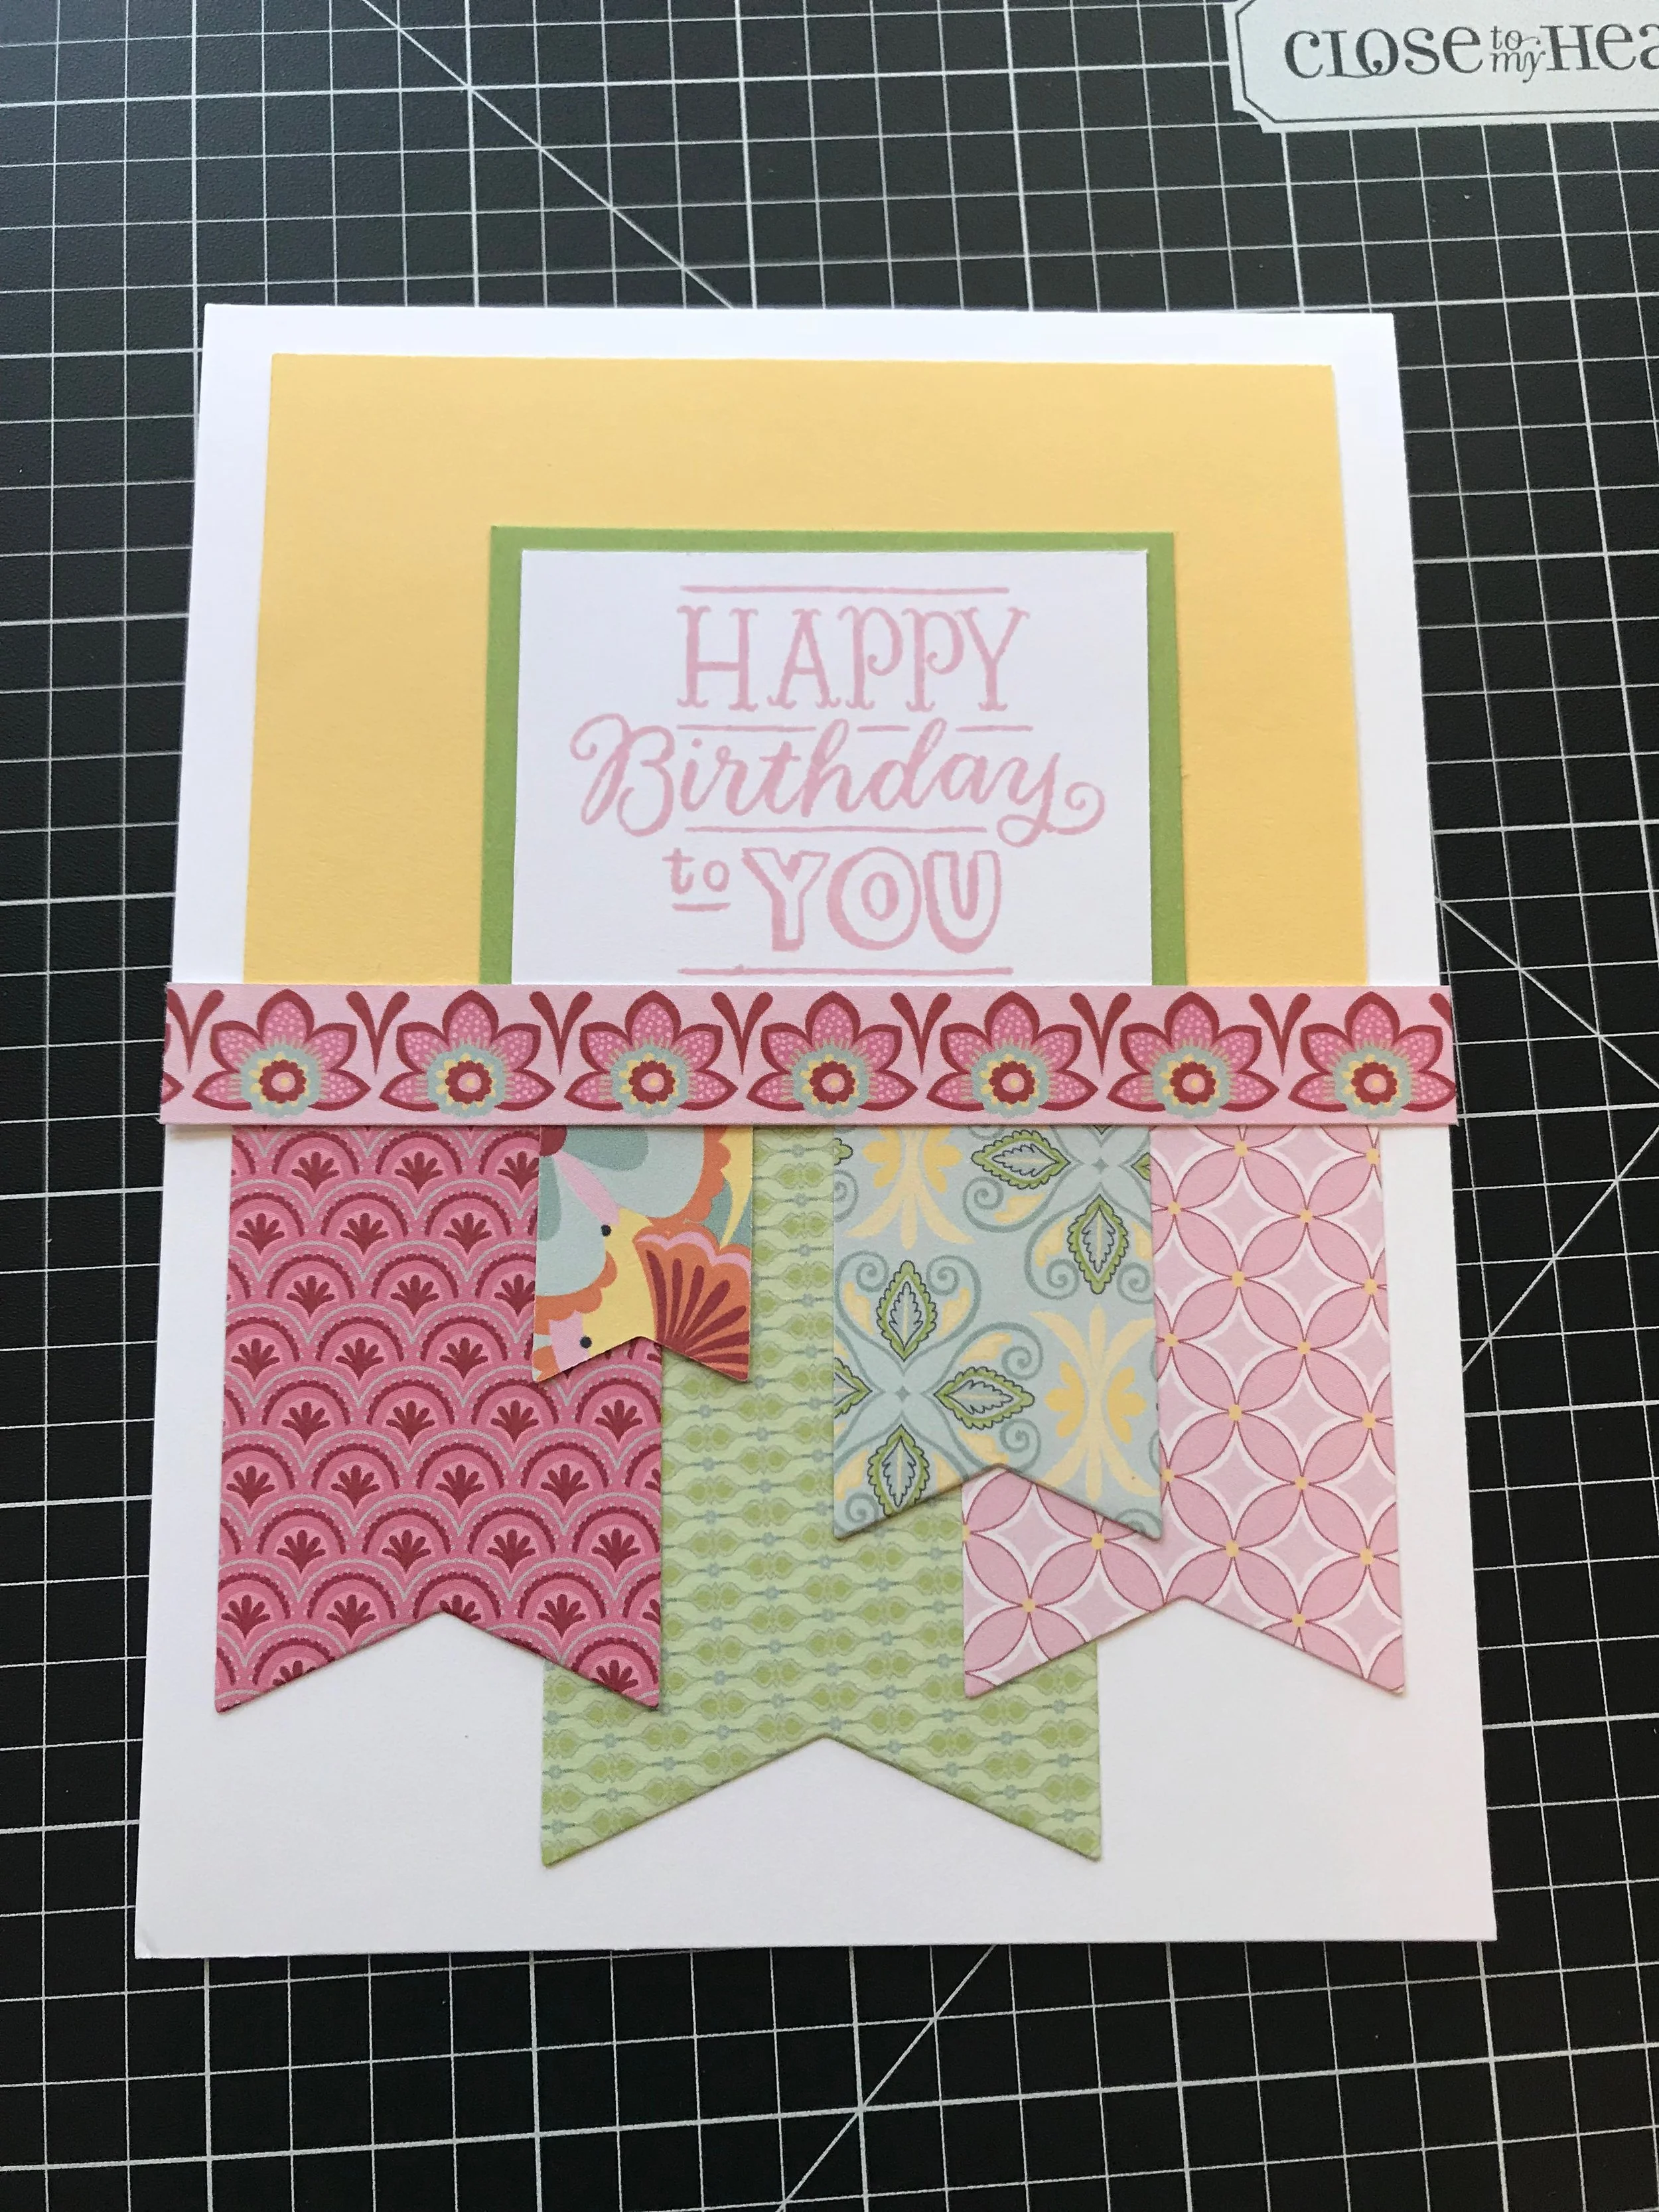
I always try to decorate the inside of my card. I use something from the main card and, in this case, I had some left over banners. I layered them in the top right hand corner and voila!

Here are the highlights of the card with some of the supplies. Hopefully this project inspired you to look around for inspiration in sketches to make your next card or scrapbook layout.

Other than my paper scraps and adhesive, here's the basic supplies I used from Close To My Heart:

THINKING OF YOU
Here's a Thinking of You card that I'm mailing to a friend who recently suffered a loss. One of the best thing about my crafting passion is that I can send something I've made with my own hands to express the love and support I cannot often put into words. This particular card was quick to come together using scraps I had on hand. I started with some black ink and a simple Thinking of You stamp from Close to My Heart.

Here's a side angle of the card. While this is not a particularly thick card I had added dimension where I could through the use of the Rose Embossing folder and the small pink pearl. You can easily put something like this together in under 5 minutes...easier and quicker than getting in your car and running out to buy a card. This may not be super fancy but it comes from the heart.

I also like to decorate the inside of my cards to carry the theme from the front. All I need to do now is write my note and pop it in the mail.

I also love the idea of having a coordinating interior to my envelope. I've come across a Sizzix die set on clearance at Hobby Lobby this weekend and I love how the designer paper pulls it all together. Now I can take my card and envelope value pack to a whole new level.

Have a wonderful day my crafty friends!
